Building Mobile Apps With Capacitor And Vue.js
Ahmed Bouchefra 2018-07-02T14:00:41+02:00
2018-07-10T16:18:00+00:00
Recently, the Ionic team announced an open-source spiritual successor to Apache Cordova and Adobe PhoneGap, called Capacitor. Capacitor allows you to build an application with modern web technologies and run it everywhere, from web browsers to native mobile devices (Android and iOS) and even desktop platforms via Electron — the popular GitHub platform for building cross-platform desktop apps with Node.js and front-end web technologies.
Ionic — the most popular hybrid mobile framework — currently runs on top of Cordova, but in future versions, Capacitor will be the default option for Ionic apps. Capacitor also provides a compatibility layer that permits the use of existing Cordova plugins in Capacitor projects.
Aside from using Capacitor in Ionic applications, you can also use it without Ionic with your preferred front-end framework or UI library, such as Vue, React, Angular with Material, Bootstrap, etc.
In this tutorial, we’ll see how to use Capacitor and Vue to build a simple mobile application for Android. In fact, as mentioned, your application can also run as a progressive web application (PWA) or as a desktop application in major operating systems with just a few commands.
We’ll also be using some Ionic 4 UI components to style our demo mobile application.
Capacitor Features
Capacitor has many features that make it a good alternative to other solutions such as Cordova. Let’s see some of the features of Capacitor:
- Open-source and free
Capacitor is an open-source project, licensed under the permissive MIT license and maintained by Ionic and the community. - Cross-platform
You can use Capacitor to build apps with one code base and to target multiple platforms. You can run a few more command line interface (CLI) commands to support another platform. - Native access to platform SDKs
Capacitor doesn’t get in the way when you need access to native SDKs. - Standard web and browser technologies
An app built with Capacitor uses standard web APIs, so your application will also be cross-browser and will run well in all modern browsers that follow the standards. - Extensible
You can access native features of the underlying platforms by adding plugins or, if you can’t find a plugin that fits your needs, by creating a custom plugin via a simple API.
Requirements
To complete this tutorial, you’ll need a development machine with the following requirements:
- You’ll need Node v8.6+ and npm v5.6+ installed on your machine. Just head to the official website and download the version for your operating system.
- To build an iOS app, you’ll need a Mac with Xcode.
- To build an Android app, you’ll need to install the Java 8 JDK and Android Studio with the Android SDK.
Creating A Vue Project
In this section, we’ll install the Vue CLI and generate a new Vue project. Then, we’ll add navigation to our application using the Vue router. Finally, we’ll build a simple UI using Ionic 4 components.
Installing The Vue CLI v3
Let’s start by installing the Vue CLI v3 from npm by running the following from the command line:
$ npm install -g @vue/cli
You might need to add sudo to install the package globally, depending on your npm configuration.
Generating a New Vue Project
After installing the Vue CLI, let’s use it to generate a new Vue project by running the following from the CLI:
$ vue create vuecapacitordemo
You can start a development server by navigating within the project’s root folder and running the following command:
 $ cd vuecapacitordemo
 $ npm run serve
Your front-end application will be running from http://localhost:8080/.
If you visit http://localhost:8080/ in your web browser, you should see the following page:
Adding Ionic 4
To be able to use Ionic 4 components in your application, you’ll need to use the core Ionic 4 package from npm.
So, go ahead and open the index.html file, which sits in the public folder of your Vue project, and add the following <script src='https://unpkg.com/@ionic/core@4.0.0-alpha.7/dist/ionic.js'></script> tag in the head of the file.
This is the contents of public/index.html:
<!DOCTYPE html>
<html>
<head>
<meta  charset="utf-8">
<meta  http-equiv="X-UA-Compatible"  content="IE=edge">
<meta  name="viewport"  content="width=device-width,initial-scale=1.0">
<link  rel="icon"  href="<%= BASE_URL %>favicon.ico">
<title>vuecapacitordemo</title>
</head>
<body>
<noscript>
<strong>We’re sorry but vuecapacitordemo doesn’t work properly without JavaScript enabled. Please enable it to continue.</strong>
</noscript>
<div  id="app"></div>
<!-- built files will be auto injected -->
<script  src='https://unpkg.com/@ionic/core@4.0.0-alpha.7/dist/ionic.js'></script>
</body>
</html>
You can get the current version of the Ionic core package from npm.
Now, open src/App.vue, and add the following content within the template tag after deleting what’s in there:
<template>
<ion-app>
   <router-view></router-view>
</ion-app>
</template>
ion-app is an Ionic component. It should be the top-level component that wraps other components.
router-view is the Vue router outlet. A component matching a path will be rendered here by the Vue router.
After adding Ionic components to your Vue application, you are going to start getting warnings in the browser console similar to the following:
[Vue warn]: Unknown custom element: <ion-content> - did you register the component correctly? For recursive components, make sure to provide the "name" option.

found in

---> <HelloWorld> at src/components/HelloWorld.vue
       <App> at src/App.vue
         <Root>
This is because Ionic 4 components are actually web components, so you’ll need to tell Vue that components starting with the ion prefix are not Vue components. You can do that in the src/main.js file by adding the following line:
Vue.config.ignoredElements = [/^ion-/]
Those warnings should now be eliminated.
Adding Vue Components
Let’s add two components. First, remove any file in the src/components folder (also, remove any import for the HelloWorld.vue component in App.vue), and add the Home.vue and About.vue files.
Open src/components/Home.vue and add the following template:
<template>
<ion-app>
<ion-header>
  <ion-toolbar color="primary">
    <ion-title>
      Vue Capacitor
    </ion-title>
  </ion-toolbar>
</ion-header>

<ion-content padding>
  The world is your oyster.
  <p>If you get lost, the <a href="https://ionicframework.com/docs">docs</a> will be your guide.</p>
</ion-content>
</ion-app>
</template>
Next, in the same file, add the following code:
<script>
export default {
  name: 'Home'
}
</script>
Now, open src/components/About.vue and add the following template:
<template>
<ion-app>
<ion-header>
  <ion-toolbar color="primary">
    <ion-title>
      Vue Capacitor | About
    </ion-title>
  </ion-toolbar>
</ion-header>
<ion-content padding>
This is the About page.
</ion-content>
</ion-app>
</template>
Also, in the same file, add the following code:
<script>
export default {
  name: 'About'
}
</script>
Adding Navigation With Vue Router
Start by installing the Vue router, if it’s not already installed, by running the following command from the root folder of your project:
npm install --save vue-router
Next, in src/main.js, add the following imports:
import  Router  from  'vue-router'
import  Home  from  './components/Home.vue'
import  About  from  './components/About.vue'
This imports the Vue router and the “Home” and “About” components.
Add this:
Vue.use(Router)
Create a Router instance with an array of routes:
const  router  =  new  Router({
routes: [
{
path:  '/',
name:  'Home',
component:  Home
},
{
path:  '/about',
name:  'About',
component:  About
}
]
})
Finally, tell Vue about the Router instance:
new  Vue({router,
render:  h  =>  h(App)
}).$mount('#app')
Now that we’ve set up routing, let’s add some buttons and methods to navigate between our two “Home” and “About” components.
Open src/components/Home.vue and add the following goToAbout() method:
...
export default {
  name: 'Home',
  methods: {
    goToAbout () {
      this.$router.push('about')
    },
In the template block, add a button to trigger the goToAbout() method:
<ion-button @click="goToAbout" full>Go to About</ion-button>
Now we need to add a button to go back to home when we are in the “About” component.
Open src/components/About.vue and add the goBackHome() method:
<script>
export default {
  name: 'About',
  methods: {
    goBackHome () {
      this.$router.push('/')
    }
  }
}
</script>
And, in the template block, add a button to trigger the goBackHome() method:
<ion-button @click="goBackHome()" full>Go Back!</ion-button>
When running the application on a real mobile device or emulator, you will notice a scaling issue. To solve this, we need to simply add some meta tags that correctly set the viewport.
In public/index.html, add the following code to the head of the page:
<meta name="viewport" content="width=device-width, initial-scale=1.0, minimum-scale=1.0, maximum-scale=1.0, user-scalable=no">
<meta name="format-detection" content="telephone=no">
<meta name="msapplication-tap-highlight" content="no">
Adding Capacitor
You can use Capacitor in two ways:
- Create a new Capacitor project from scratch.
- Add Capacitor to an existing front-end project.
In this tutorial, we’ll take the second approach, because we created a Vue project first, and now we’ll add Capacitor to our Vue project.
Integrating Capacitor With Vue
Capacitor is designed to be dropped into any modern JavaScript application. To add Capacitor to your Vue web application, you’ll need to follow a few steps.
First, install the Capacitor CLI and core packages from npm. Make sure you are in your Vue project, and run the following command:
$ cd vuecapacitordemo
$ npm install --save @capacitor/core @capacitor/cli
Next, initialize Capacitor with your app’s information by running the following command:
$ npx cap init
We are using npx to run Capacitor commands. npx is an utility that comes with npm v5.2.0 and that is designed to make it easy to run CLI utilities and executables hosted in the npm registry. For example, it allows developers to use locally installed executables without having to use the npm run scripts.
The init command of Capacitor CLI will also add the default native platforms for Capacitor, such as Android and iOS.
You will also get prompted to enter information about your application, such as the name, the application’s ID (which will be mainly used as a package name for the Android application) and the directory of your application.
After you’ve inputted the required details, Capacitor will be added to your Vue project.
You can also provide the application’s details in the command line:
$ npx cap init vuecapacitordemo com.example.vuecapacitordemo
The application’s name is vuecapacitordemo, and its ID is com.example.vuecapacitordemo. The package name must be a valid Java package name.
You should see a message saying, “Your Capacitor project is ready to go!”
You might also notice that a file named capacitor.config.json has been added to the root folder of your Vue project.
Just like the CLI suggests when we’ve initialized Capacitor in our Vue project, we can now add native platforms that we want to target. This will turn our web application into a native application for each platform that we add.
But just before adding a platform, we need to tell Capacitor where to look for the built files — that is, the dist folder of our Vue project. This folder will be created when you run the build command of the Vue application for the first time (npm run build), and it is located in the root folder of our Vue project.
We can do that by changing webDir in capacitor.config.json, which is the configuration file for Capacitor. So, simply replace www with dist. Here is the content of capacitor.config.json:
{
  "appId": "com.example.vuecapacitordemo",
  "appName": "vuecapacitordemo",
  "bundledWebRuntime": false,
  "webDir": "dist"
}
Now, let’s create the dist folder and build our Vue project by running the following command:
$ npm run build
After that, we can add the Android platform using the following:
npx cap add android
If you look in your project, you’ll find that an android native project has been added.
That’s all we need to integrate Capacitor and target Android. If you would like to target iOS or Electron, simply run npx cap add ios or npx cap add electron, respectively.
Using Capacitor Plugins
Capacitor provides a runtime that enables developers to use the three pillars of the web — HTML, CSS and JavaScript — to build applications that run natively on the web and on major desktop and mobile platforms. But it also provides a set of plugins to access native features of devices, such as the camera, without having to use the specific low-level code for each platform; the plugin does it for you and provides a normalized high-level API, for that matter.
Capacitor also provides an API that you can use to build custom plugins for the native features not covered by the set of official plugins provided by the Ionic team. You can learn how to create a plugin in the docs.
You can also find more details about available APIs and core plugins in the docs.
Example: Adding a Capacitor Plugin
Let’s see an example of using a Capacitor plugin in our application.
We’ll use the “Modals” plugin, which is used to show native modal windows for alerts, confirmations and input prompts, as well as action sheets.
Open src/components/Home.vue, and add the following import at the beginning of the script block:
import { Plugins } from '@capacitor/core';
This code imports the Plugins class from @capacitor/core.
Next, add the following method to show a dialog box:
…
  methods: {
    …
    async showDialogAlert(){
      await Plugins.Modals.alert({
          title: 'Alert',
          message: 'This is an example alert box'
      });
    }
Finally, add a button in the template block to trigger this method:
<ion-button @click="showDialogAlert" full>Show Alert Box</ion-button>
Here is a screenshot of the dialog box:
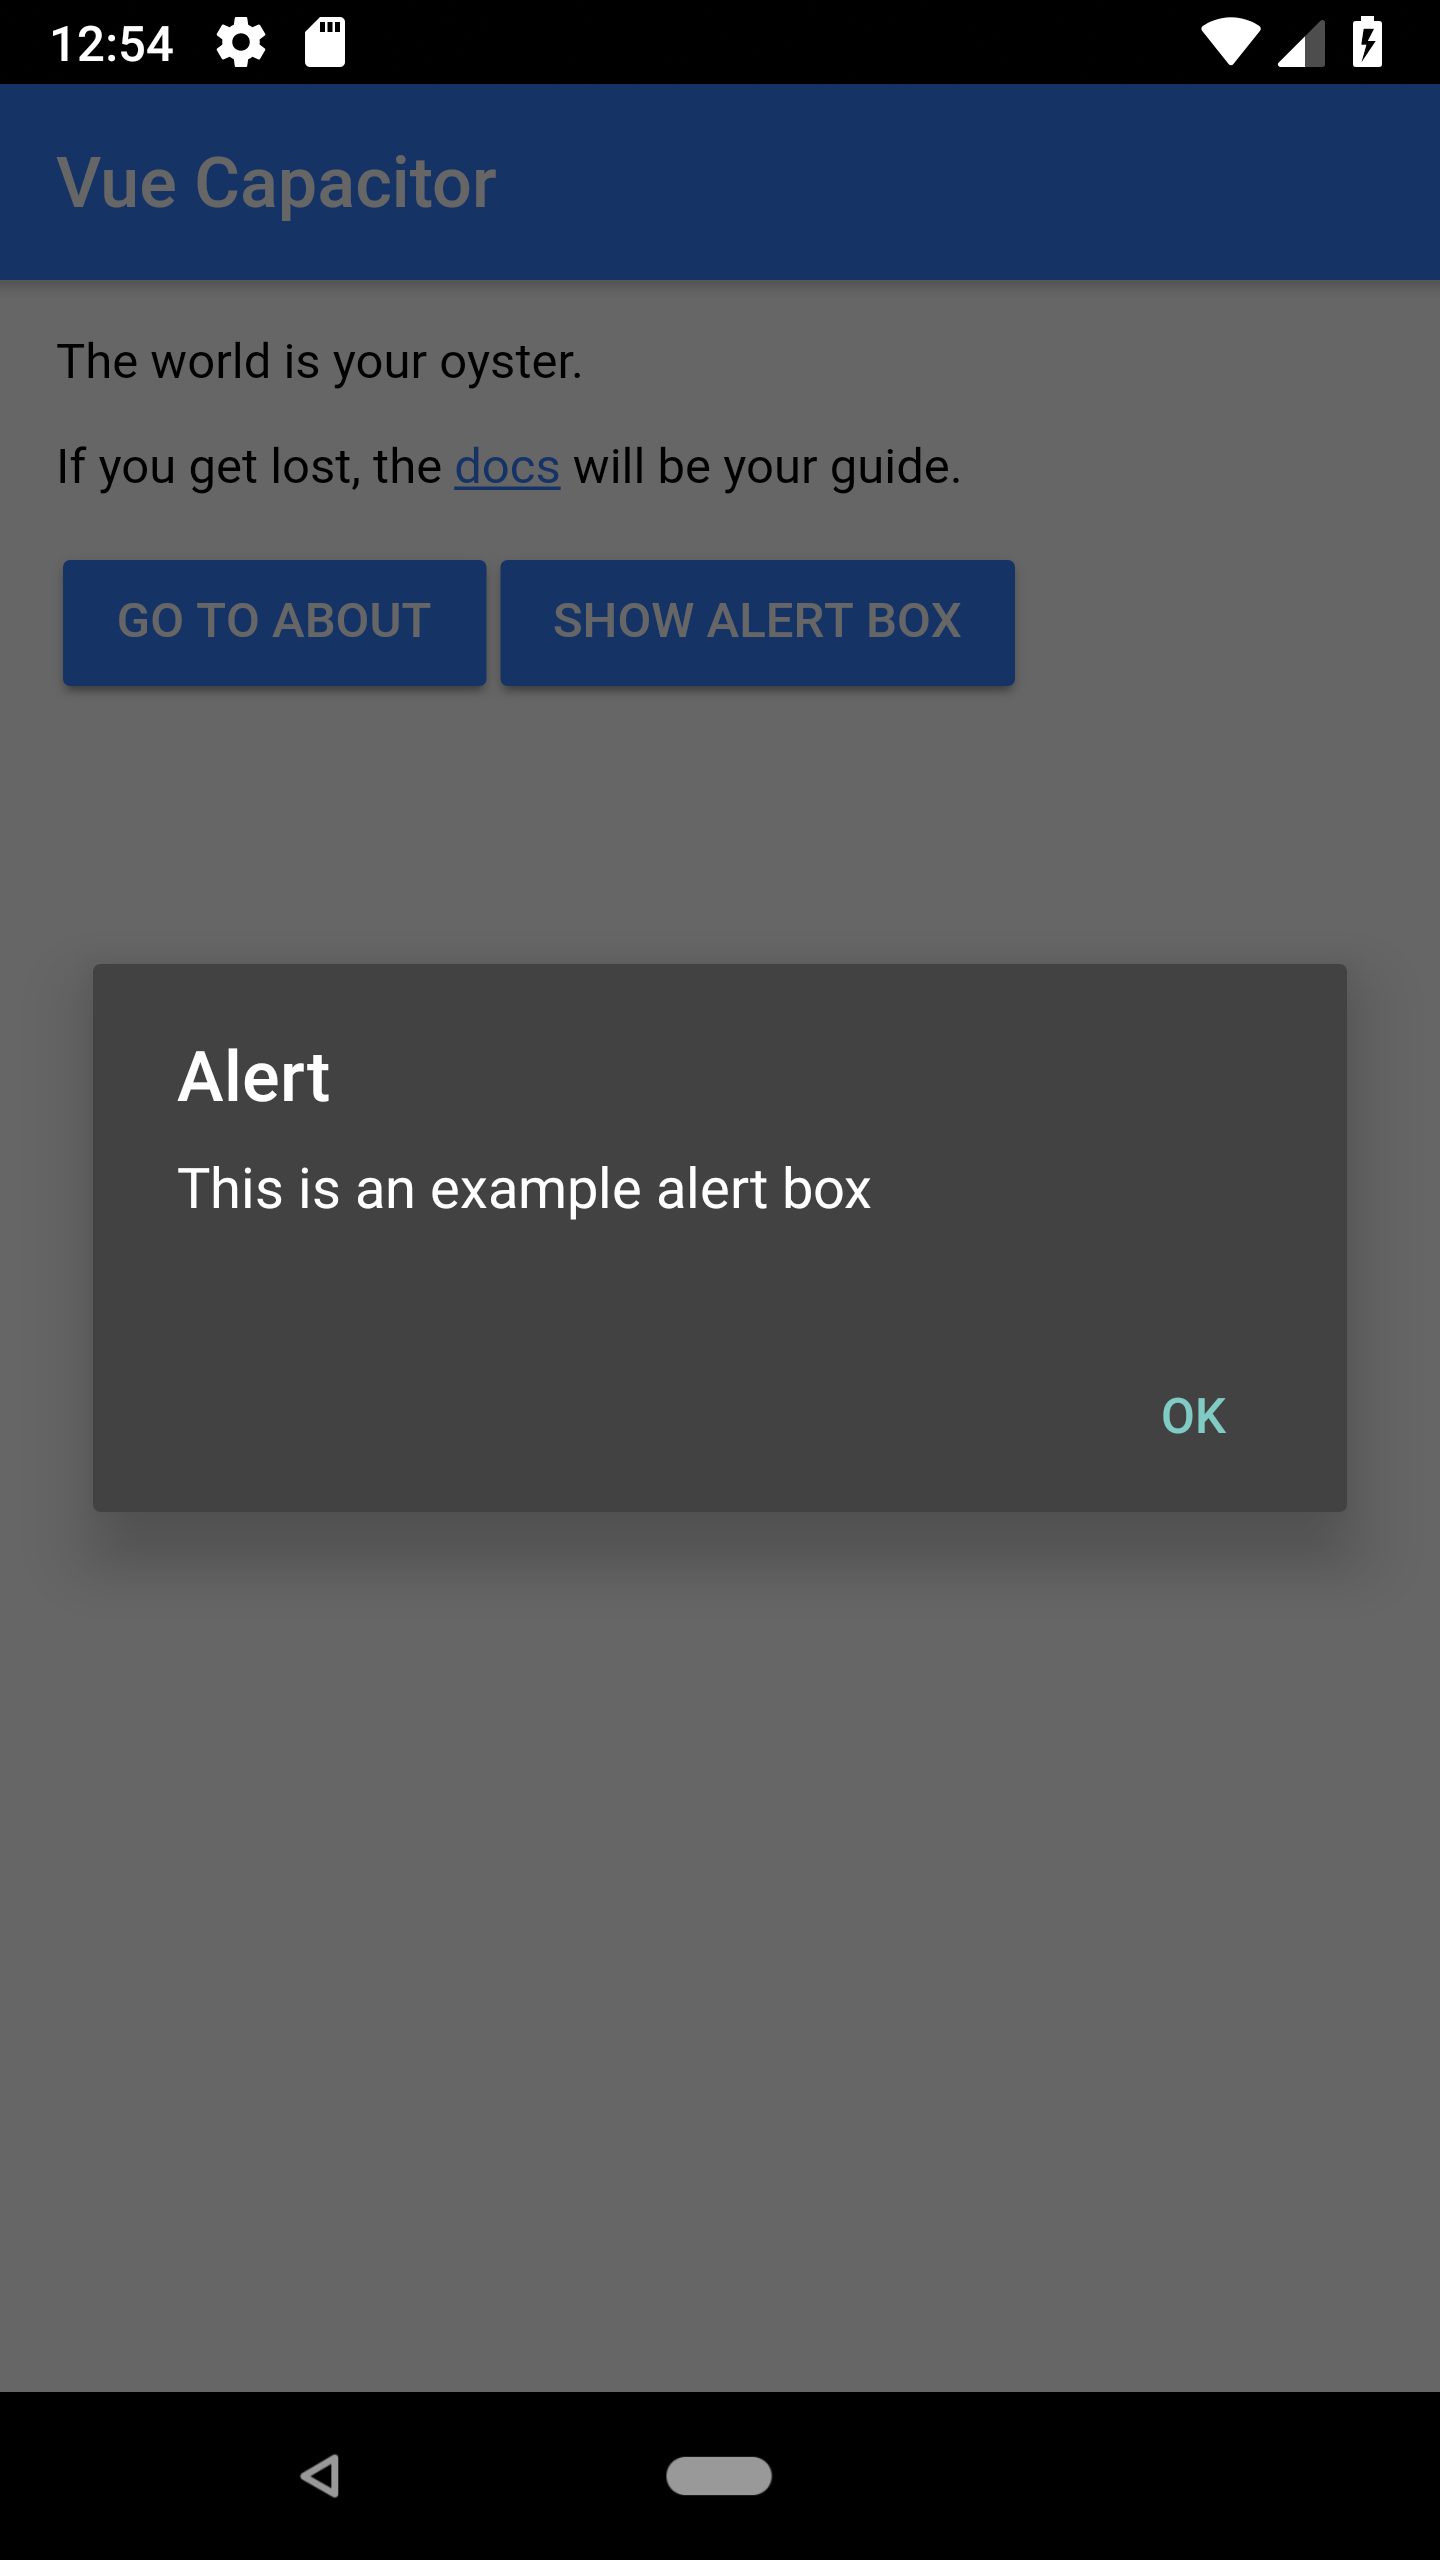
You can find more details in the docs.
Building the App for Target Platforms
In order to build your project and generate a native binary for your target platform, you’ll need to follow a few steps. Let’s first see them in a nutshell:
- Generate a production build of your Vue application.
- Copy all web assets into the native project (Android, in our example) generated by Capacitor.
- Open your Android project in Android Studio (or Xcode for iOS), and use the native integrated development environment (IDE) to build and run your application on a real device (if attached) or an emulator.
So, run the following command to create a production build:
$ npm run build
Next, use the copy command of the Capacitor CLI to copy the web assets to the native project:
$ npx cap copy
Finally, you can open your native project (Android, in our case) in the native IDE (Android Studio, in our case) using the open command of the Capacitor CLI:
$ npx cap open android
Either Android Studio will be opened with your project, or the folder that contains the native project files will be opened.

If that doesn’t open Android Studio, then simply open your IDE manually, go to “File” → “Open…”, then navigate to your project and open the android folder from within the IDE.
You can now use Android Studio to launch your app using an emulator or a real device.

Conclusion
In this tutorial, we’ve used Ionic Capacitor with Vue and Ionic 4 web components to create a mobile Android application with web technologies. You can find the source code of the demo application we’ve created throughout this tutorial in the GitHub repository.
Source: Smashingmagazine.com