As a web UI developer and designer, there are countless things to learn and only so many hours in the day. There are topics I’ve purposefully avoided, like mobile and offline application development because, at some point, you have to draw a line somewhere in the millions of shiny new topics and get some work done. One of the areas I’ve avoided in the past is browser extension development. I didn’t understand how they worked, what the development environment was, or how permissions interacted with overriding pages because, frankly, I didn’t think I was interested.
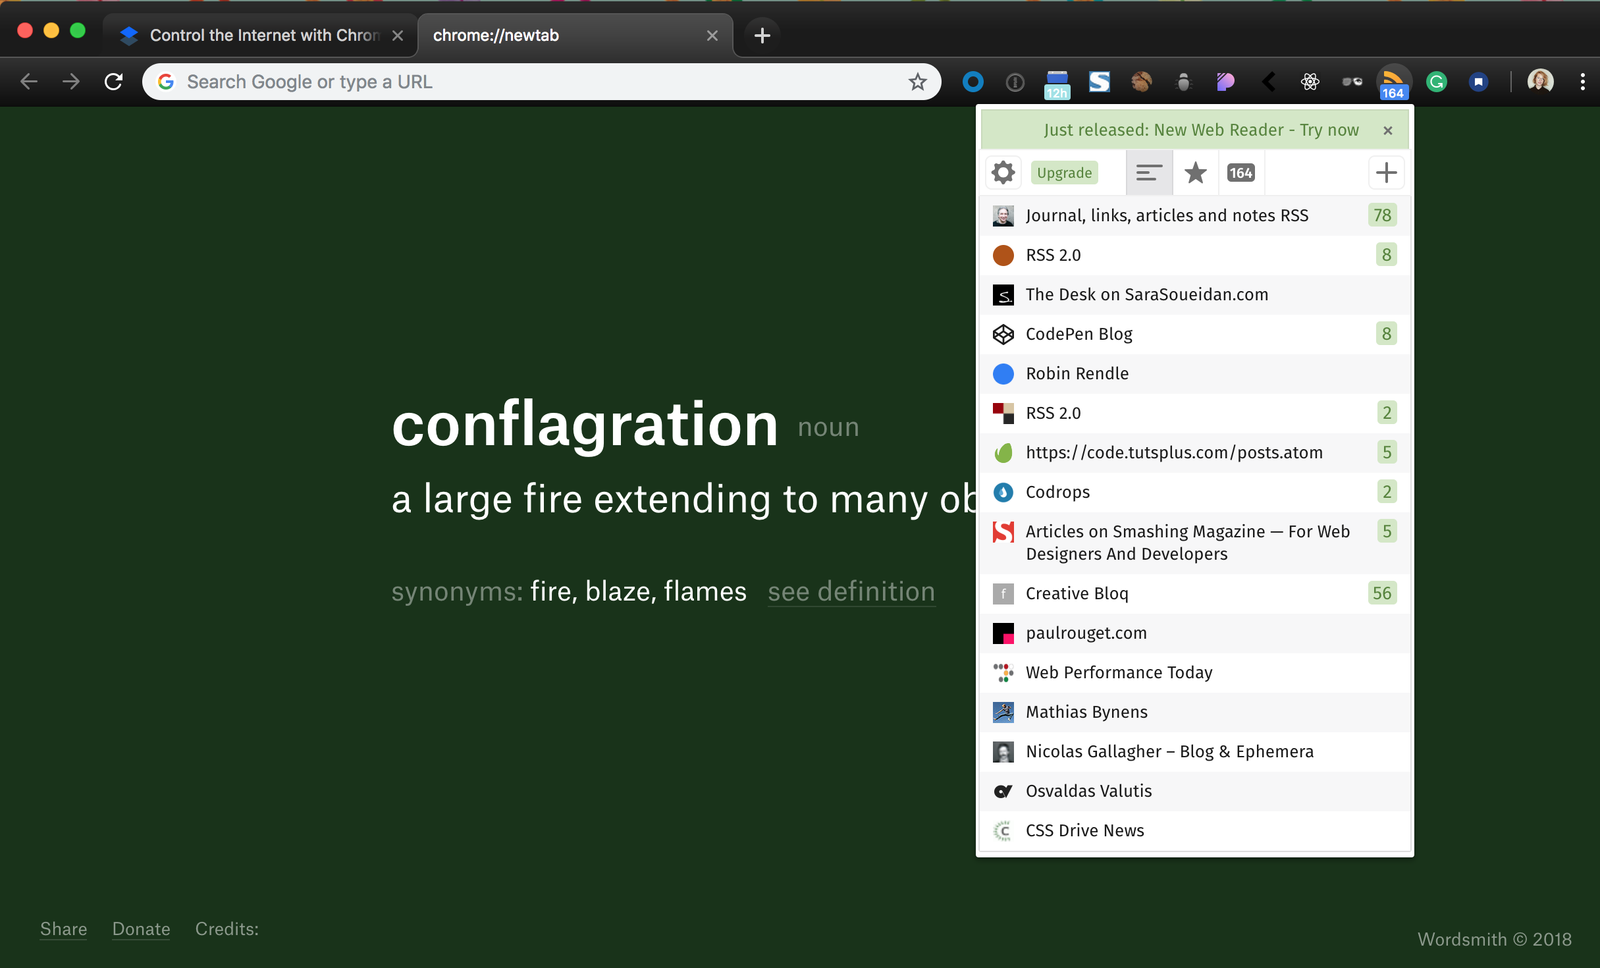
Then one day, my very talented designer/developer friend Natalie Schoch asked me to get her Chrome Extension across the finish line. She had the front-end prototyped, but needed some help plugging in the data set and with interactive JavaScript. The project is called Wordsmith and it’s out now at the Chrome Extension Store. It’s a free and aesthetically pleasing way to learn new vocabulary as you browse the web. The extension surfaces a new vocabulary word, along with its definition and synonyms in each new tab.
Anyway, enough plugging the new thing we made and on to the fun of figuring out Chrome Extensions!

First, what is a Chrome Extension anyway? According to the Chrome developer docs:
Extensions are event based programs used to modify or enhance the Chrome browsing experience. They enable users to tailor Chrome functionality and behavior to individual needs or preferences. They are built on web technologies such as HTML, JavaScript, and CSS.
(Emphasis mine)
Basically, a Chrome Extension is a one-trick pony tool built on top of the normal browsing experience to override a focused set of interactions.
Getting a bare-bones extension up and running
The Chrome docs are mostly straightforward but can get overly complicated for a beginner. The first thing you need to make in your local project directory is a manifest.json file. This file functions as the command center for your extension. This is where you will tell Chrome what files it should be paying attention to and what type of extension logic you are using.
{
  “manifest_version”: 2, // Just use 2, it's the stable version you want
  “name”: “Wordsmith”,  // The name of your extension!
  “description”: “New tab? New word!”,  // The description of your extension!
  “author”: “Natalie Schoch and Lindsay Grizzard”, // Who you are
  “chrome_url_overrides” : {
    “newtab”: “newtab.html”
  }
}
Let’s talk about that chrome_url_overrides bit. This is telling Chrome, “Hey, that thing you would normally load (in this case) in a new tab, load this cool thing I made instead.” I recommend starting with a new tab Chrome extension because it is the quickest way to see that you are getting this little extension thing to work. You could also override history or bookmarks, but I’ll let you explore that on your own.
Now we can create a new file called newtab.html:
<!DOCTYPE HTML>
<html>
<body>
  <h1> Hey there world </h1>
</body>
</html>
Great! Now all you have to do is load this into Chrome’s extension developer system to see your beautiful work. To get this up and running, load your project into Chrome’s developer mode with the following steps:
- Go to
chrome://extensions - Turn on “Developer Mode” in the top right
- Click “Load Unpacked”
- Load the directory containing your
manifest.jsonandnewtab.htmlfiles - Open a new tab!
You should see this magic:

You just built a Chrome Extension. Congrats! At this point, you can go on your own adventure and make any static design for a new tab. You can write CSS as you normally would (set up SCSS compiling, script tags, inline if you are a monster, etc…), and create new static things.
The most important thing to remember when changing the manifest.json file or JS files is that you must go back into chrome://extensions and hit the reload icon for your extension. It will not update from your local development automatically and your changes will not be reflected without this step. This confused the heck out of me.

Now let’s talk about JavaScript
There are two types of script files in Chrome Extensions: content scripts and background scripts.
Background scripts are used for handling central application tasks. They can act like a controller for your application, staying dormant until an event fires and unloading after the event completes. Use background scripts when you want to control the core logic of your application or listen for interactions that are outside of the page’s DOM. An example would be clicking your Chrome extension’s icon in the top right of the toolbar. That isn’t part of the page-specific DOM. If you want to manipulate things outside of the sandboxed page you are on, you will need background scripts.

As a note, these rely on the Chrome API and are a bit more advanced. In Wordsmith, I decided to forgo background scripts completely as we only needed DOM-specific UI. I found background scripts particularly tricky and got the most help from Daniel Shiffman’s video tutorial. In fact, his whole tutorial series is a lovely introduction to extension development.
Content scripts execute JavaScript in the context of a specific webpage and in isolation. This means each script can access the current DOM and manipulate it, but the DOM and its scripts, cannot manipulate the Chrome extension in return. Content scripts have limited Chrome API access and exist to work in single, isolated instances. This secures extension information and halts library conflicts.
Cool, but what does all that actually mean? It says two things. You can use content scripts to perform regular browser JavaScript, as you would in a simple web application. The isolation definition means your extension’s JavaScript is in it’s own universe, separate from any webpage’s JavaScript. This keeps things like API secret keys private from page scripts. It also let’s you use any version of a JavaScript library in your extension without worrying about conflicting versions on a given webpage.
The practical difference in using content scripts is how they are loaded. Instead of linking directly to the file in HTML, use the manifest.json file to indicate the scripts you would like to call.
{
  “manifest_version”: 2,
  “name”: “Wordsmith”,
  “description”: “New tab? New word!”
  “author”: “Natalie Schoch and Lindsay Grizzard”,
   “chrome_url_overrides” : {
     “newtab”: “newtab.html”
  },
  "content_scripts": [
    {
     "matches": [
       "<all_urls>" //see all match pattern options in the chrome docs
     ],
     "js": ["[your-path-to]/jquery.min.js","[your-path-to]/scripts.js"]
    }
  ]
 }
This new content script command in the manifest.json file tells Chrome a few things. It tells Chrome where you want that file to run with the “matches” statement. Do you want it to load on every single Chrome page? Are you making an extension that should only affect certain pages? To specify this, add the appropriate URL match pattern to tell Chrome what to pay attention to. It also tells the manifest file where to find your content scripts and in what order to execute them.
When changing the manifest.json file or JavaScript files is that you must go back into chrome://extensions and hit the reload icon for your extension.
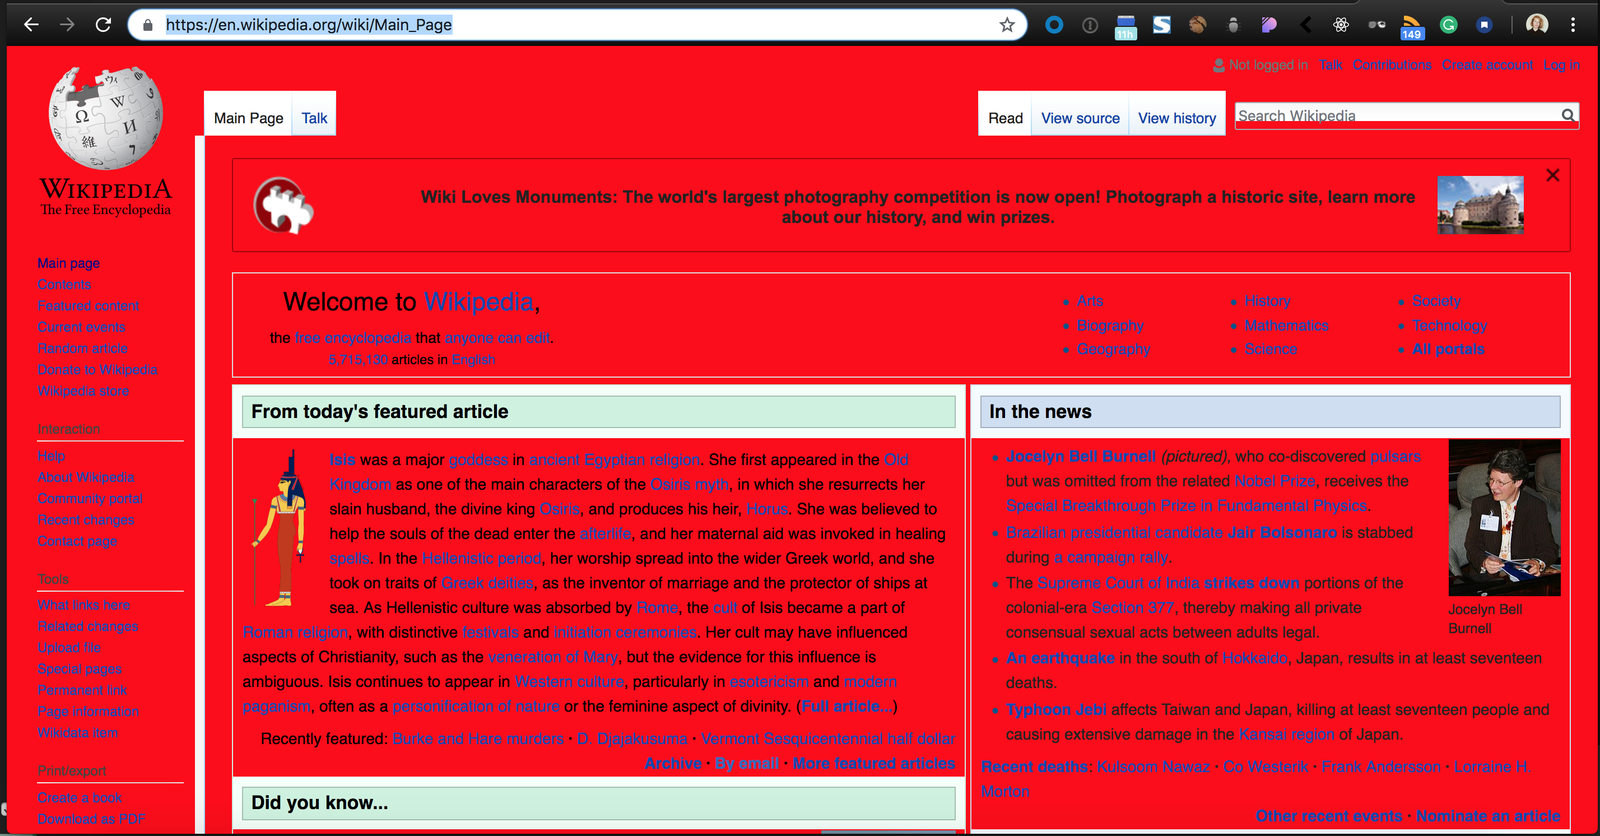
Add a console.log() to your new script file, reload your extension, navigate to any URL, and you will see your console message. Seeing the console log tells you that you now have access to the DOM and can start manipulating it. CHROME EXTENSIONS ARE SO COOL. You have the power to play around with the front-end of the internet without needing source code or a complex dev environment. Now let’s have some fun by making all the divs on a page red!
$('div').css('background-color','red');
Now, go to another website. Everything is awful and red, but you have so much power! You can manipulate any webpage to do your bidding. Go forth and mold the design of the internet into something better (or worse) for yourself or others!
That’s basically everything you need to know to get started with Chrome Extensions. Although the documentation can be a little foreign at first, start with a simple static new tab extension and iterate from there!
Happy manifest(.json)ing!
Check out Wordsmith’s GitHub repo to see how we built out our first Chrome Extension and feel free to fork and let us know about bugs!
The post Control the Internet With Chrome Extensions! appeared first on CSS-Tricks.
Source: CSS-tricks.com