If you pay attention in the developer community, you probably know that Microsoft bought Github over the summer in 2018. With a massive company like Microsoft buying the world’s most popular open source software developer platform, many people had questions and concerns regarding the impact this would have.
Just recently, a piece of that puzzle became clearer… there will be tighter integration between Microsoft products and Github.
Microsoft/Github released a new extension for Visual Studio Code called Github Pull Requests.
The name of the extension pretty clearly explains what it does, but to be clear, this extensions allows developers to handle pull requests right in Visual Studio Code without having to navigate to Github’s website. That said, let’s take a look at the extension and how it works!
TL,DR
- Install the extension
- Login and refresh pull requests
- Open pull request details and respond appropriately (comment, approve, etc.)
Create a Github Project
To be able to demo handling pull requests, I’ll be using two different Github accounts that I own. I’ll refer to these as Primary and Secondary Github accounts. To get started, I’m going to create a dummy project called Github Pull Test on one account.

Here’s the created project.

From here, I’m going to switch over to my other Github account to create a pull request.
Create a Pull Request
If you’re new to the idea of creating pull requests and forking, you can use Github documentation on pull requests or forking for reference. Basically, what I’ll do is fork the project first. This will create a repository in my secondary Github account that is a copy of the project from the first. I’ll make a change, then I’ll create a Pull Request to try and get my changes merged into the primary Github user’s repository.
I’ll start by forking the project.
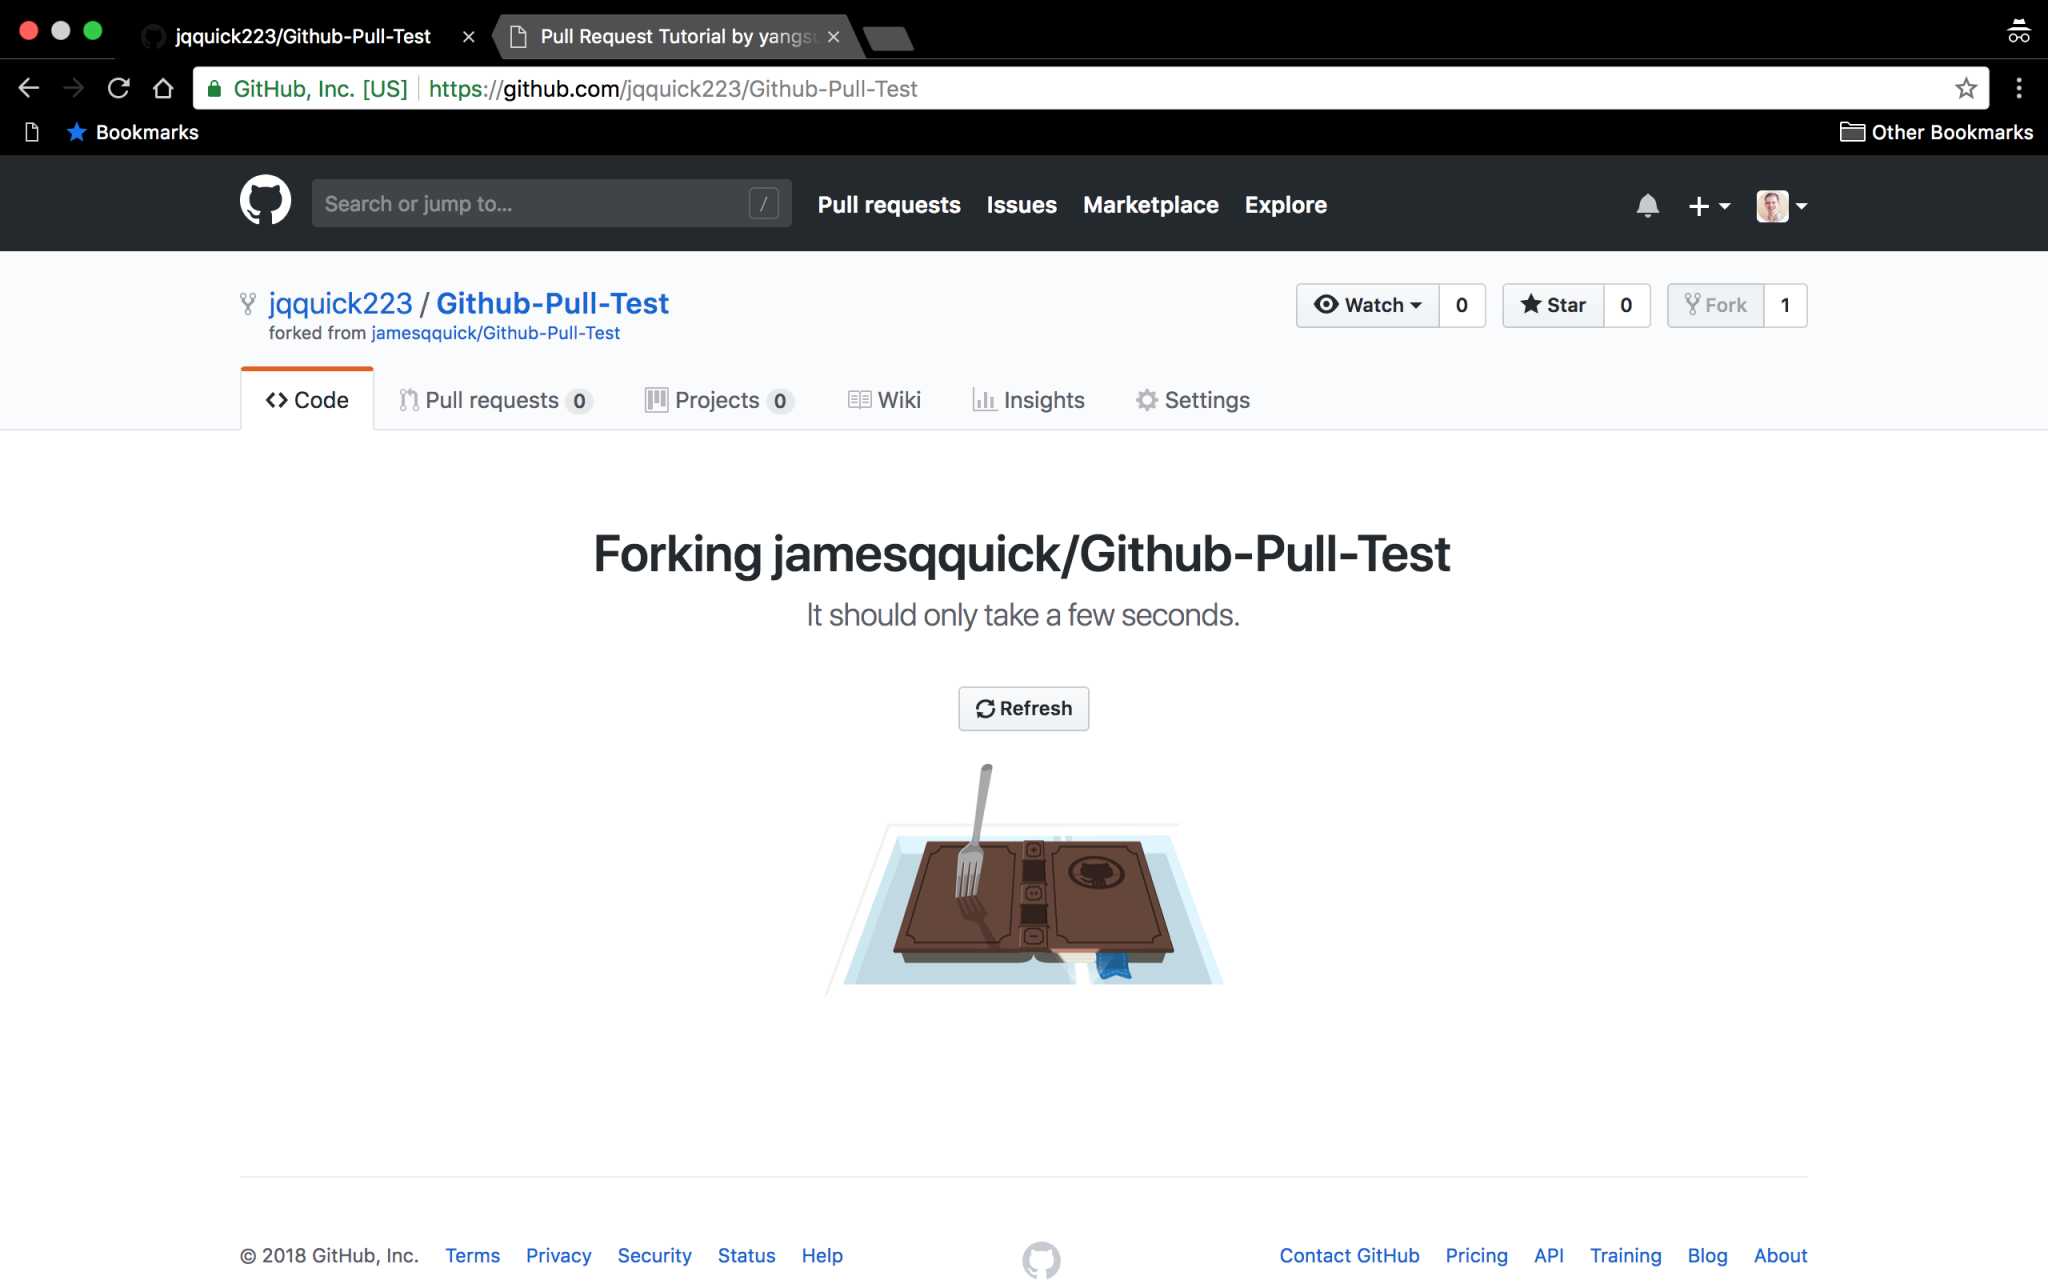
Now I need to make a change. I’m simply going to make a change to the ReadMe file. For something this simple, I’m going to make the change directly in Github for the secondary Github user.
Here, I’ve just updated the ReadMe to fix one spelling issue and add a link to the Github Pull Request extension.

Then, I’ll commit those changes directly to master branch for the secondary user.

Now, to actually create the Pull Request. I navigate back to the repository under the primary account and click on the Pull Requests tab. Here, I’ll click on “New Pull Request”.

It now asks me which branches I want to compare and use in my Pull Requests. I actually want to compare from a forked repository so I’ll click “compare across forks”.

Now, I can compare the master branch of the primary and secondary accounts.
Notice that it shows me a diff of what has changed in the README.md file. Everything looks good, so I’ll scroll down and click “Create Pull Request”.

To recap, I created to the initial project for the primary account. Then, I forked that project with my secondary account which created a copy of the repository. I then made changes to the secondary repository and commited those changes. Lastly, I created a pull request from the secondary fork.
Install Github Pull Requests Extension
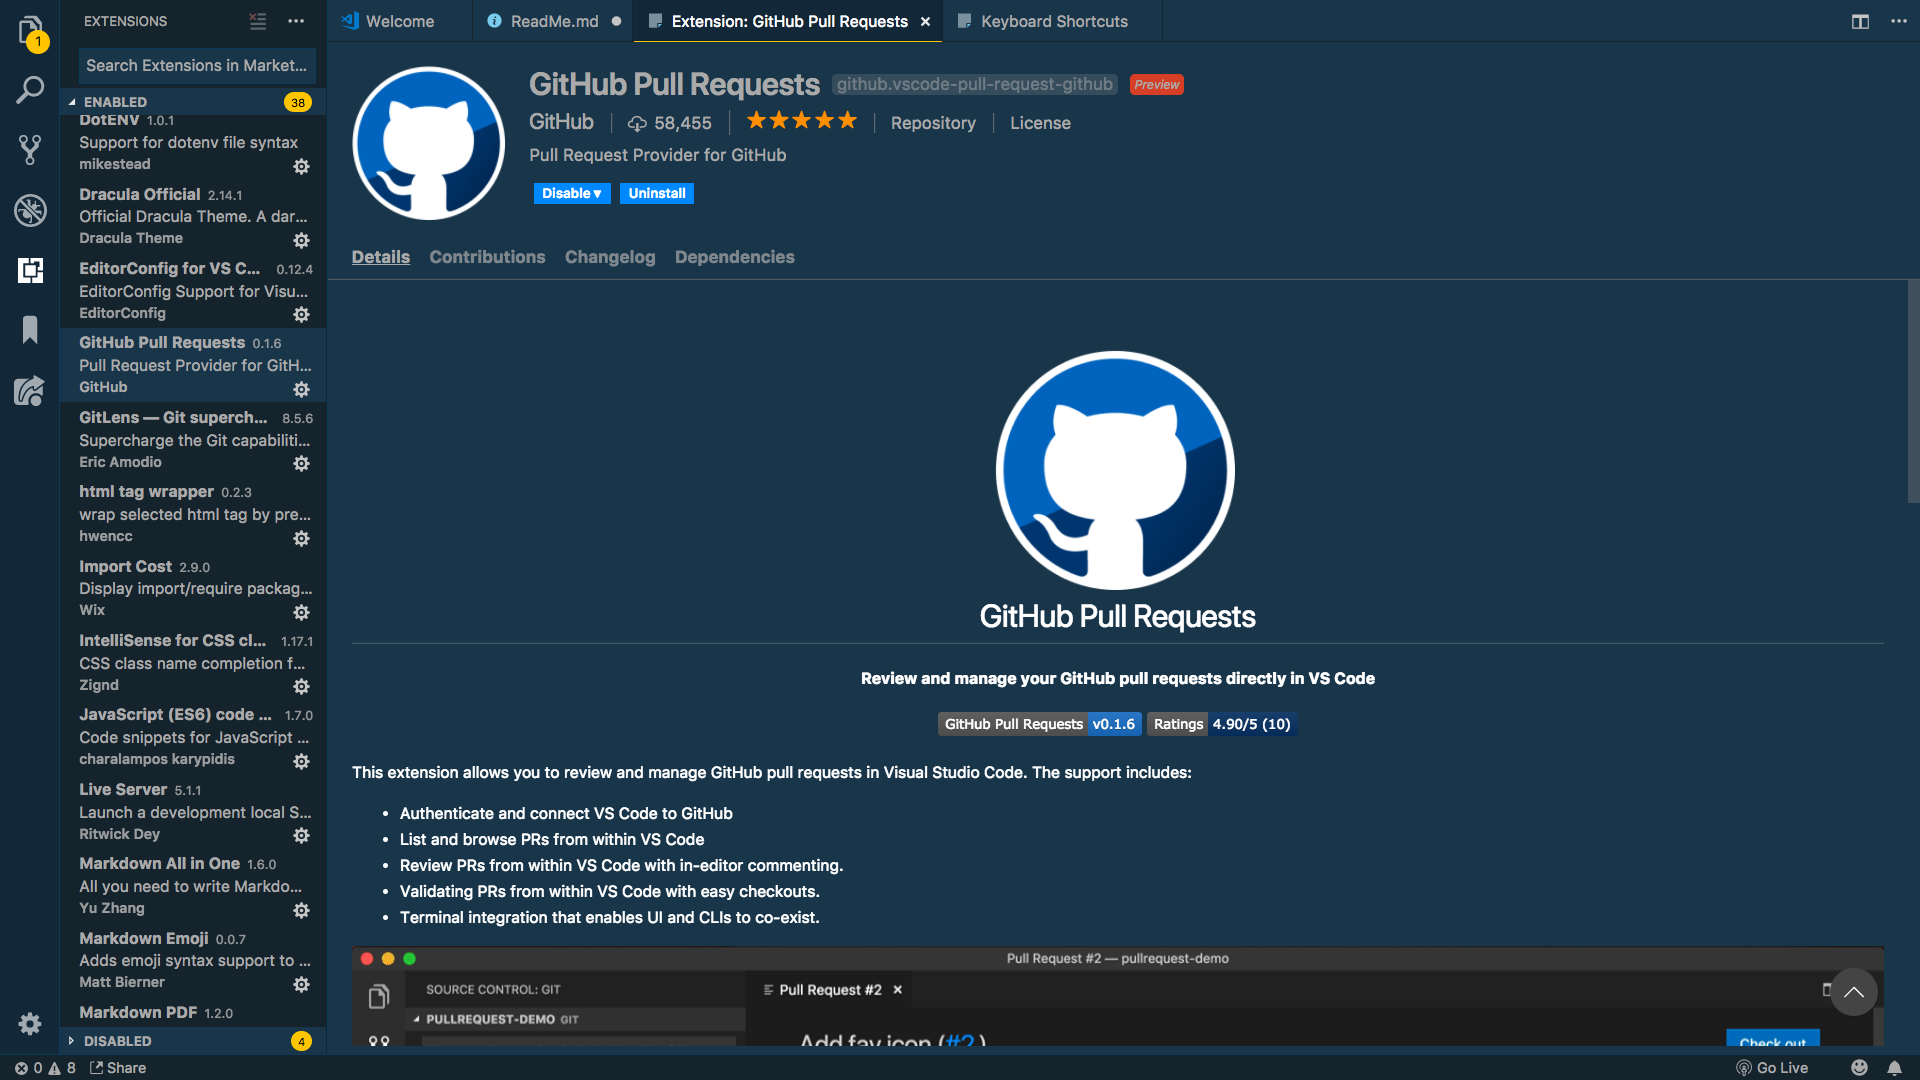
Now for the good stuff. To use the Github Requests Extension, you’ll first need to install it!
Inside of the extensions pane in VS Code, search for the extension and install it.
With the extension installed, I can now login to my Github account. To do this, open the Command Palette (control/command + shift + p) and type “Github Pull Requests: Sign in to Github”. Then, follow the login flow.

For the demo, I also need to clone the original repository. In most scenarios, this is probably something you already have a copy of locally. I’ll open the Command Palette and find “Git: Clone” and enter the clone URL of the repository. This will bring down the repository locally in VS Code.

Here it is.

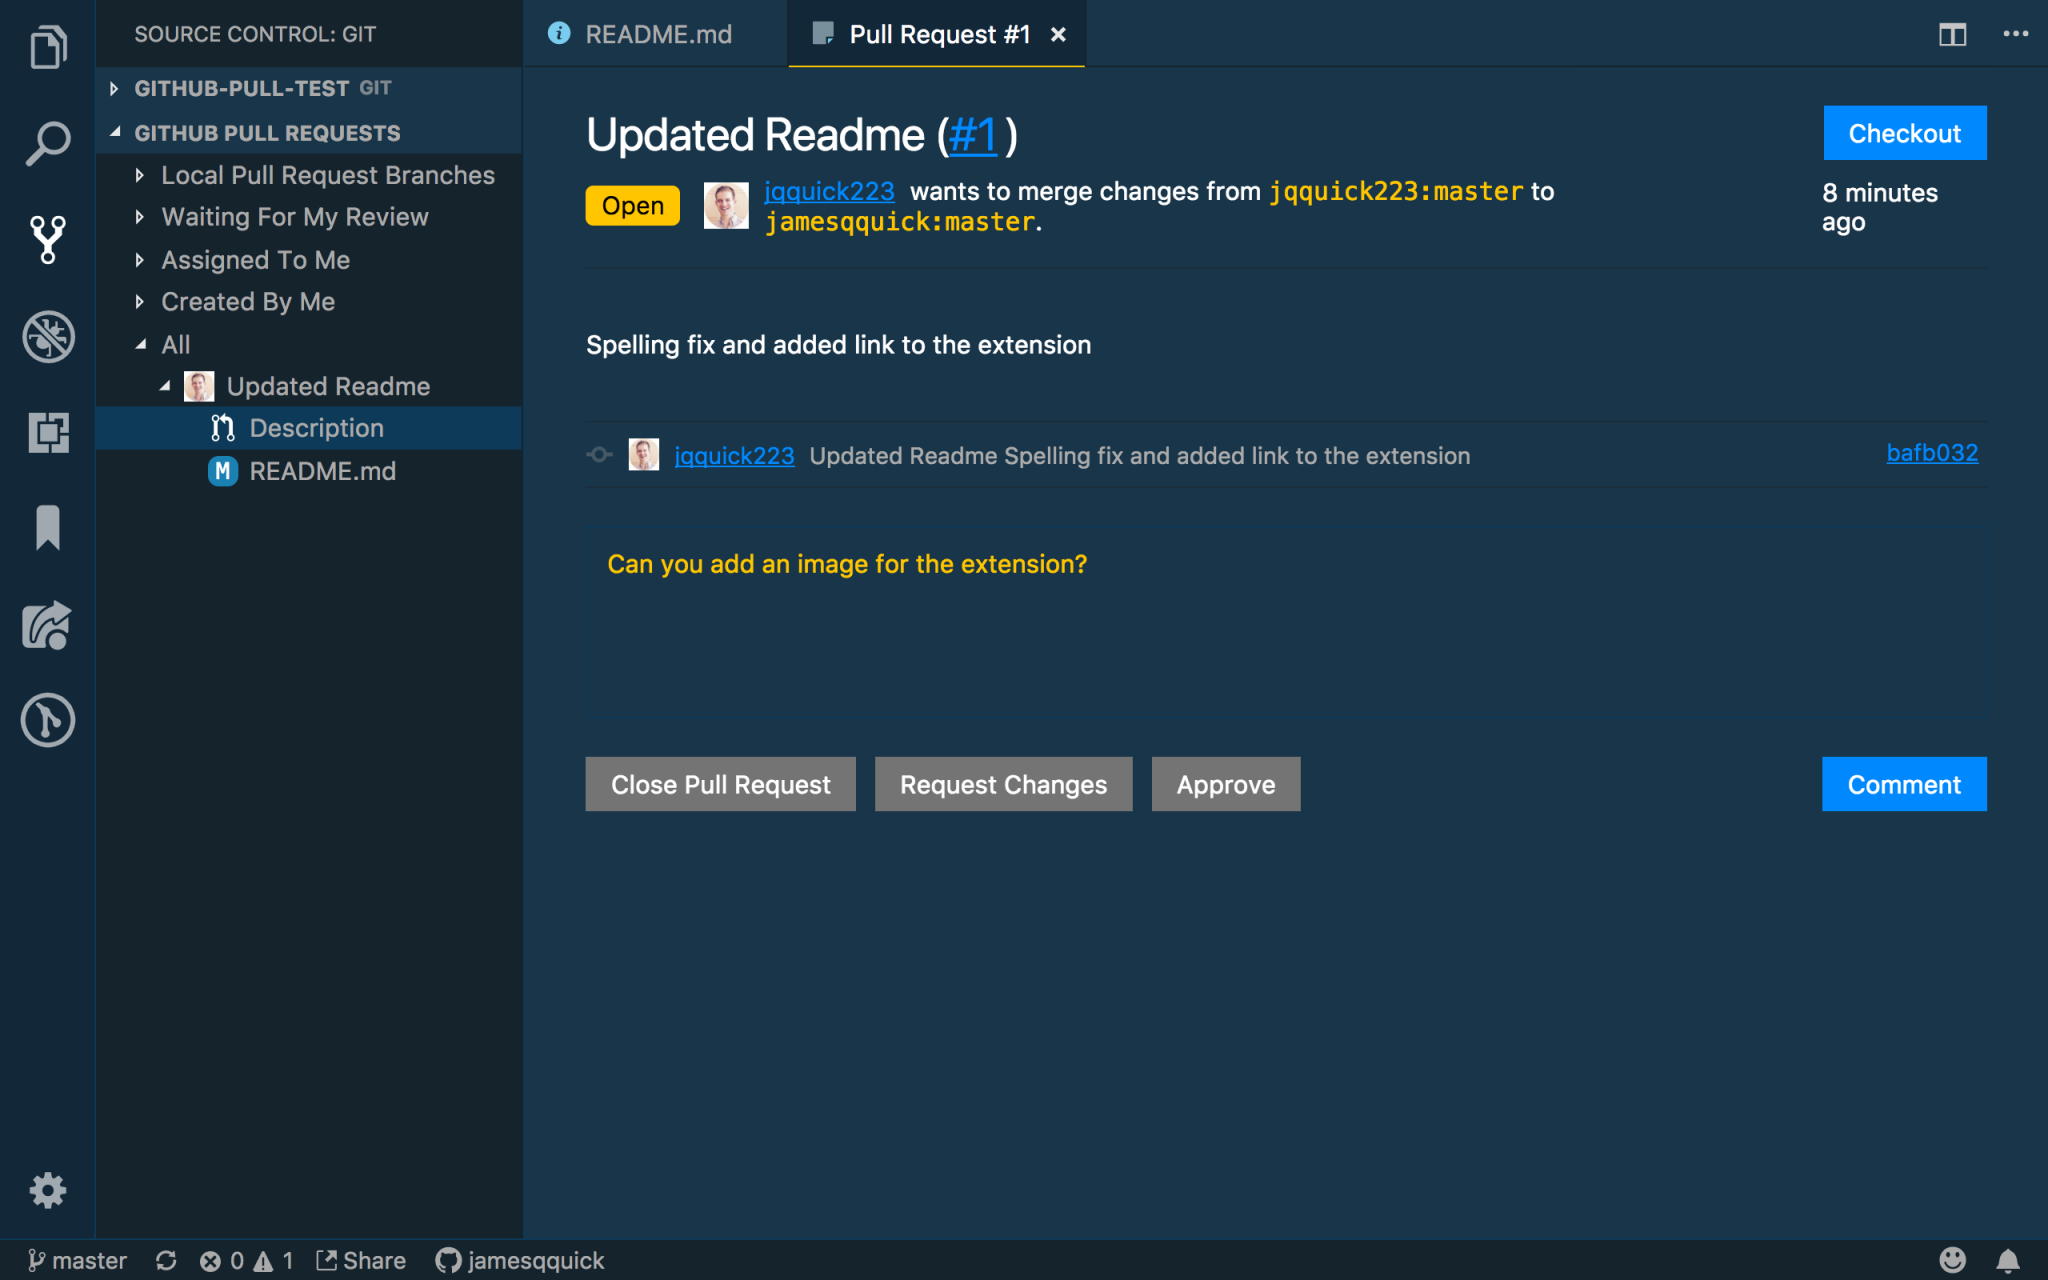
With the project open and the extension installed, if you navigate to the Source Control pane, you should notice a new section called “Github Pull Requests”. This provides a list of…yep, you guessed… the pending Pull Requests that are open on the repository. If I look under the “all” category, I see the one that was created by the secondary user. Clicking on the “description” line will open up the details of the Pull Request.

In this view, you get most of the details that you could need. You can see who issues the Pull Request, what the commits were, etc. Also, in the top right, you see a “Checkout” button which allows us to check out the code from the Pull Request locally to inspect it…pretty cool! We’ll come back to this shortly.
For now, I’m going to leave a comment asking the other user to add an image for the extension. Adding comments is as easy as typing it in and pressing the “Comment” button.
So, with the secondary account, I’ll go add an image.

And then commit the change. If I return to the Pull Request, I can see the new commit shows up, “Updated readme with image”.

And I can leave a comment for the primary account letting them know I made the requested change.

Back in VS Code, if I refresh the pull requests, I can see the new commit has been picked up. As the reviewer of a Pull Request, I can now click on the READMe.md file listed with the Pull Request in the Pull Request dropdown to view a diff of what has changed.

Alternatively, I could use the “Checkout” button mentioned above to view the code coming in from the Pull Request. After clicking “Checkout” button, the code I have in VS Code is updated to the branch that is attempting to be merged.

When I’m done reviewing, I can click the “Exit Review Mode” button in the Pull Request tab to revert back to my local code. I’ll leave a comment saying everything looks good.

Then, I’ll click the “Approve” button. To prove this worked, I’ll open the Pull Request in Github.

and… it says approved!

Lastly, I can merge those changes into my repository!

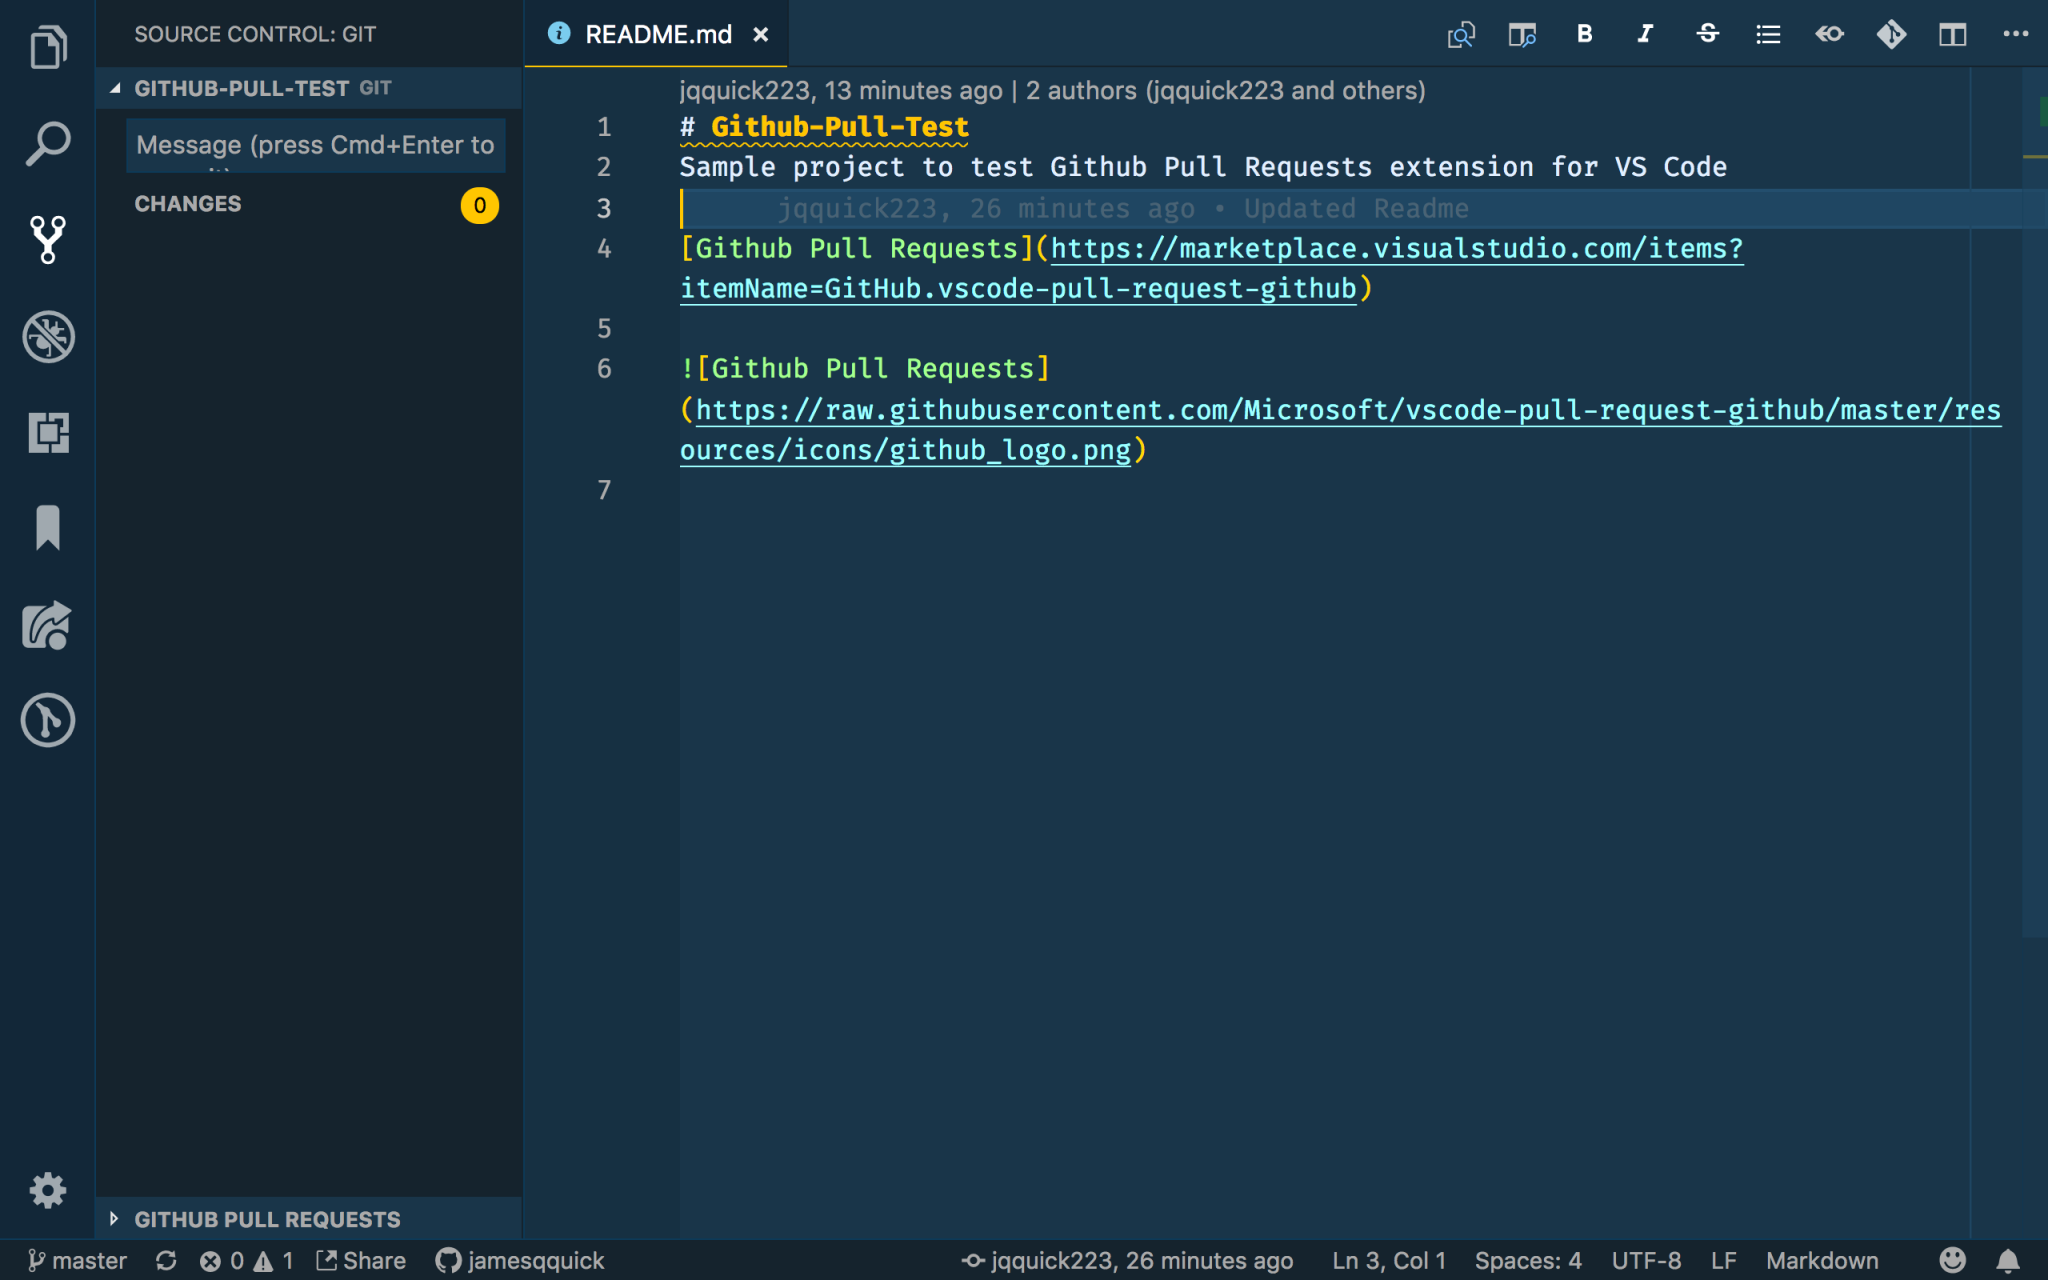
To verify the merge took successfully, I can do a pull in VS Code to get the latest code.

and it looks GREAT!
Recap
Whew, with this new extension, we are able to inspect, request changes, and approve Pull Requests right inside of Visual Studio Code. With Microsoft and Github now becoming one, I think we are going to see more and more integration like this. Expect more to come in the future, but for now, download the extension, give it a try, and let me know what you think!
As always, if you have any questions, comments, or concerns, feel free to reach out on twitter at @jamesqquick!
Resources
Source: Scotch.io