Recently, Netlify has become one of the hotter topics in Web Development. They are loved in the community and just received millions of dollars of funding to continue making their product better. If you aren’t familiar, Netlify is a web host with particular support Static Sites (think Gatsby.js, Next.js, etc.) as well as other incredible features like serverless (lambda) functions, free https certs, and more! In this article, we are going to walk through the steps to deploy a Gatsby app to Netlify.
TLDR
- Create a Github Repository
- Create Gatsby App with Gatsby CLI
- Push App to Github
- Create New Site in Netlify and Connect to Github Repository
Create GitHub Repository
To deploy to Netlify, the easiest way is to set up Continuous Deployment by connecting to an existing repository in GitHub, Gitlab, or Bitbucket. Since Github is the most popular in the open source community, that’s what I’m going to use, but either option is fine. Obviously, the first part is to create the GitHub repository for our Gatsby app.

After the repo is created, you’ll see instructions on how to connect an existing app to the repo. We will use the steps in a minute, so you might keep this page open for reference.

Creating Your First Gatsby App
Since this article is not specifically focused on building Gatsby apps, we are going to use a generator/scaffolding tool to generate a starter app. For this we will use the gatsby-cli package from NPM by installing it globally.
npm install -g gatsby-cli
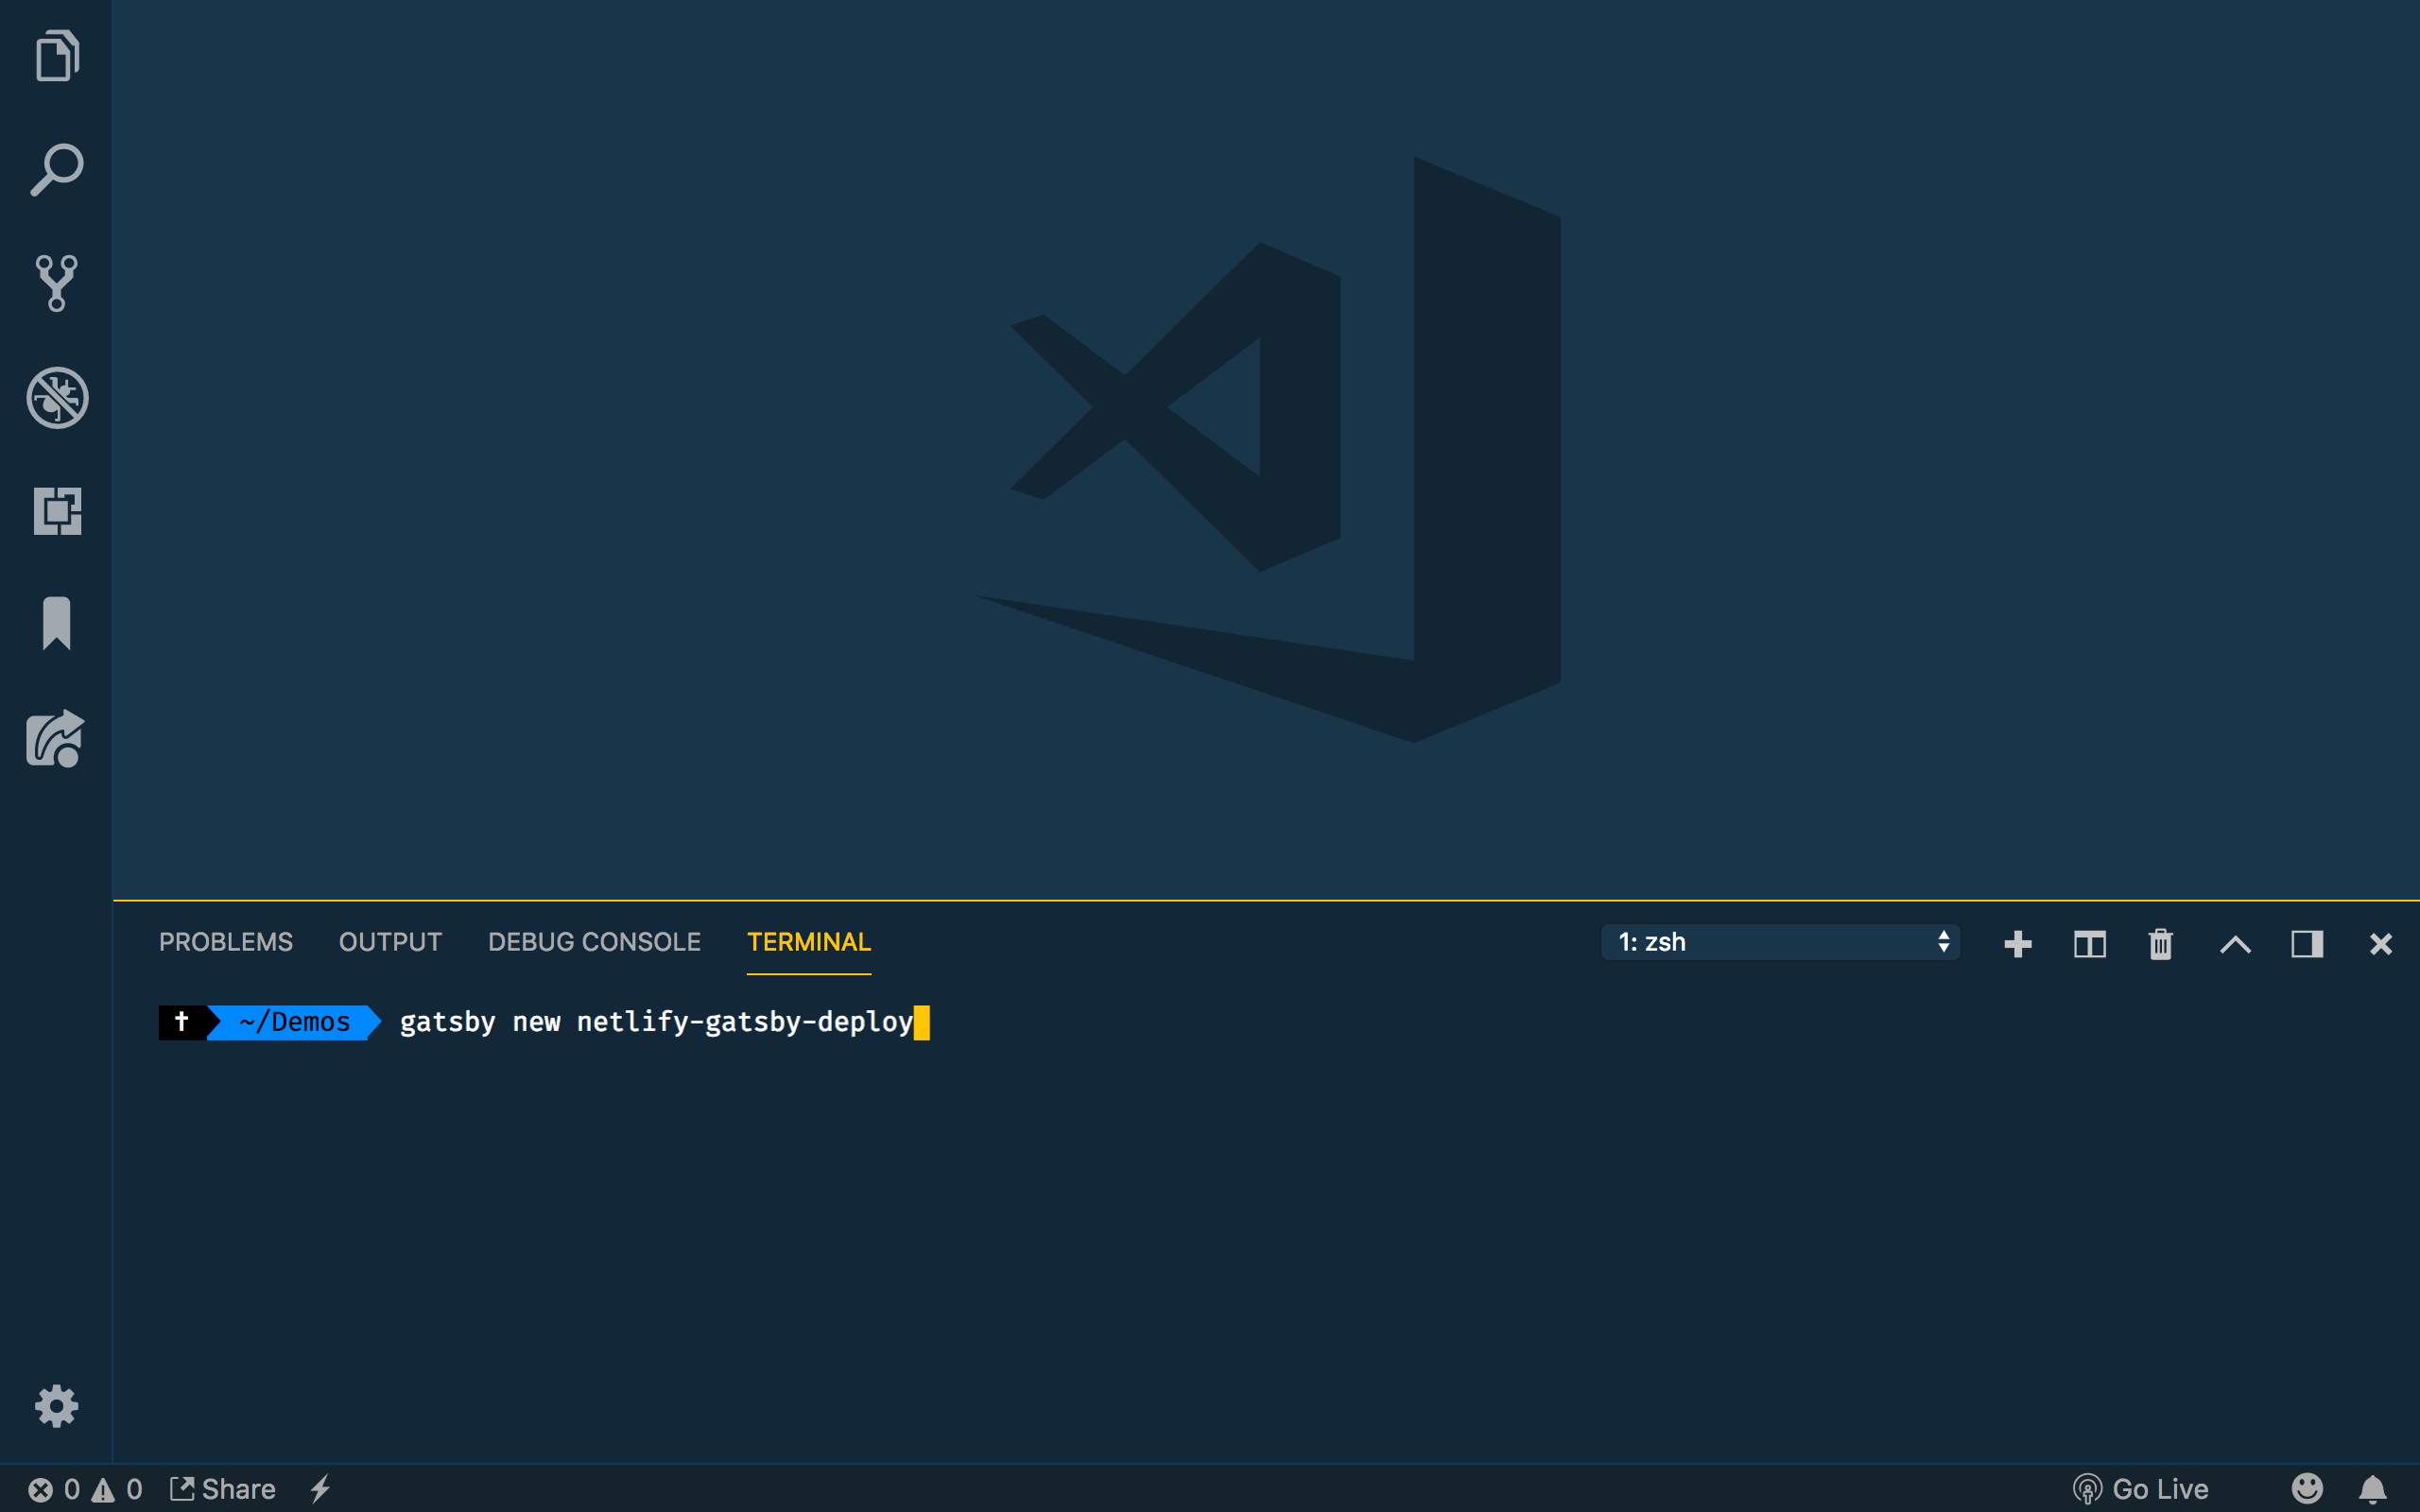
From here, you can generate the starter app with the following command.
gatsby-cli new <app_name>
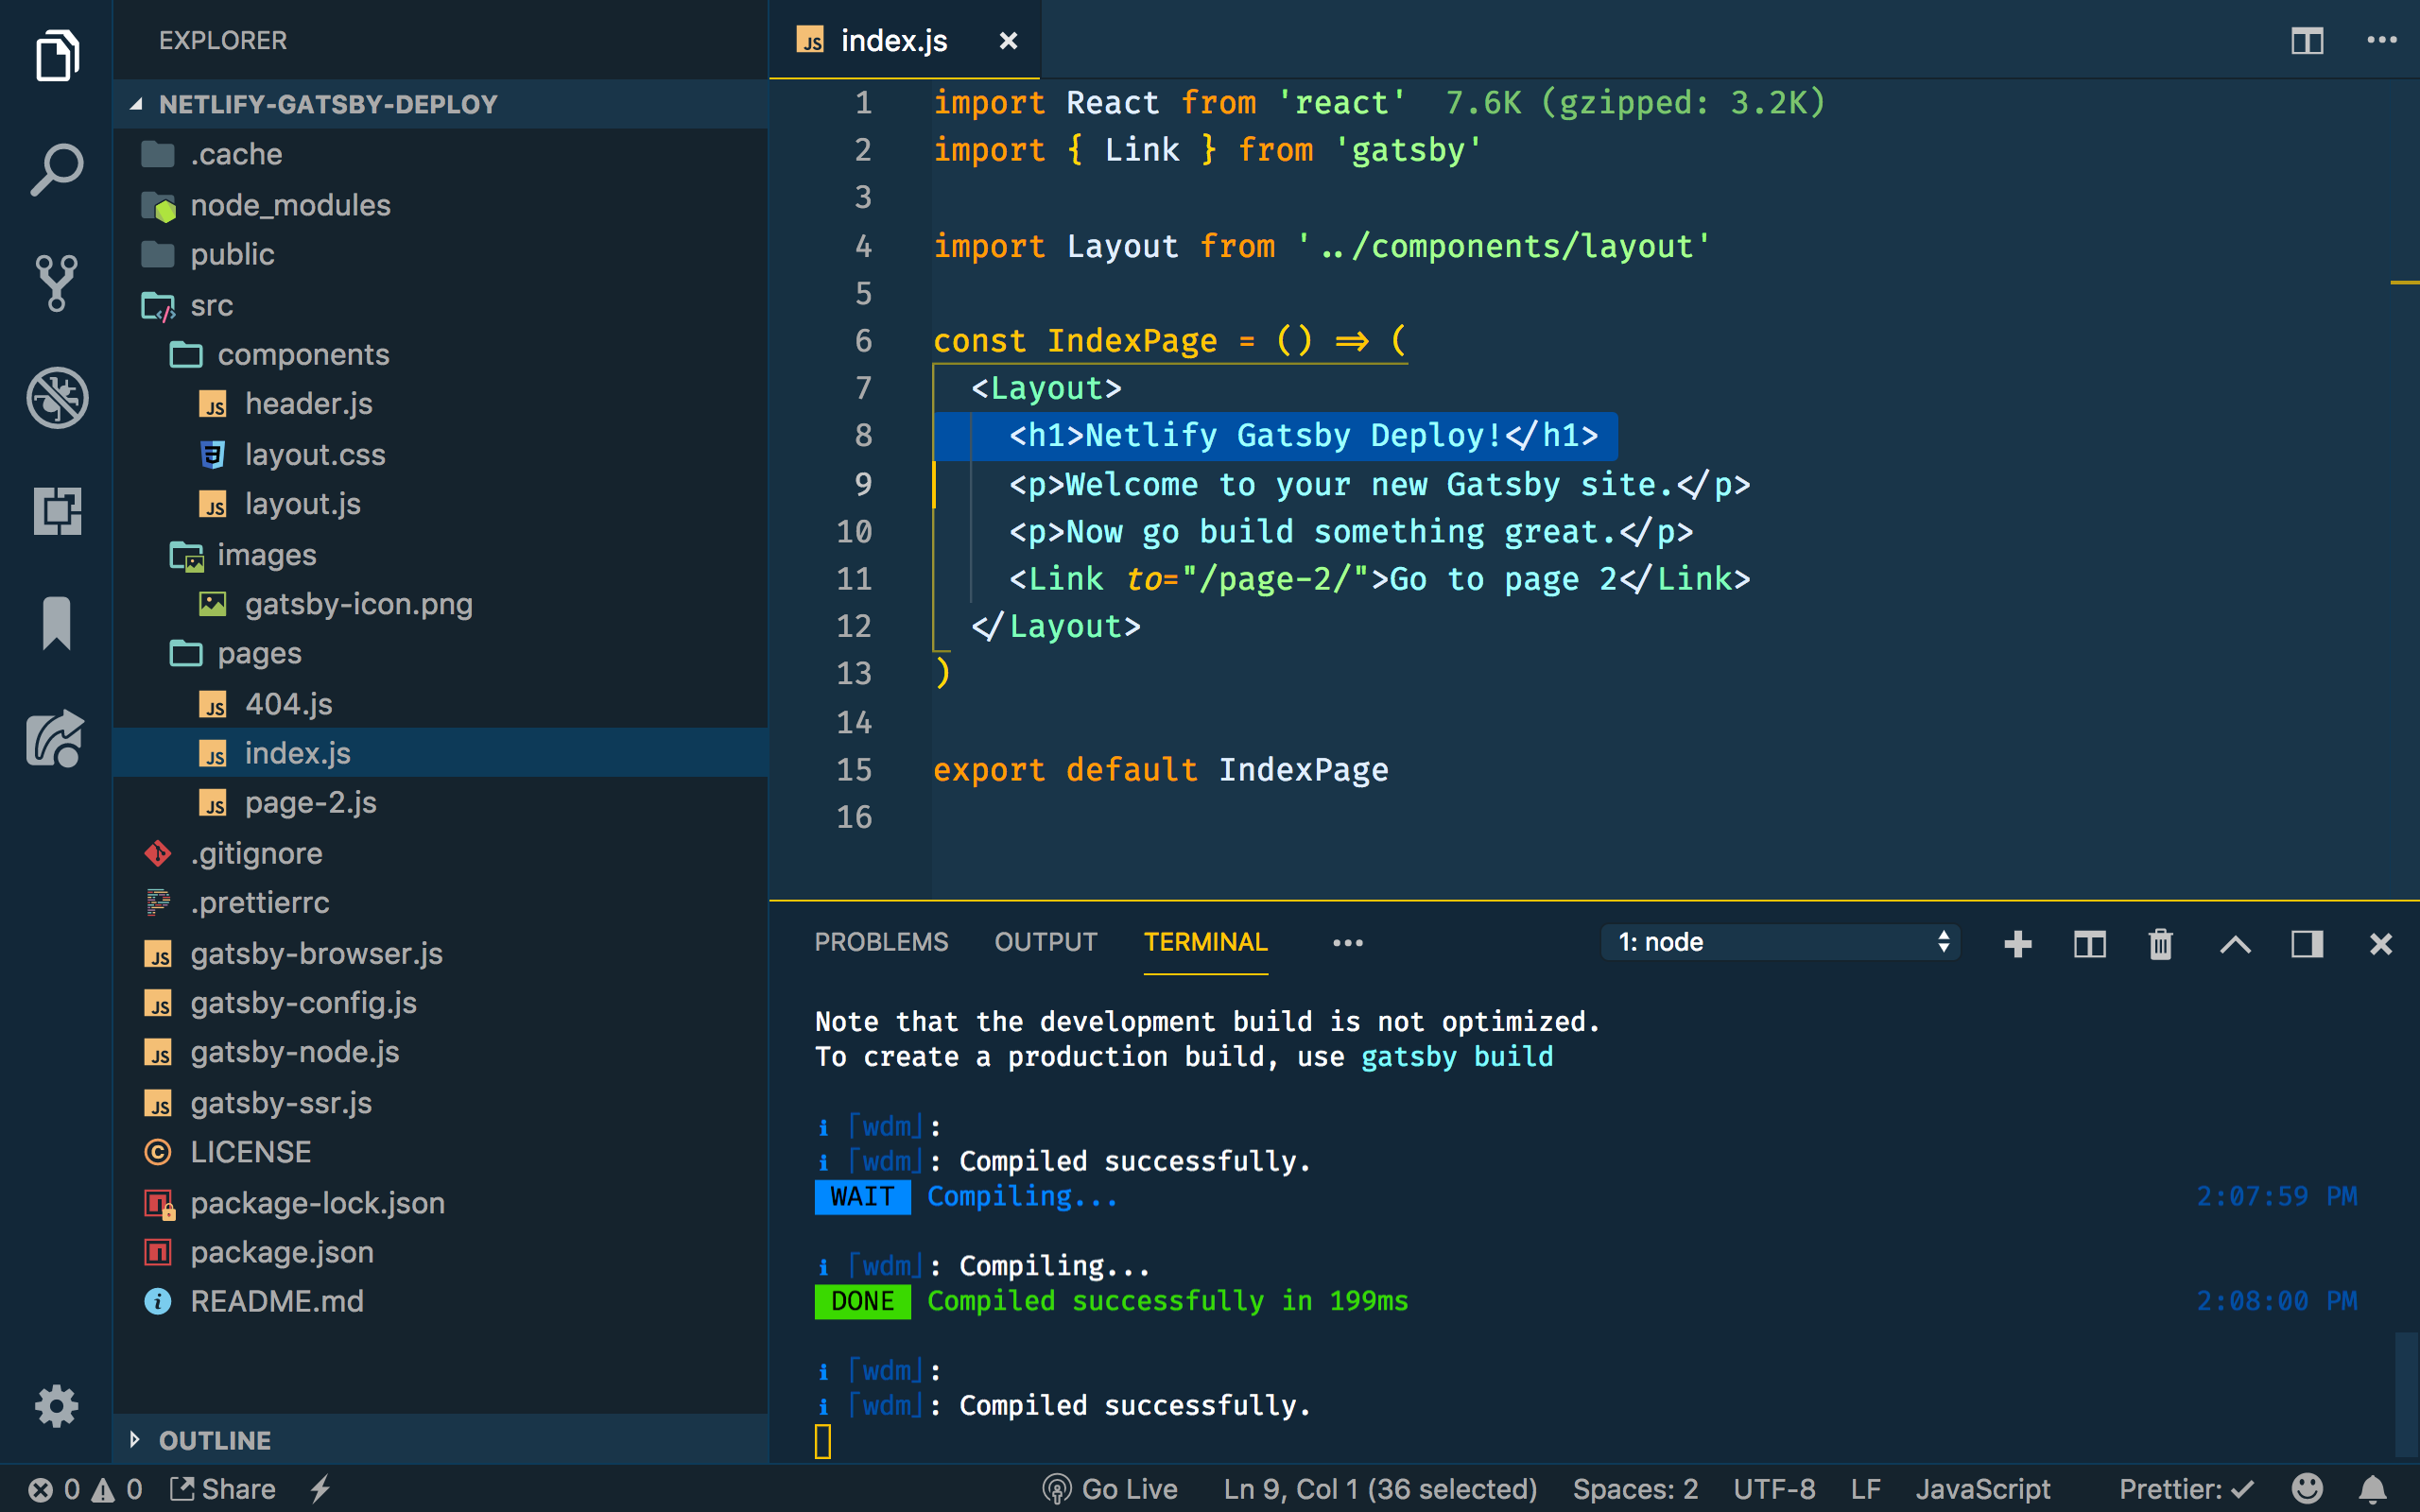
After opening the project in Visual Studio Code, the file structure for your hot new Gatbsy App looks like this.
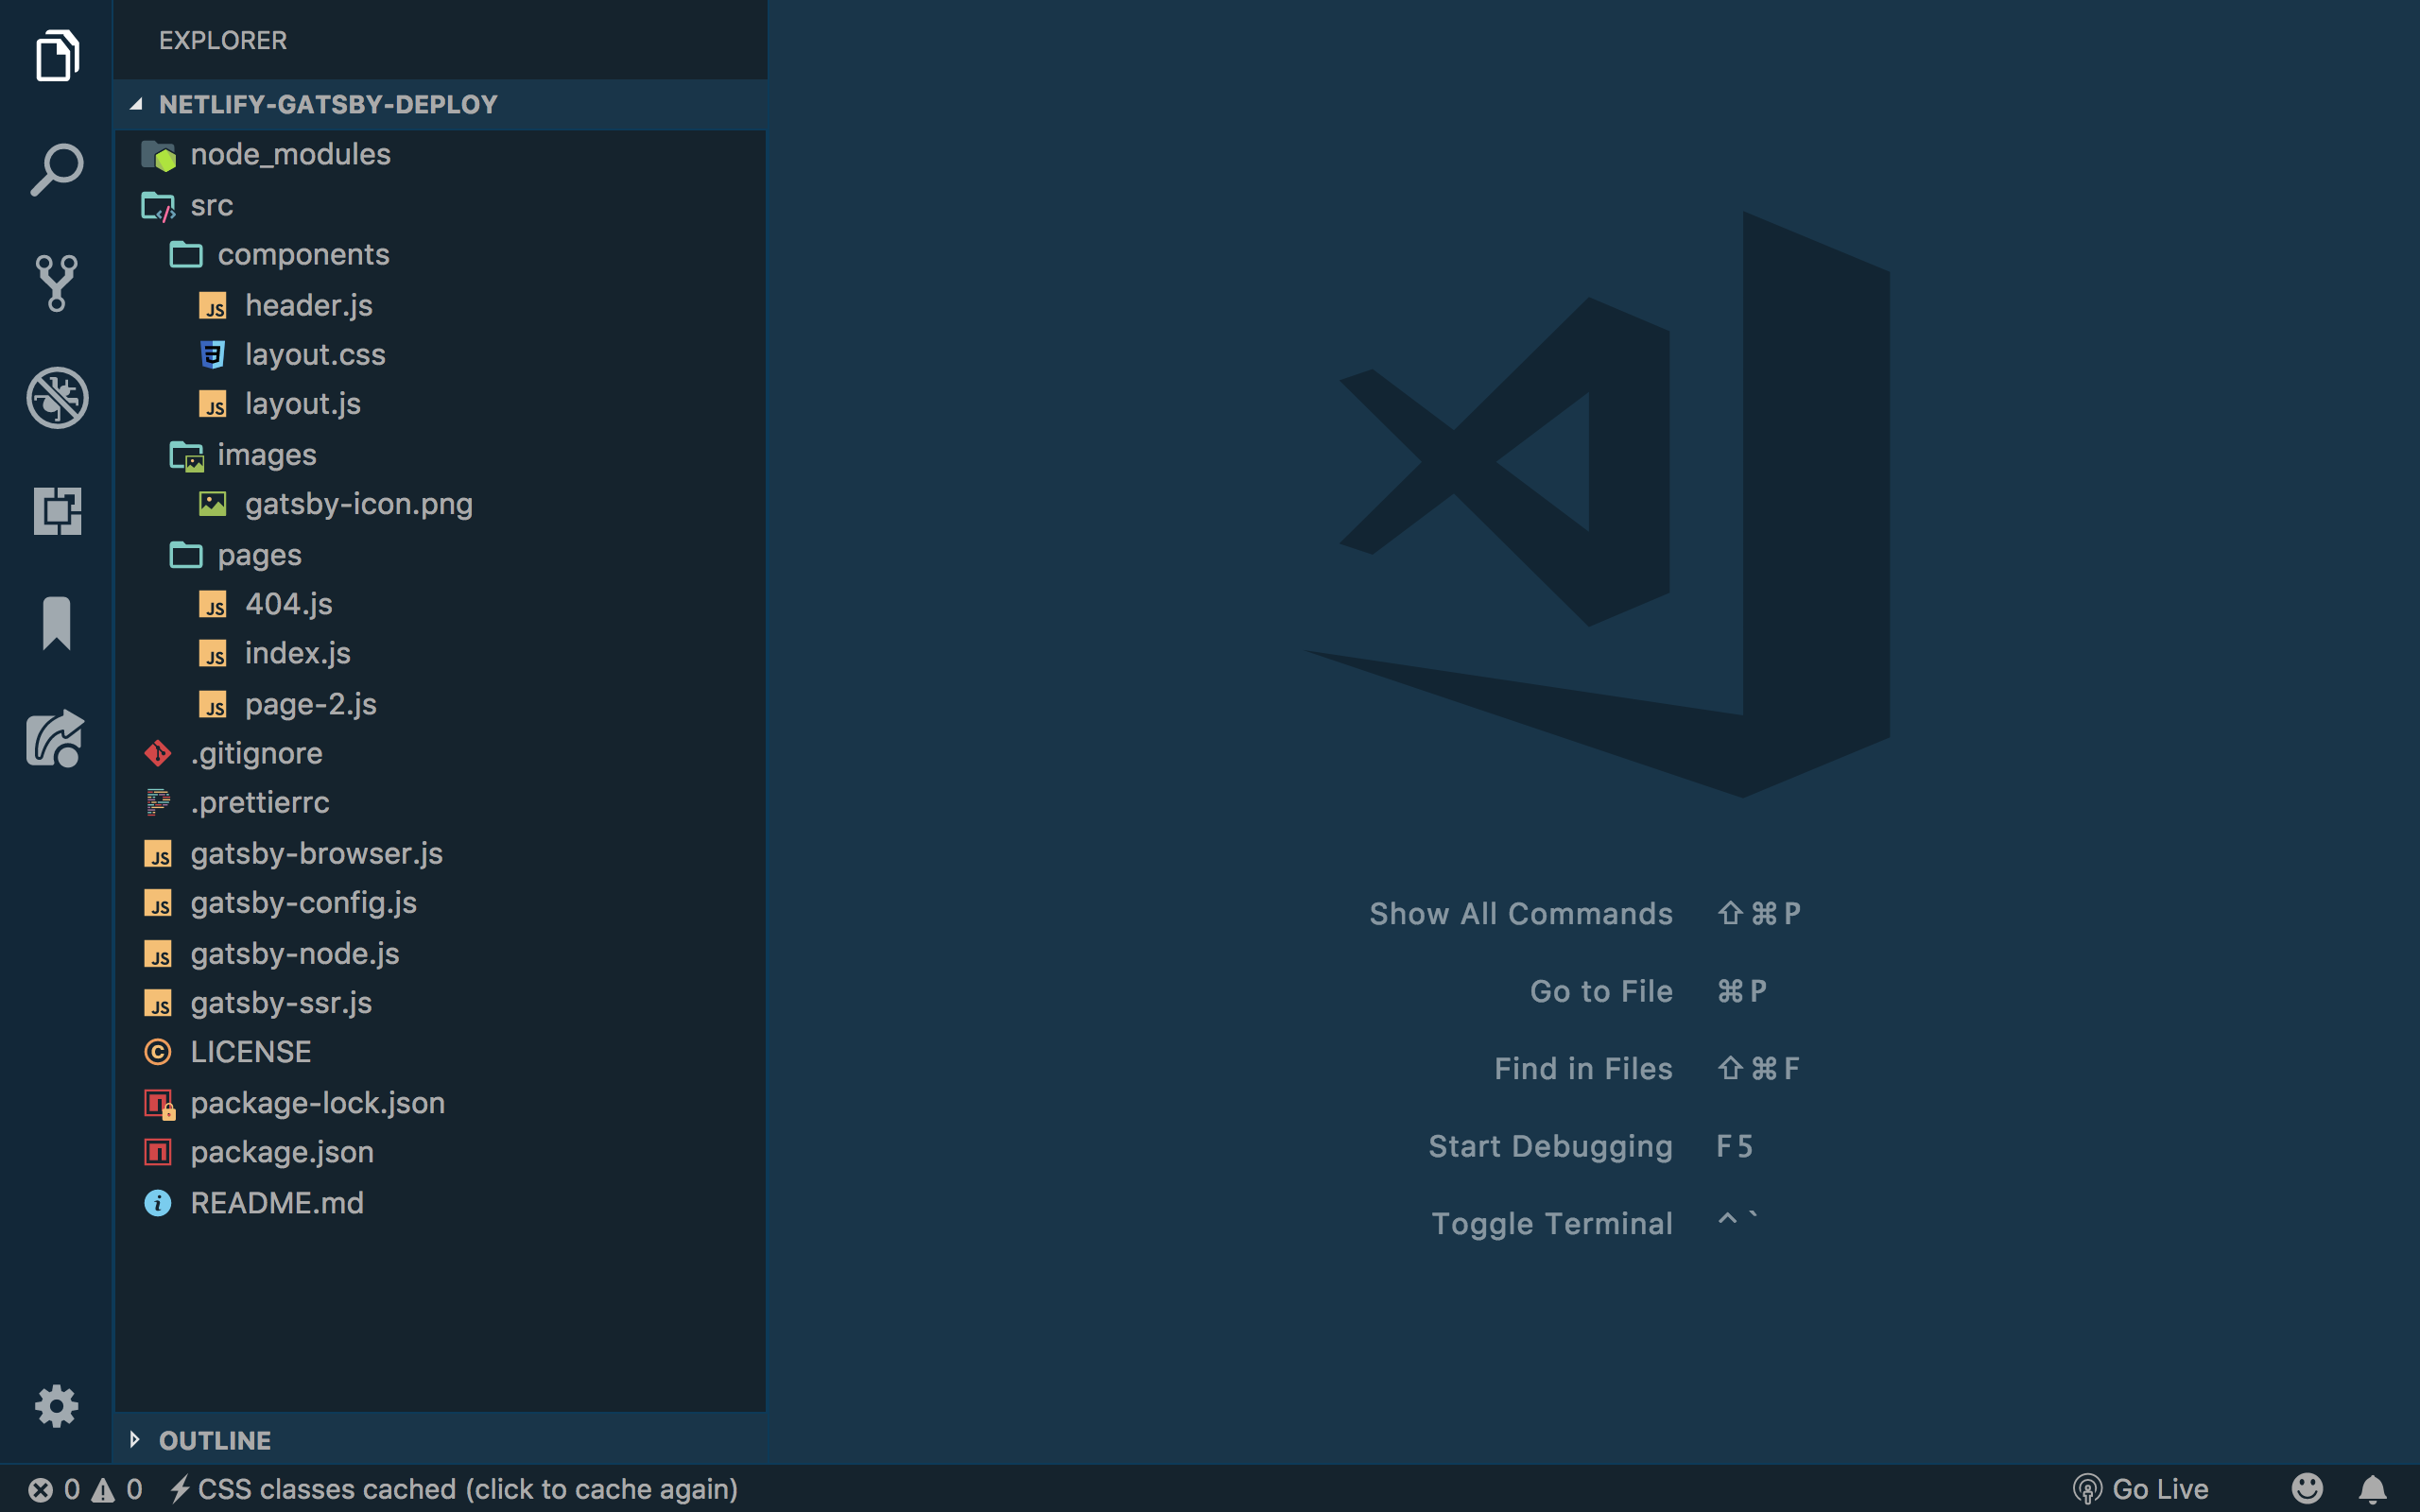
There is a decent amount of boilerplate code included here that shows you some of the basics of Gatsby. It included some pages, components, css, navigation, etc. Definitely worth looking through more if you’re curious. From here, we can start the app to see what it looks like using gatsby develop.
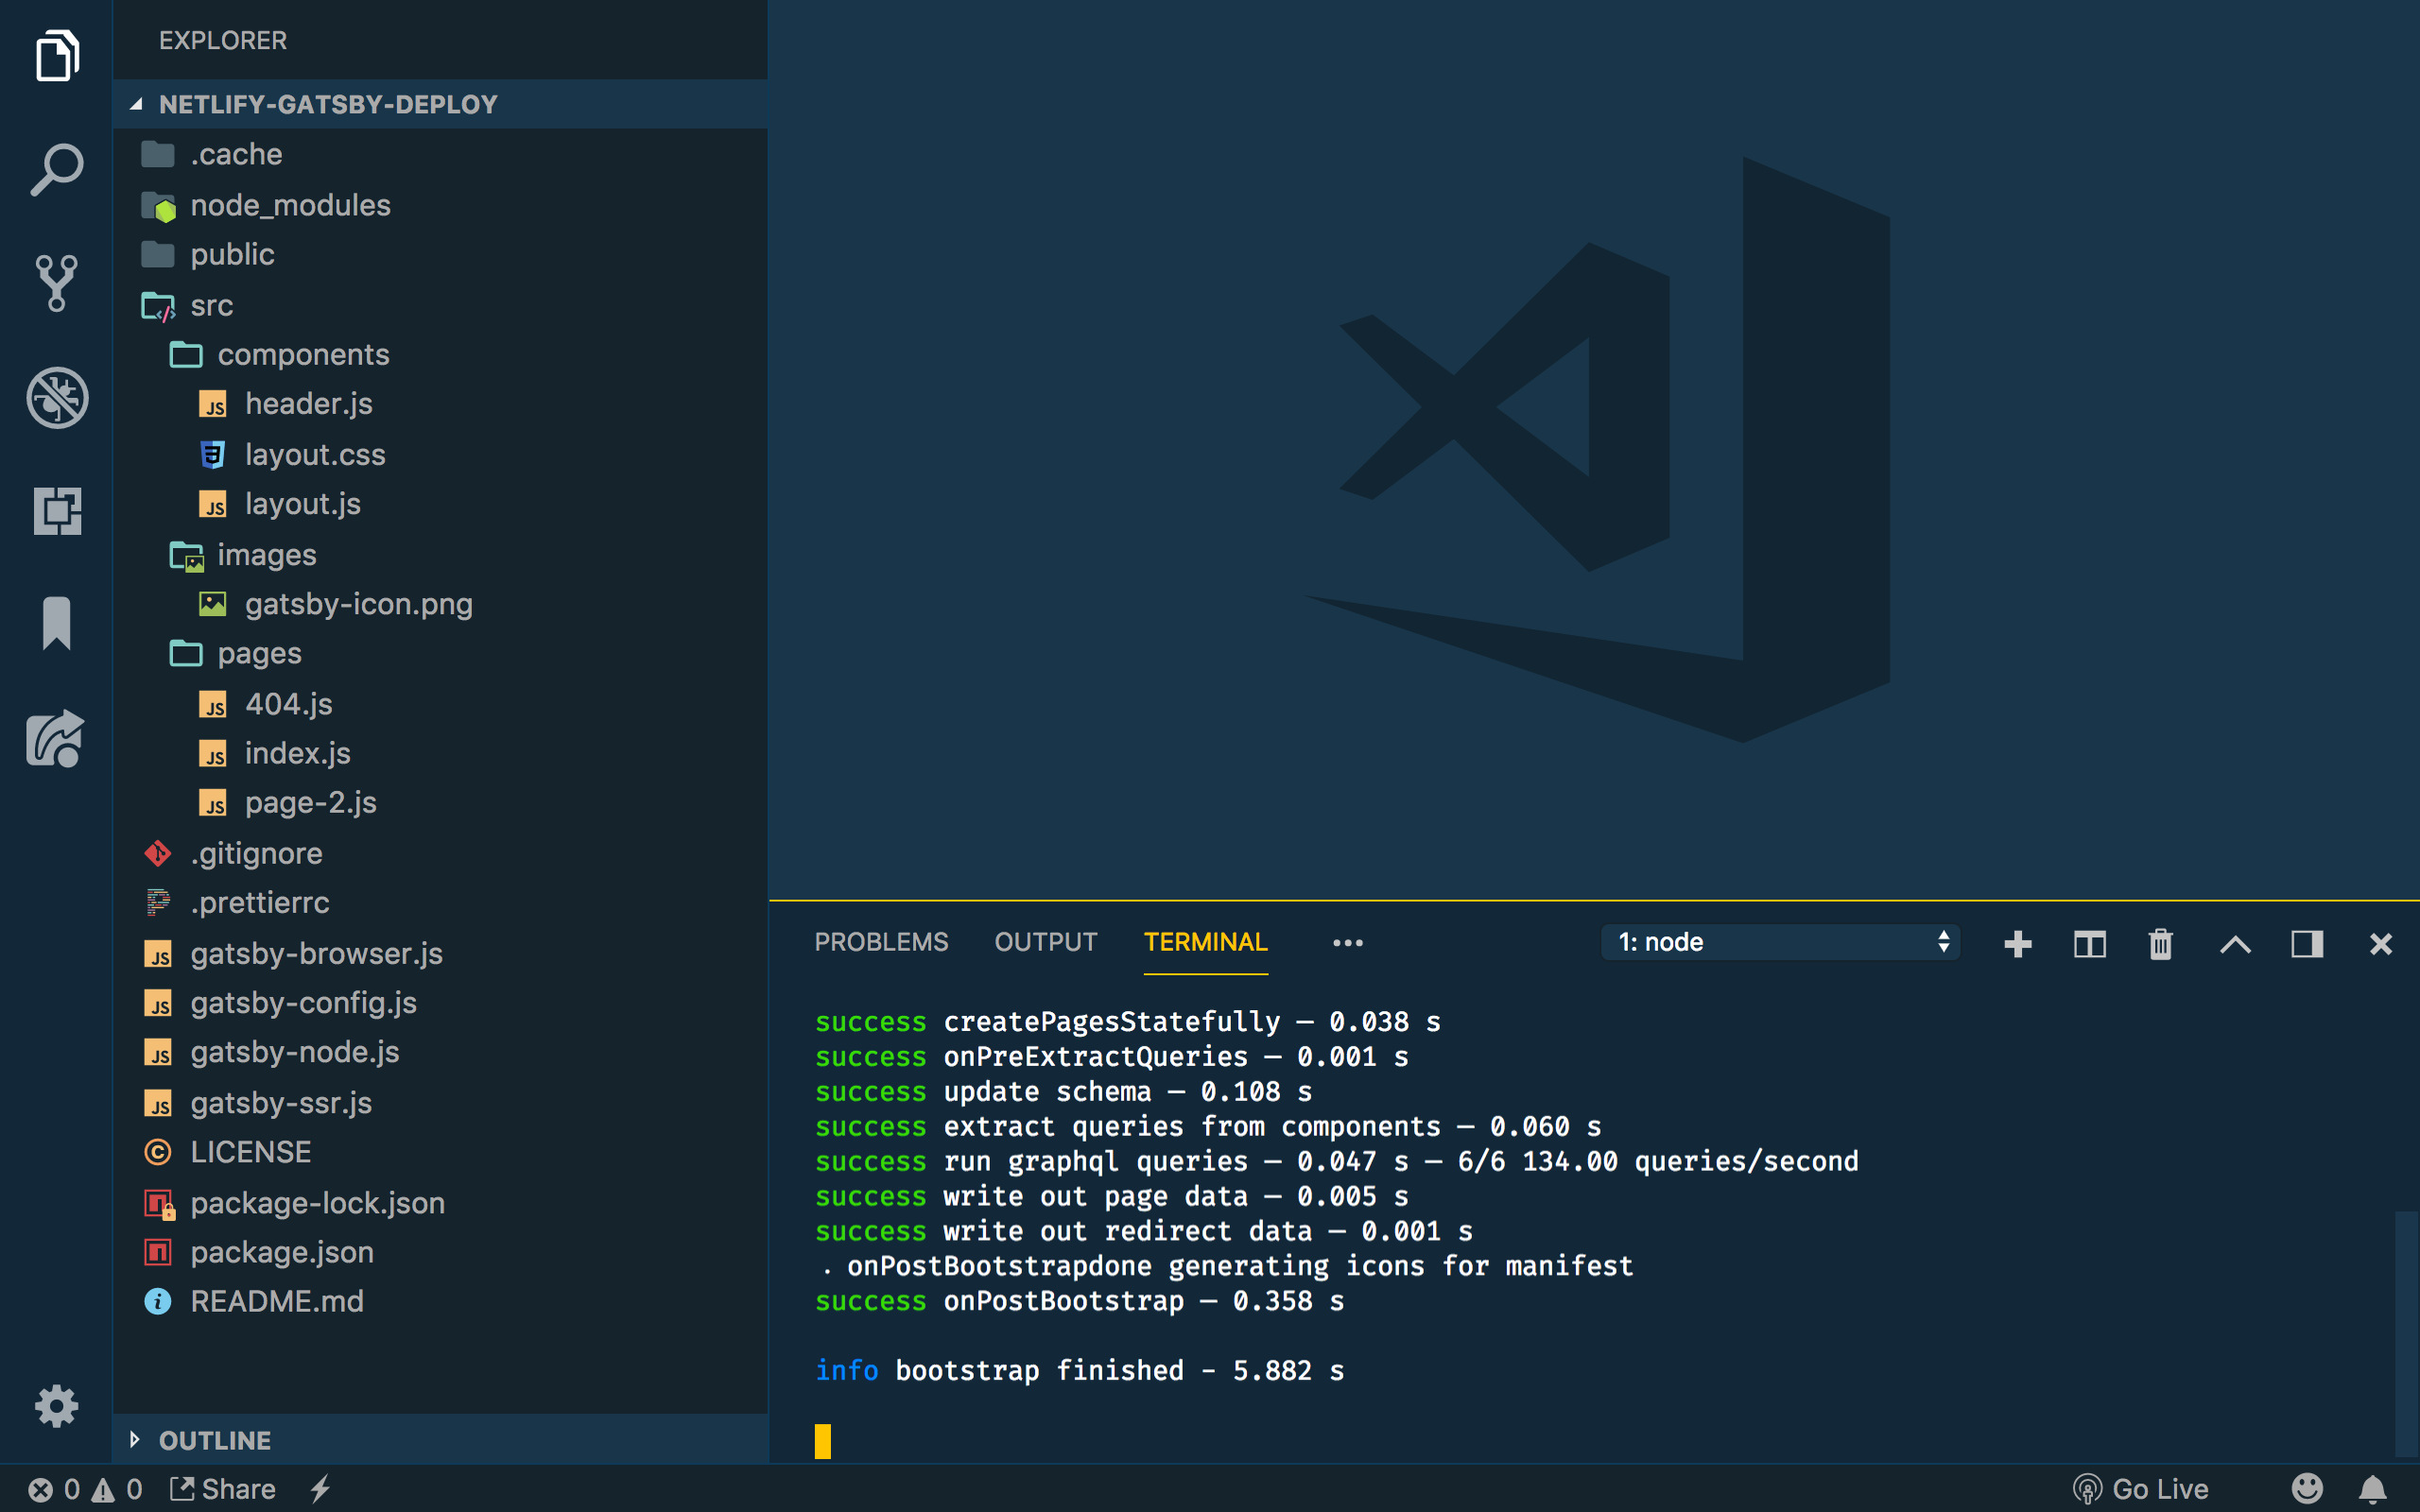
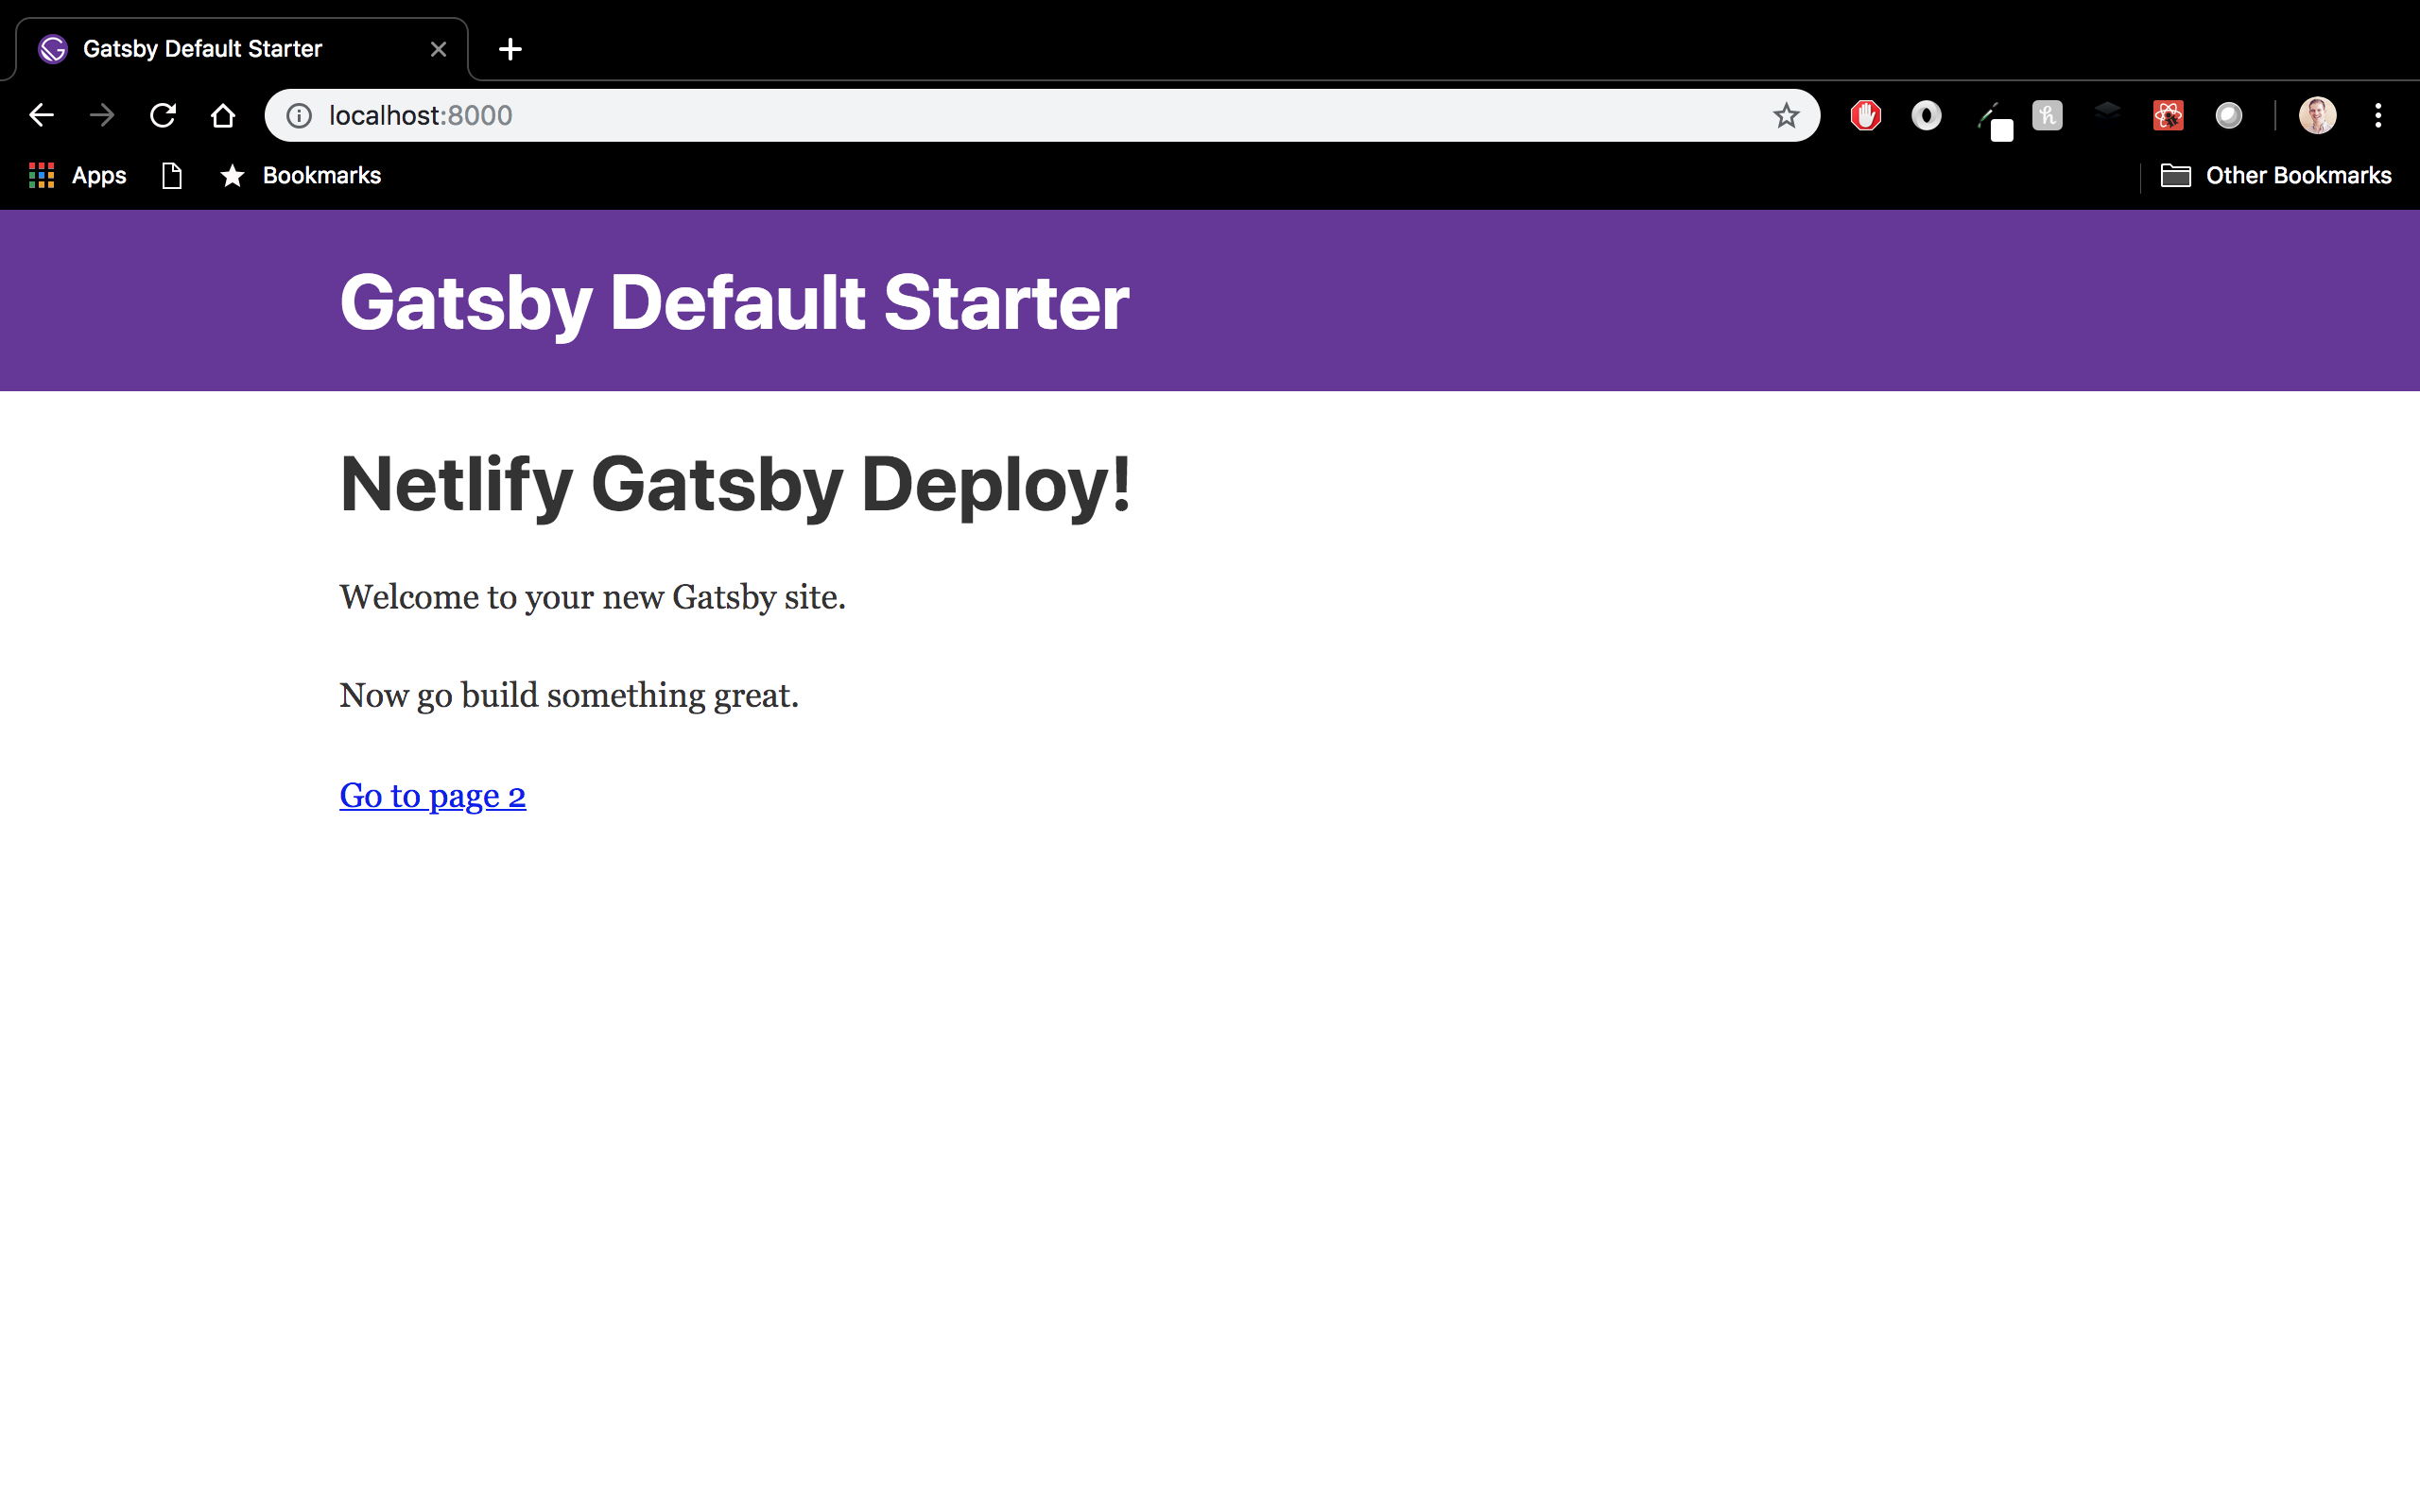
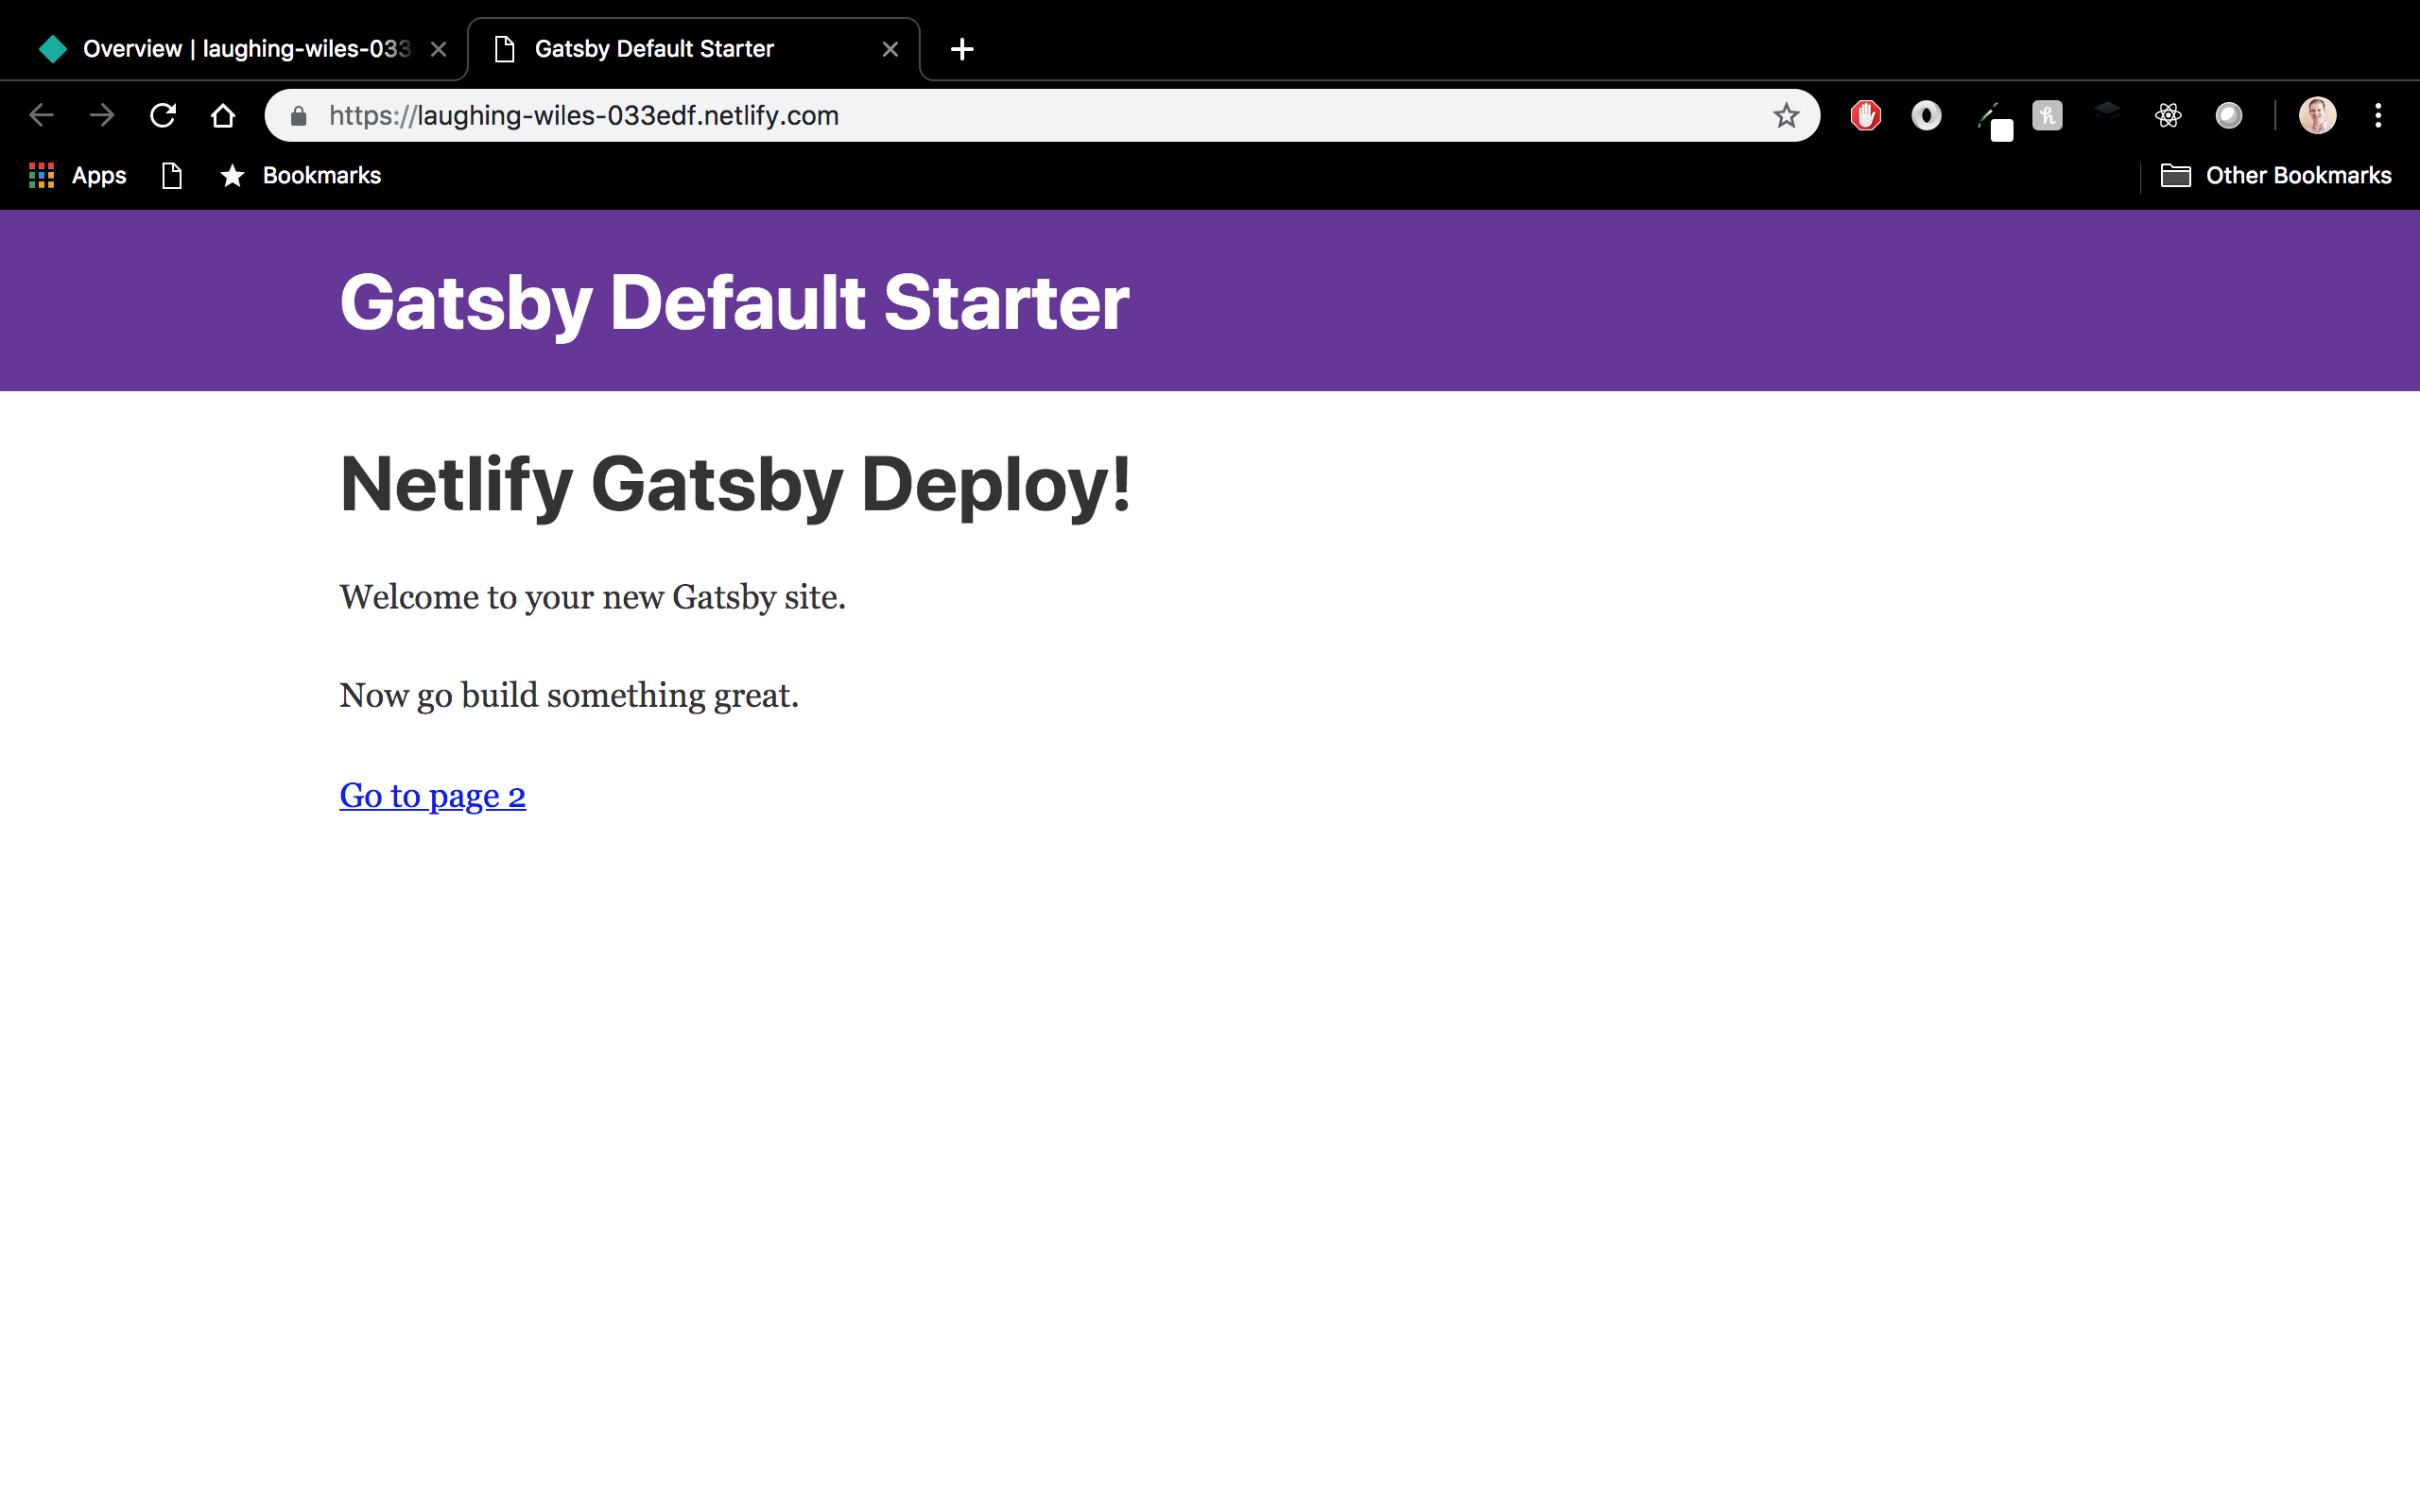
This starts the app in development mode, accessible at port 8000 in your browser.
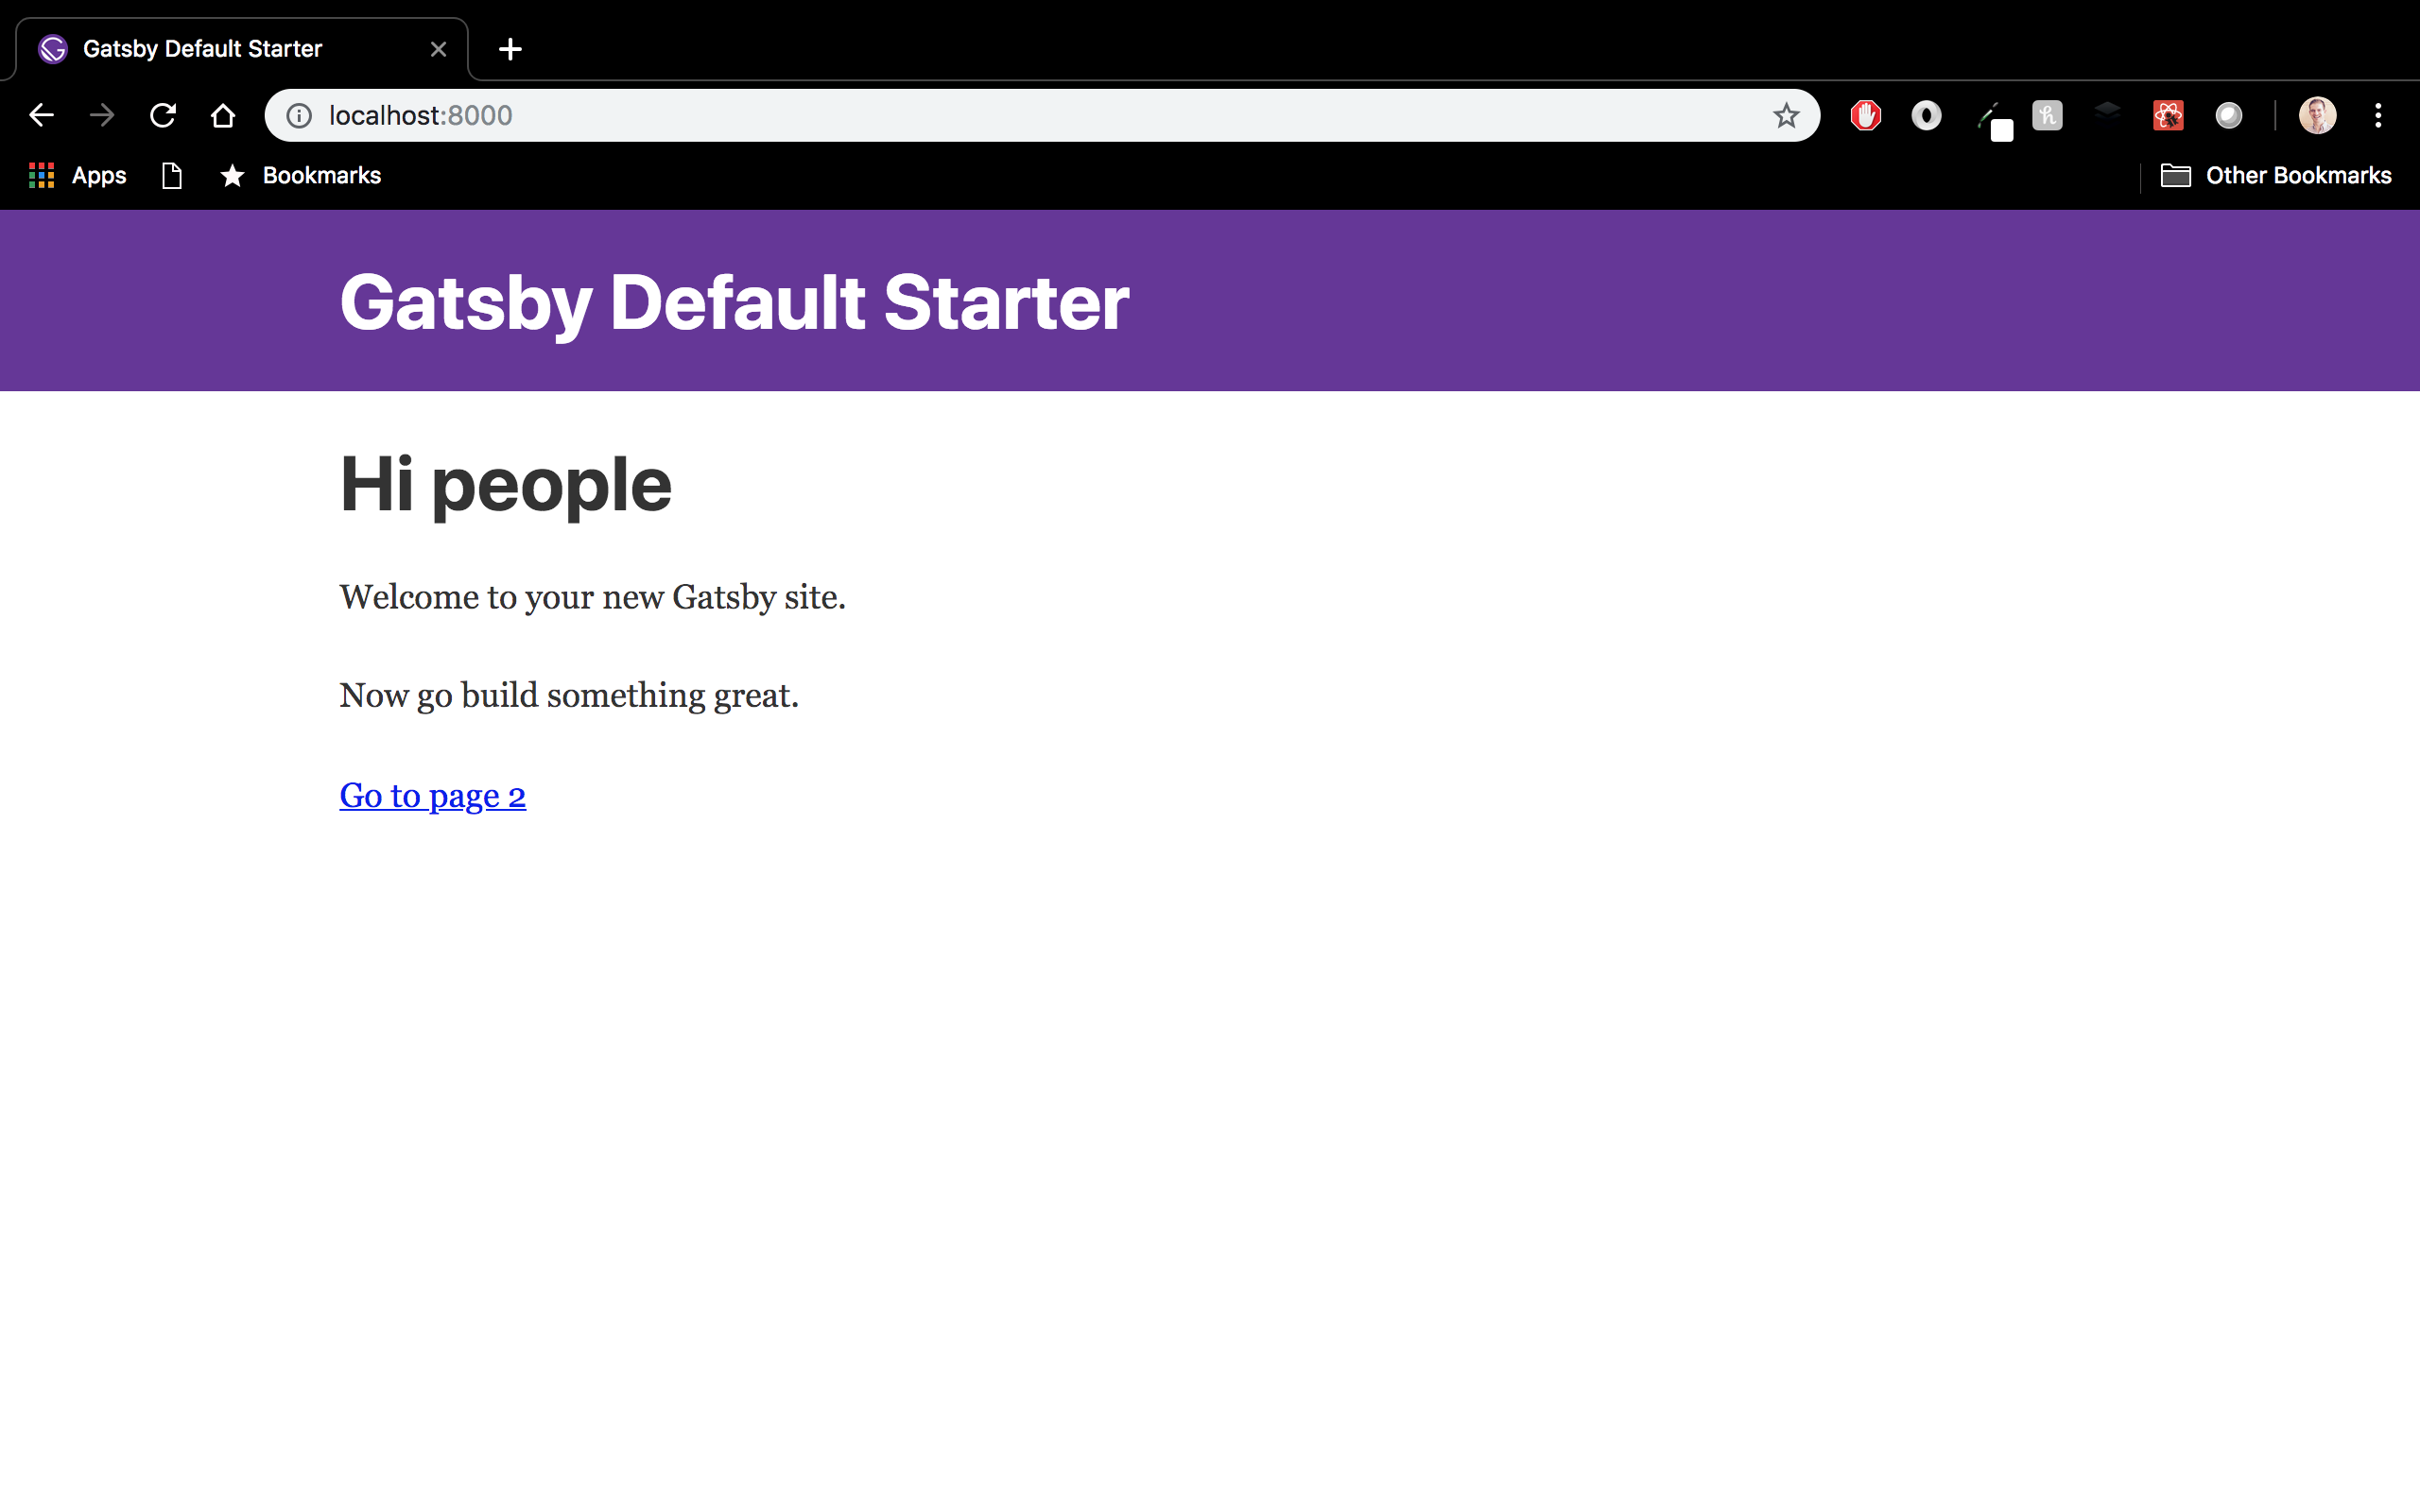
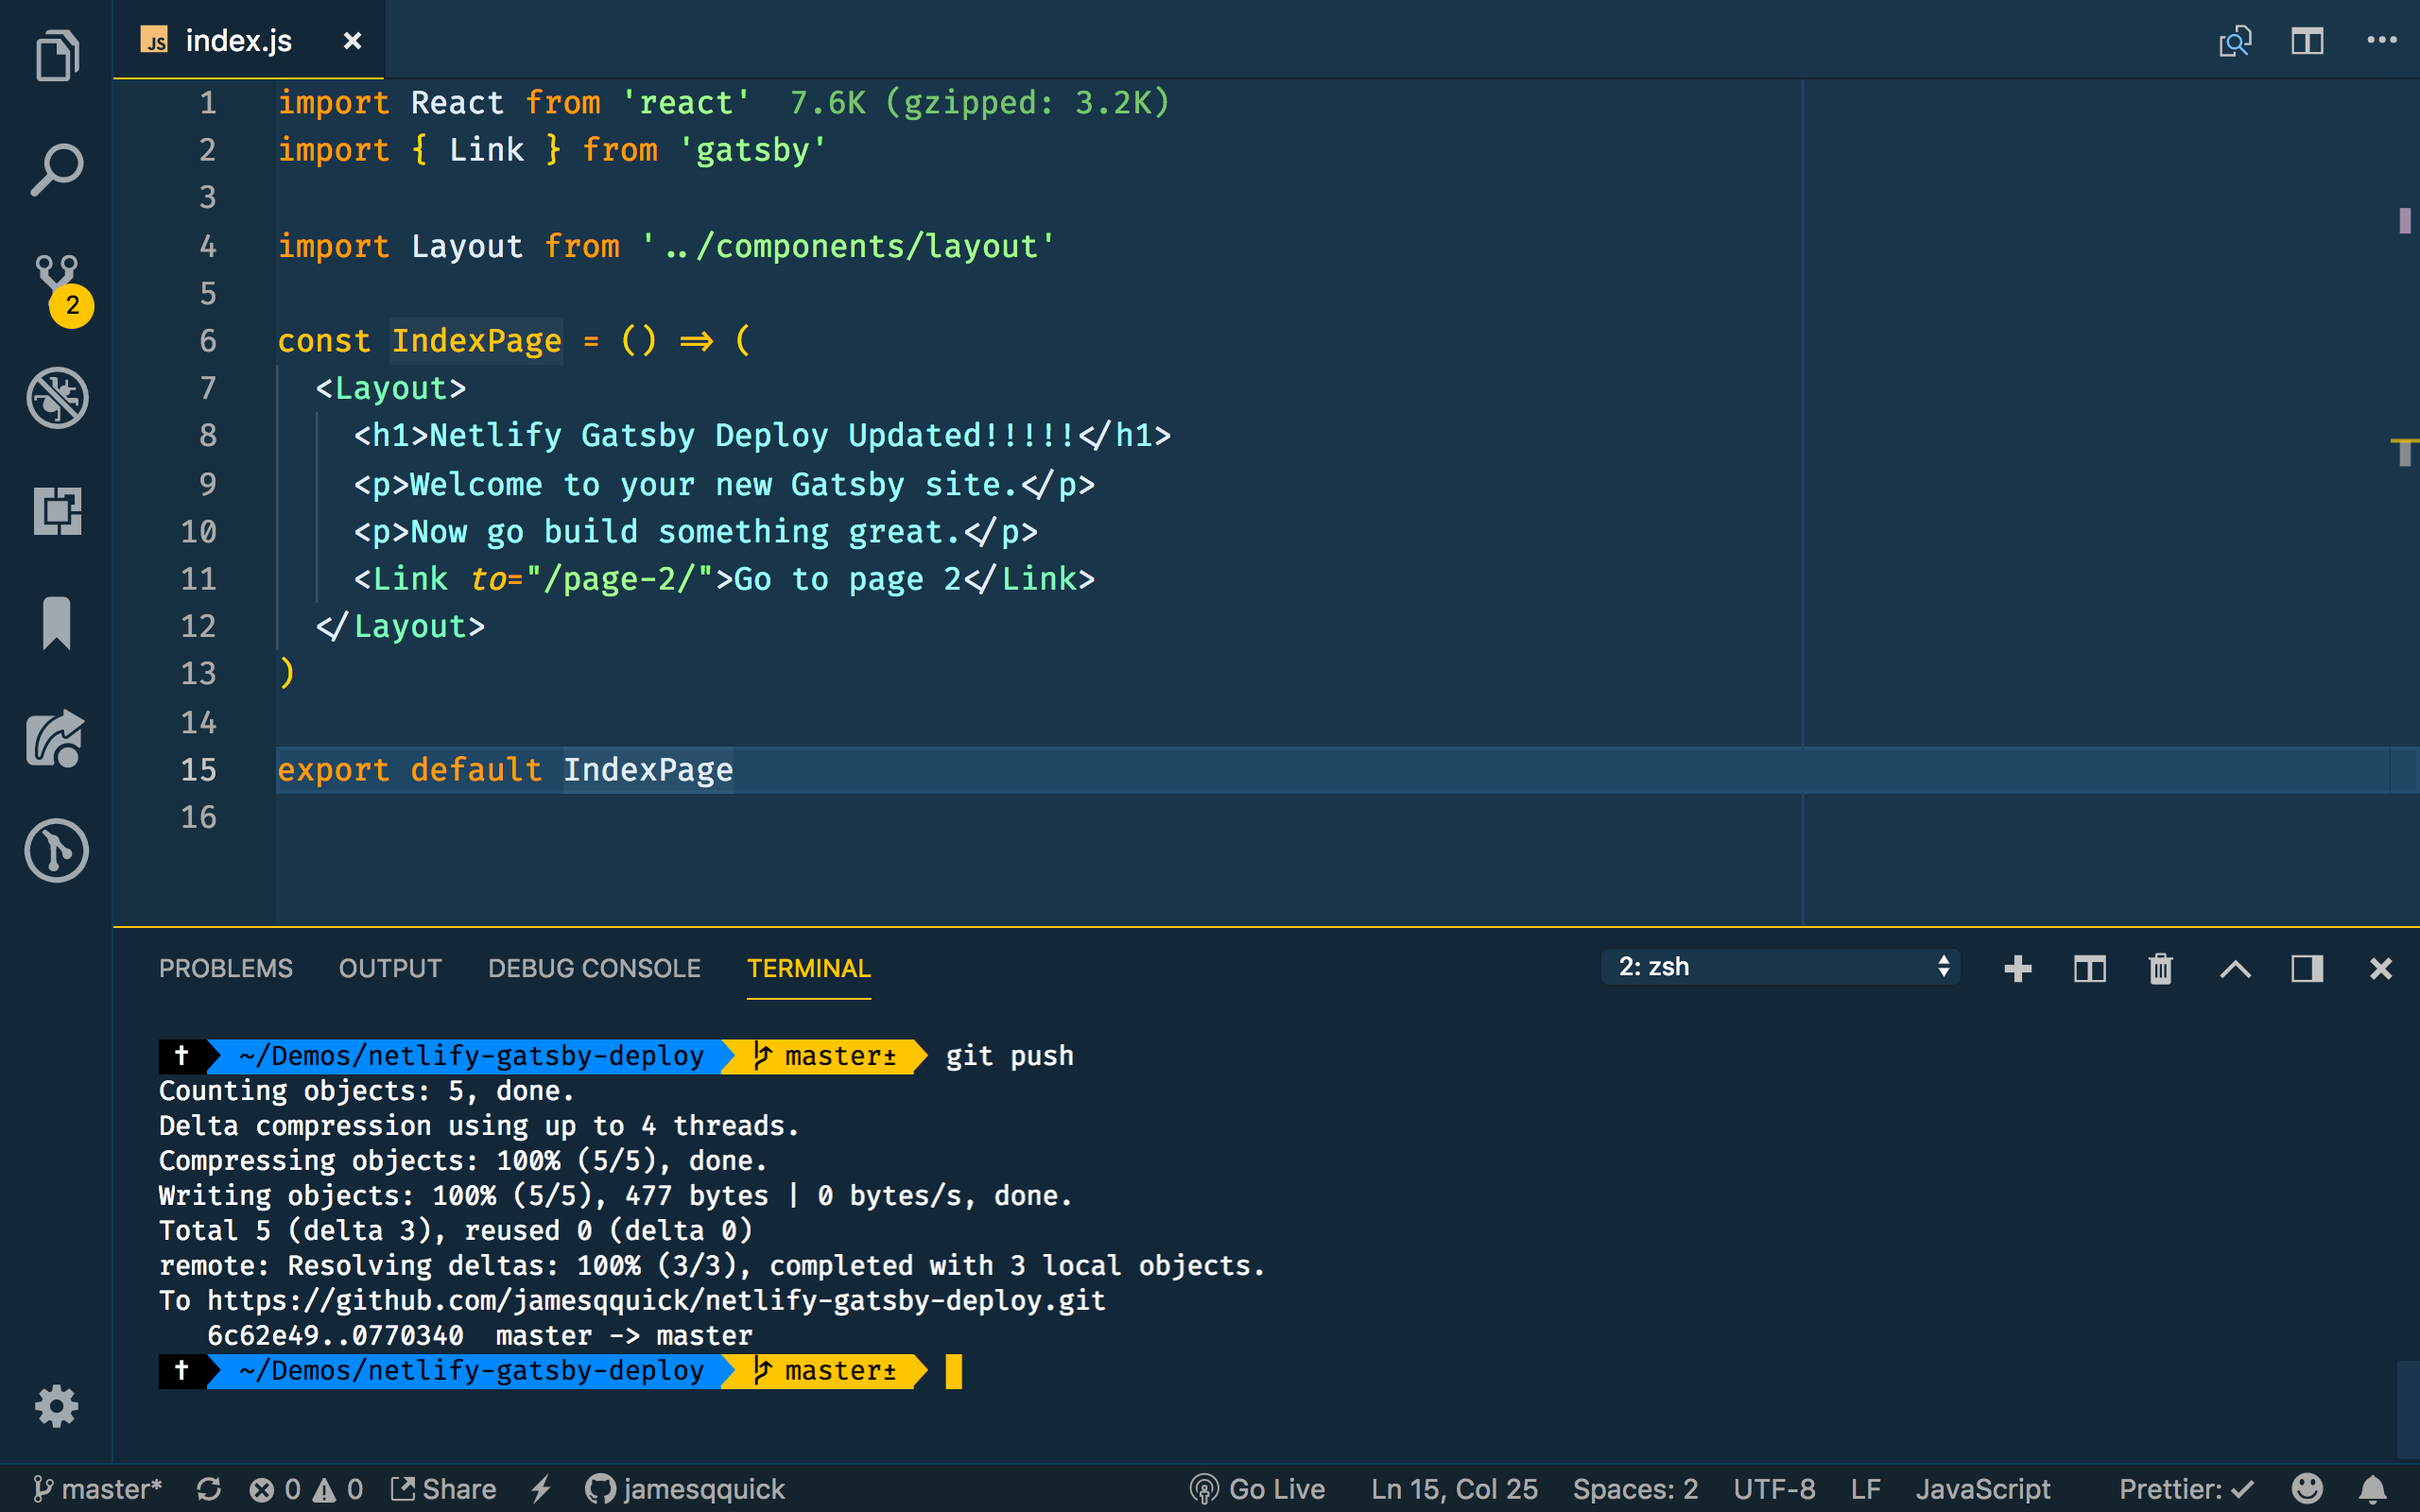
This development server supports live-reloading, so any changes you save to your app will restart the server. For example, if I make a change to the index.js file, you can see the app rebuilds.
…and see the changes in the browser.
Push Gatsby App to Github
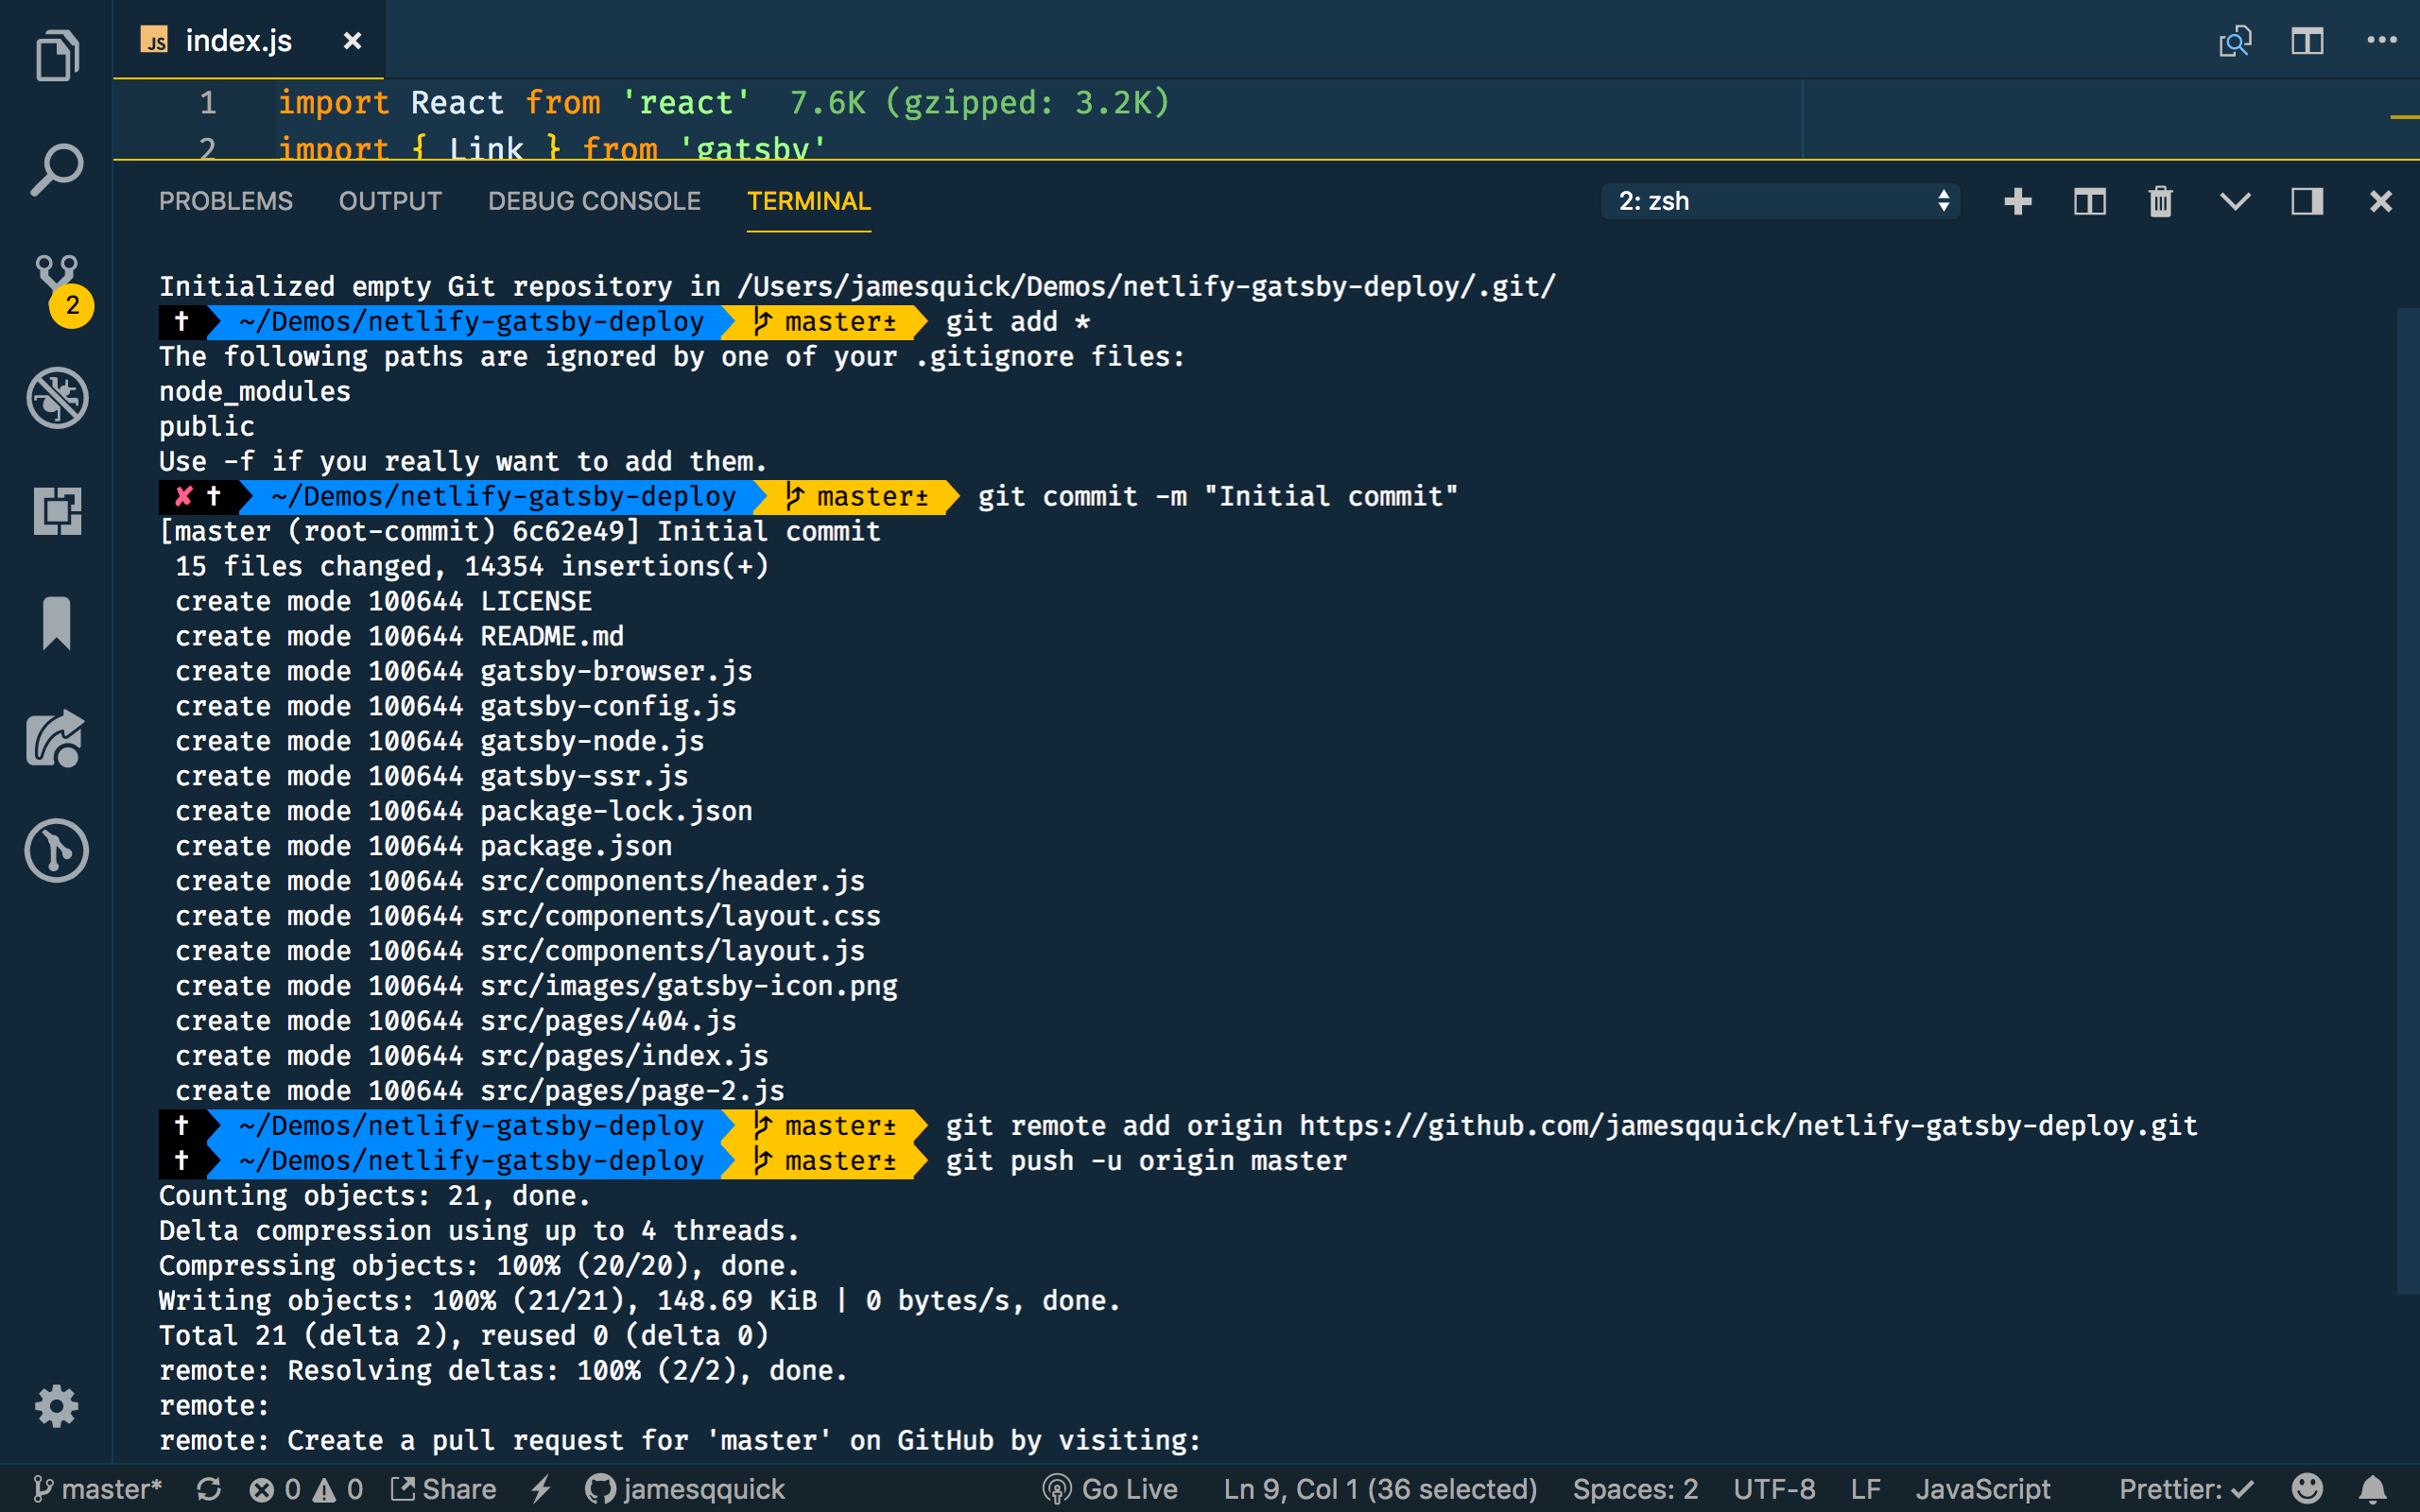
Now that we have our Gatbsy app created, we need to connect it to our Github repository. First, initialize your local folder as a Git repo by running git init. Then add commit all of your files by running git add * followed by git commit -m "initial commit.
Now we need to connect the local git repo to Github. To do this, you can refer back to Github page mentioned above. For additional reference, here are the commands.
git remote add origin <github_url>
git push -u origin master.
Deploy Site to Netlify
Now for the good part…DEPLOYING!
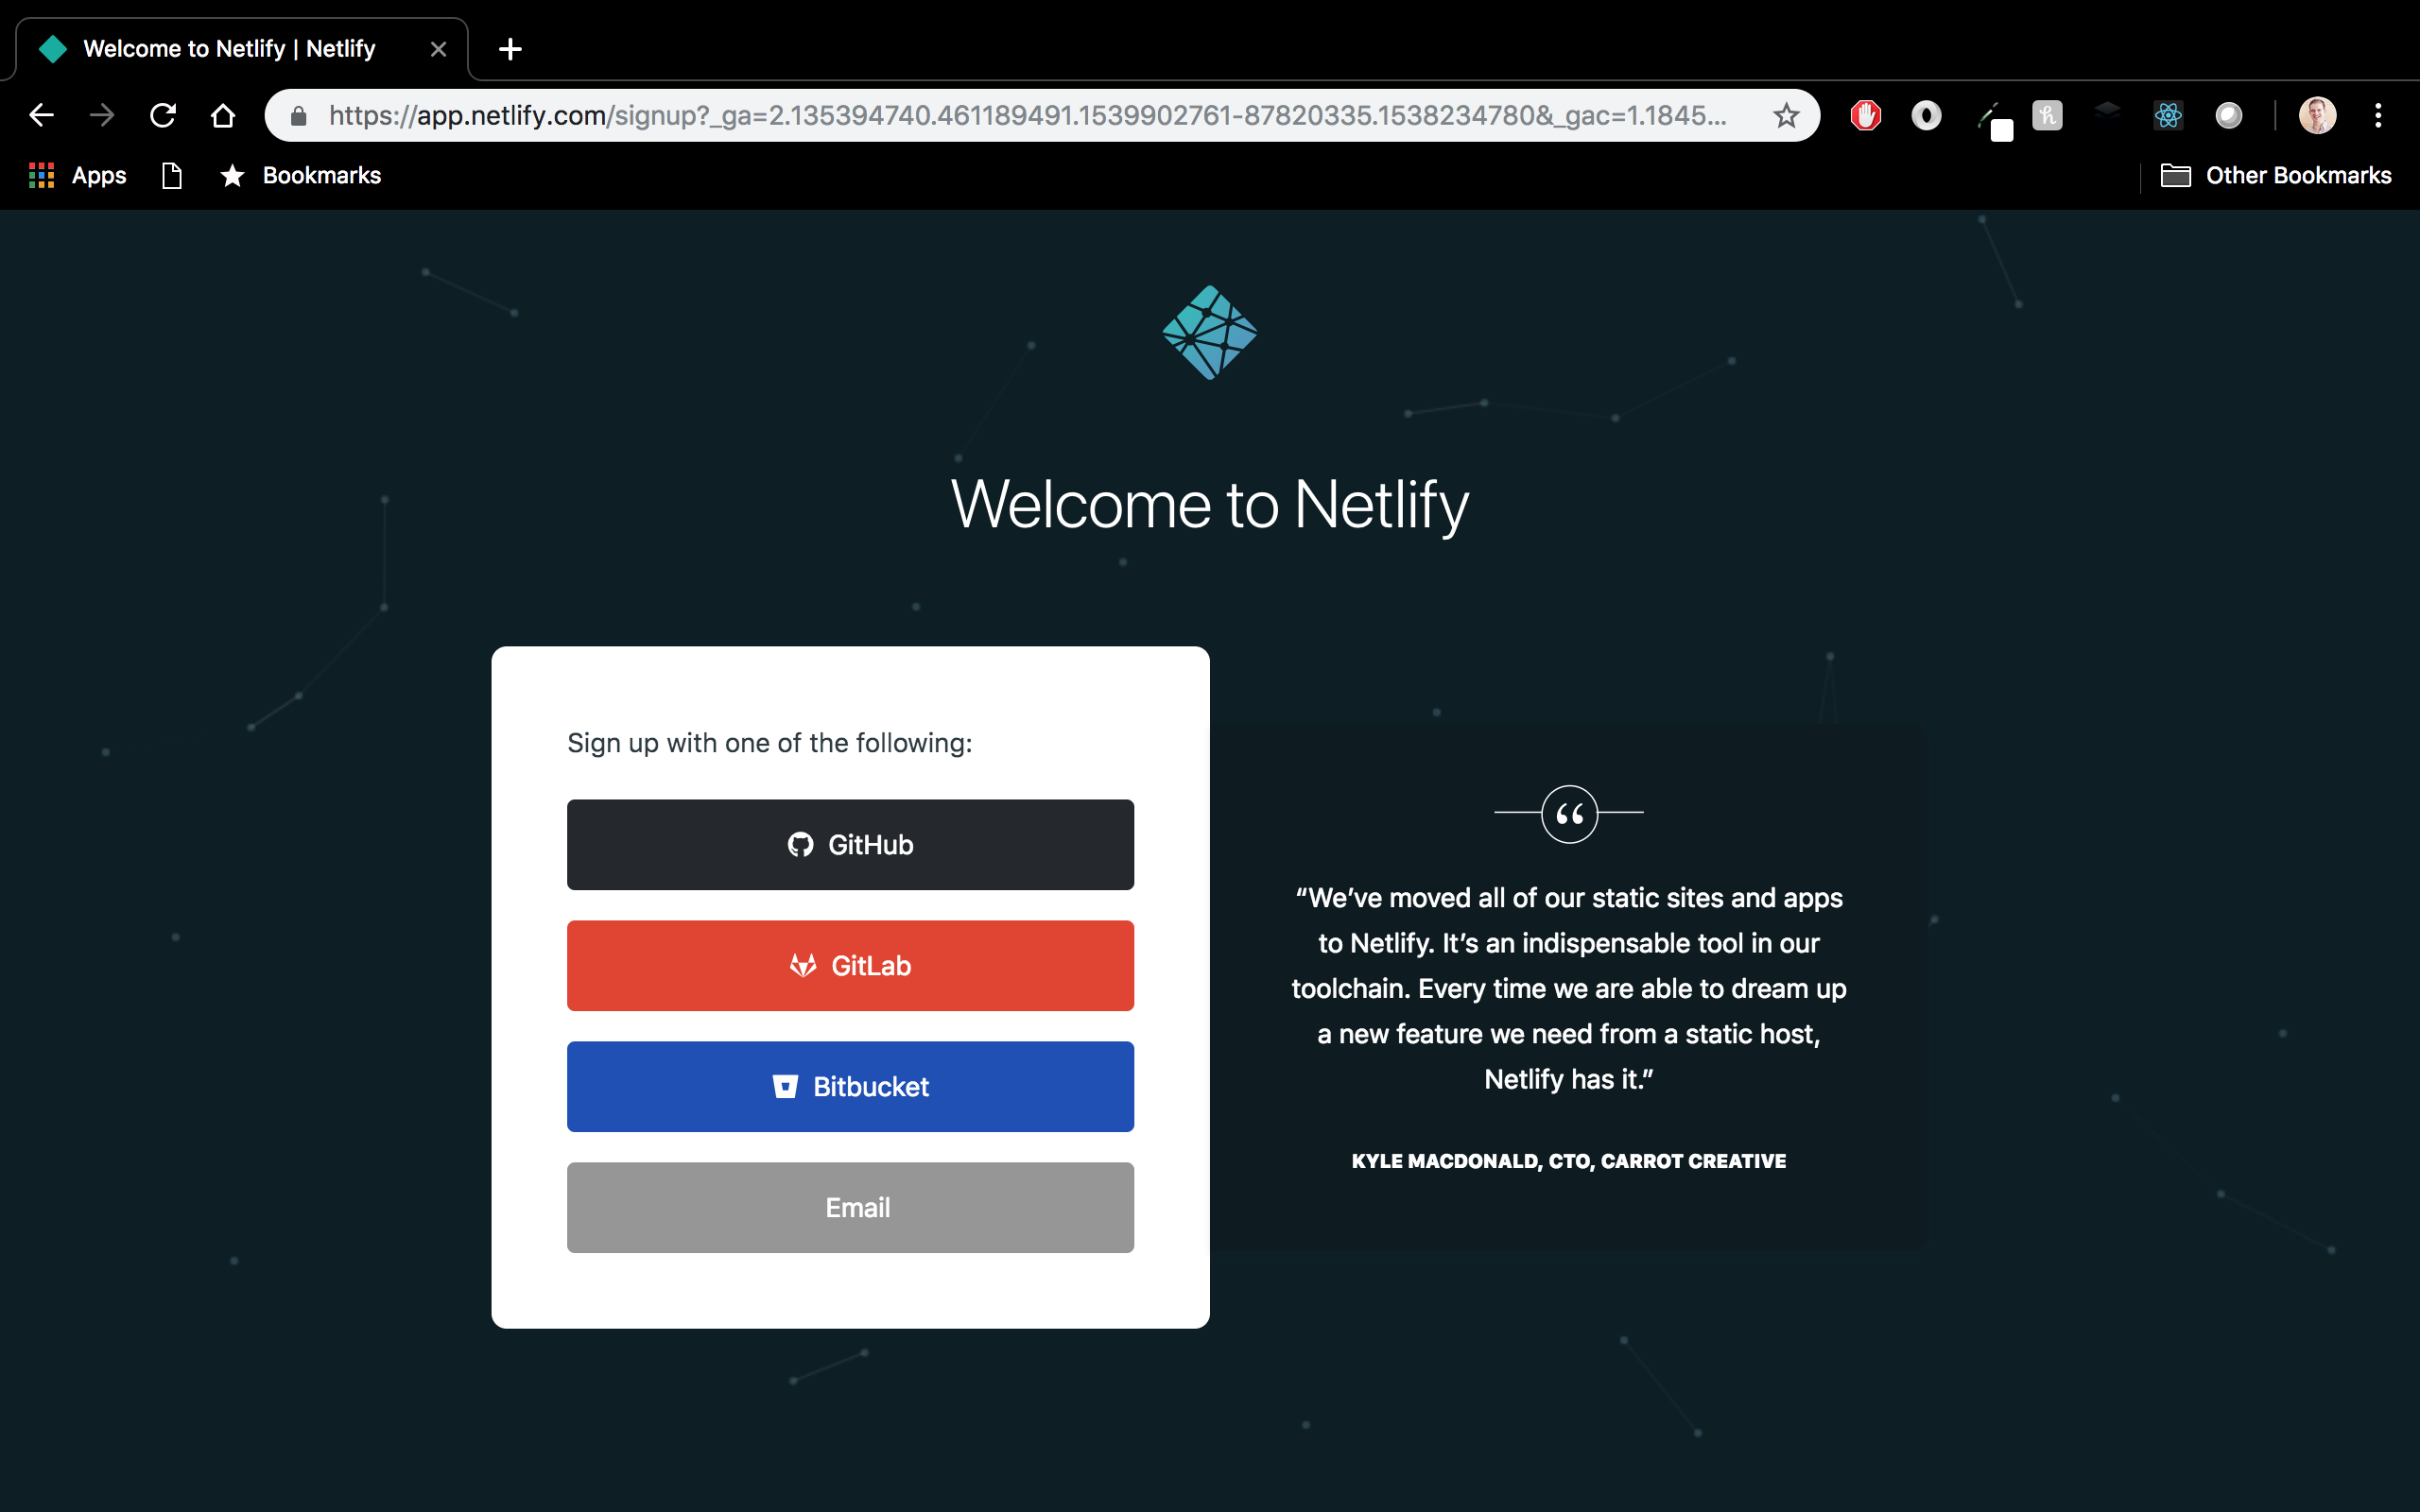
If you haven’t yet, you’ll need to sign up with Netlify. You can use Github, Gitlab, Bitbucket, or email to register.
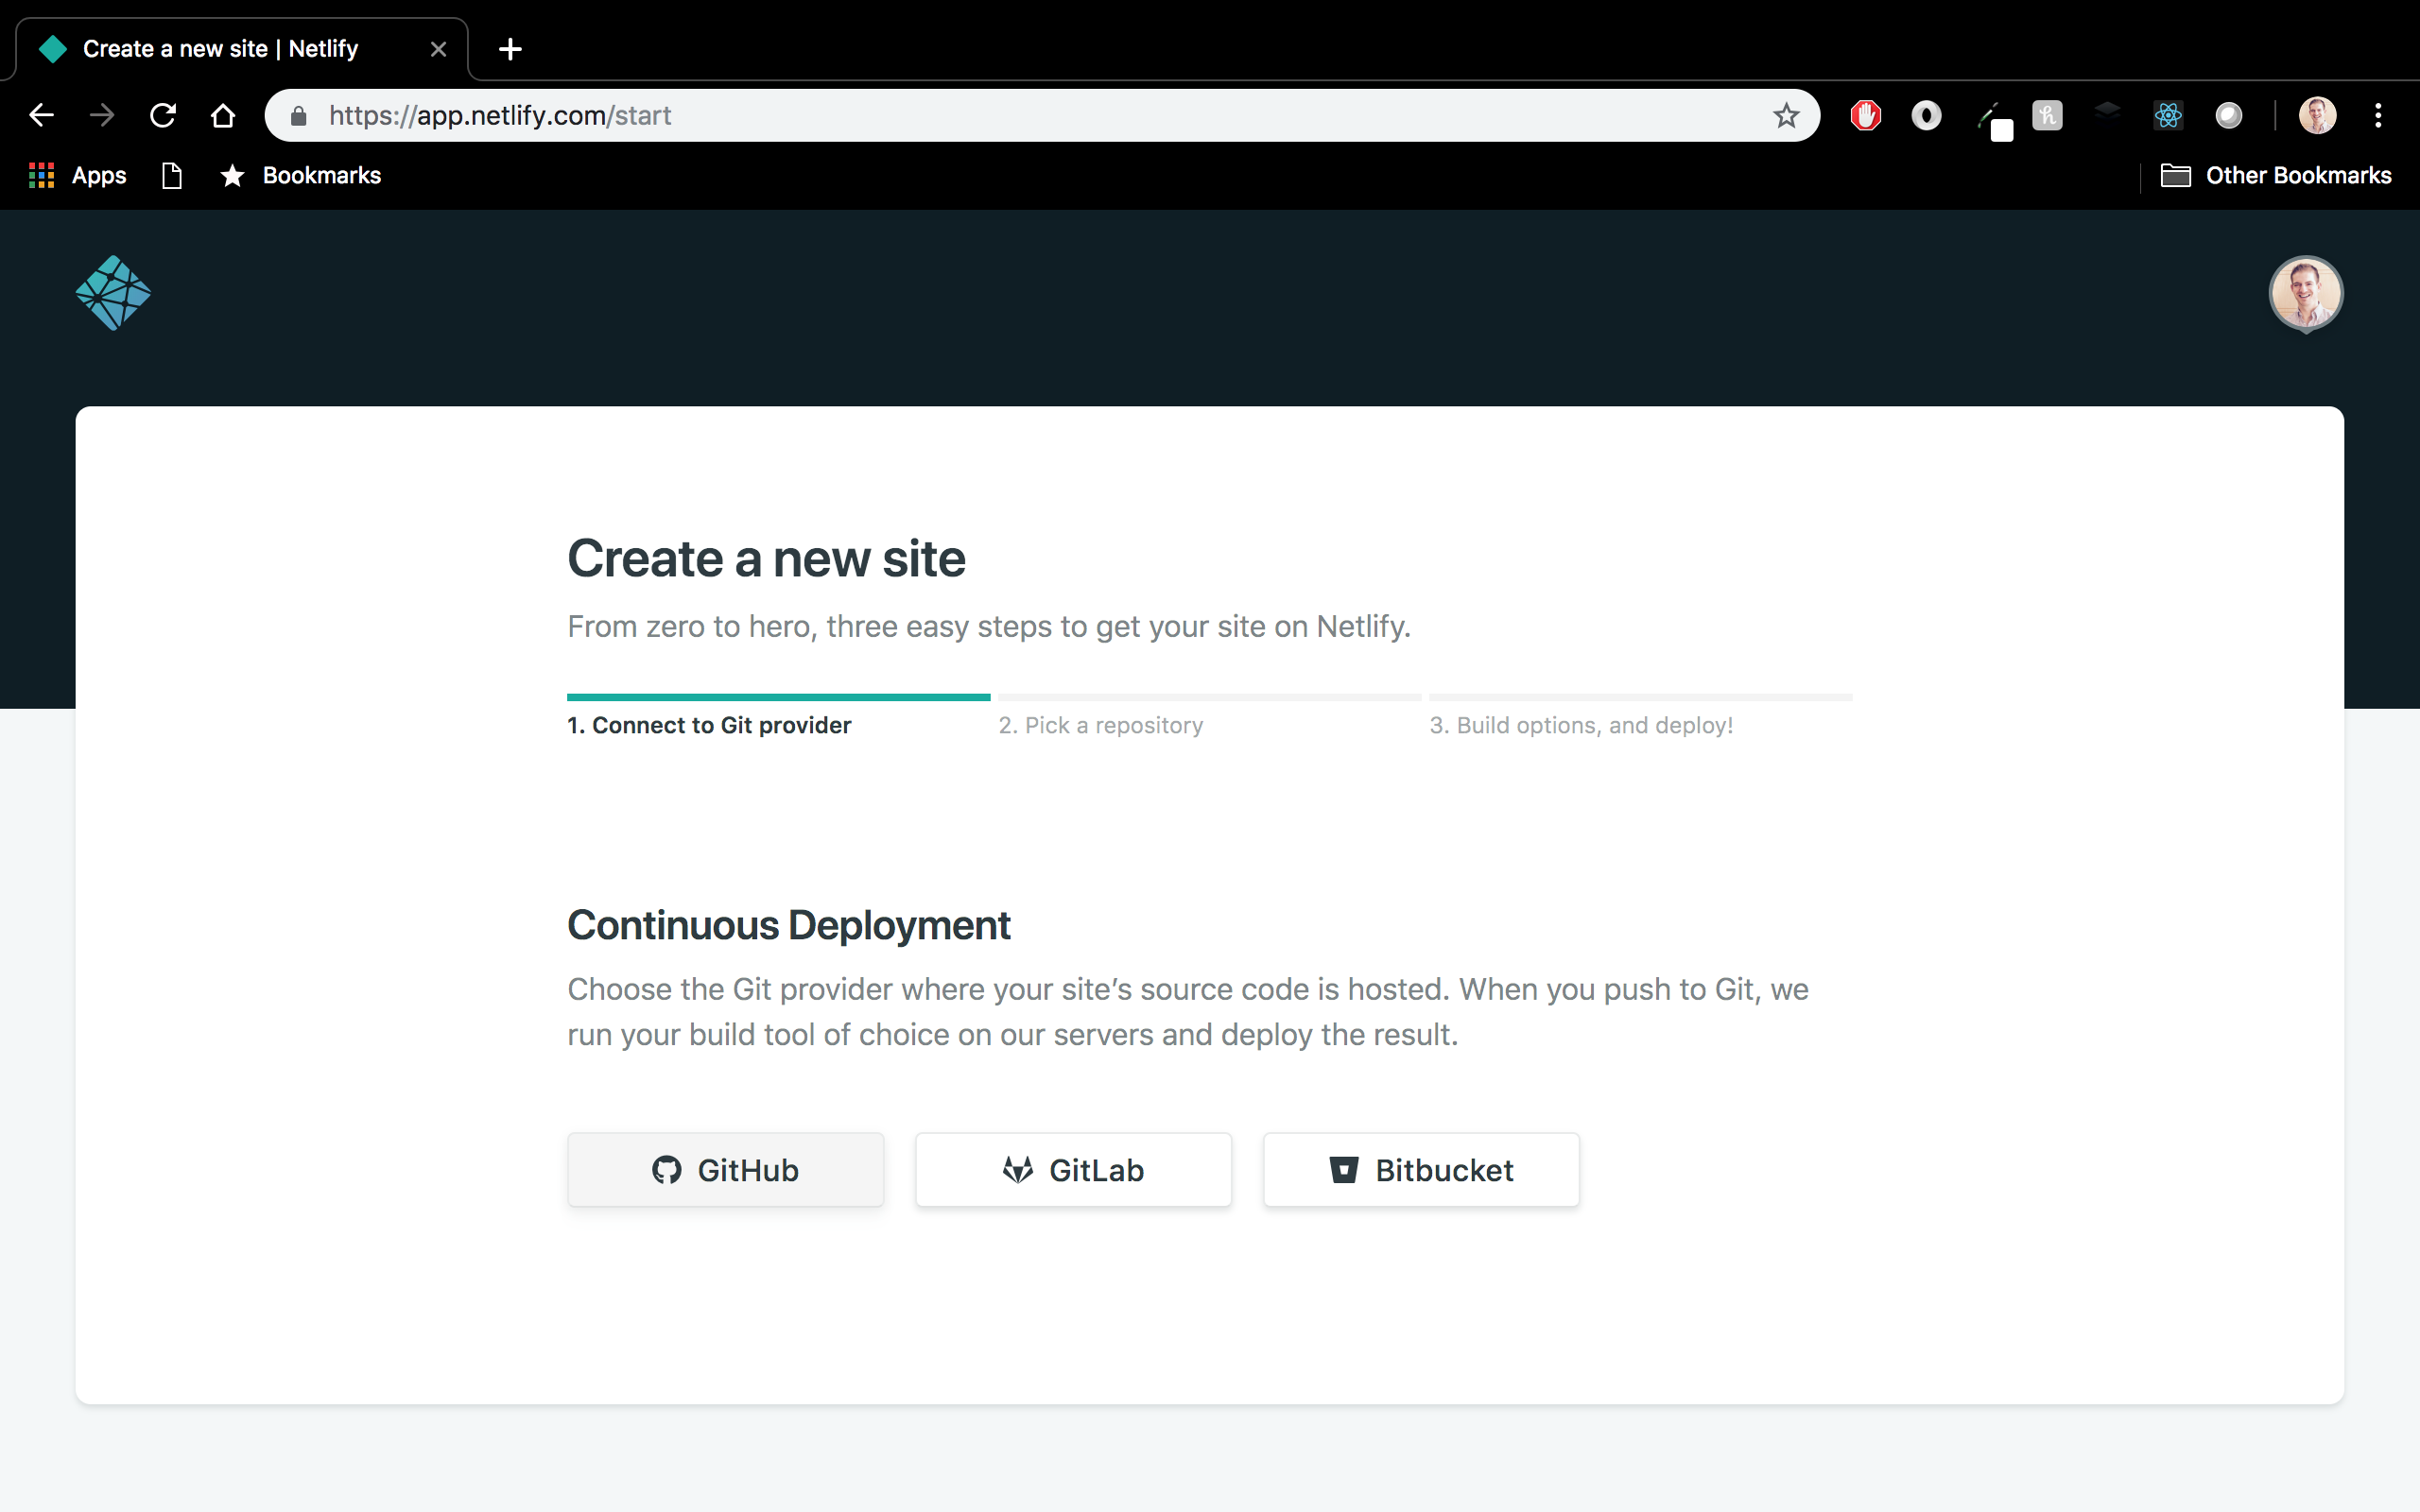
Then, click the New Site From Git button. From here, you’ll be given a choice for Cotinuous Deployment, so choose Github. This means that every time you check your code into your Github repository, your site will be rebuilt to reflect those changes.
Then select your repository.

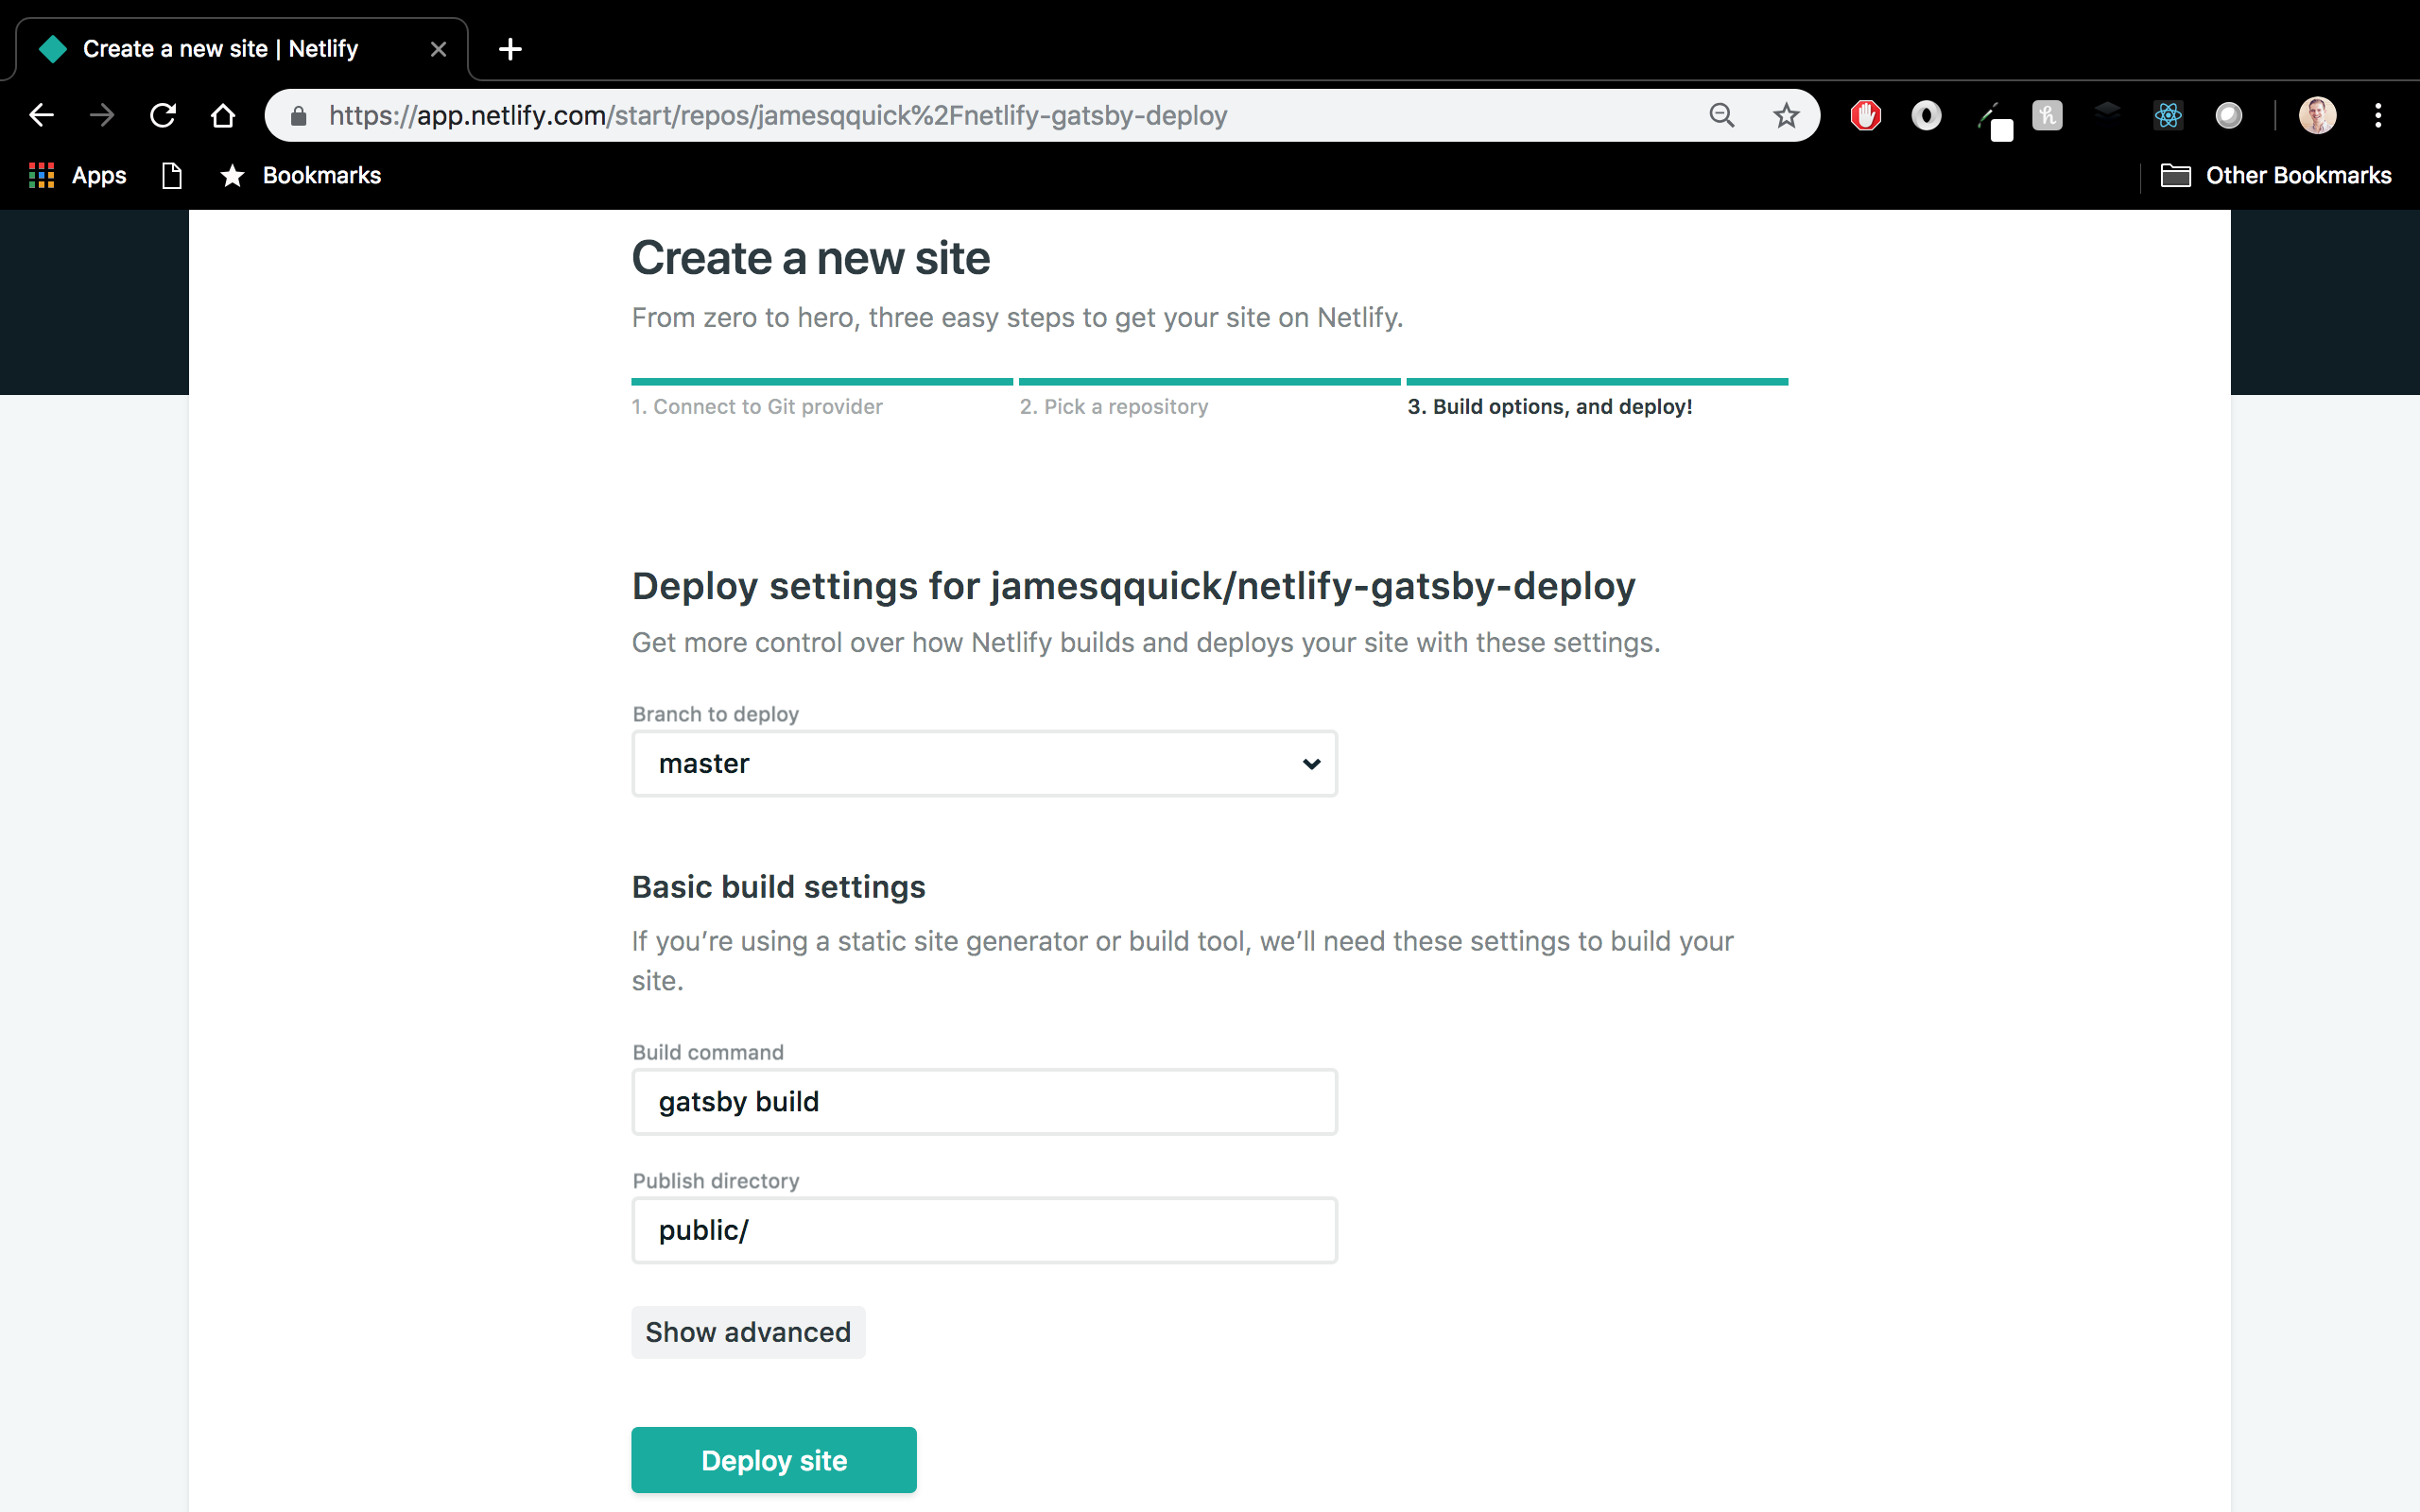
Now you’ll need to configure your deployment. You can choose which branch of your repository to connect for Continuous Deployment. Probably the most common branch is master, and that’s what I’m going to use here.
The next two settings, build command and public directory, are important to understand. Basically, Netlify allows you to run one command when it rebuilds your site. With Gatbsy sites, you almost always want to run gatsby build. This does a production build of your site, and by default, puts the built assets in a directory called public. This public directory is where Netlify will actually serve your site/files. For this reason, we will run the gatsby build command as well as tell Netlify our public directory is, in fact, called public.
Go ahead and click Deploy Site.
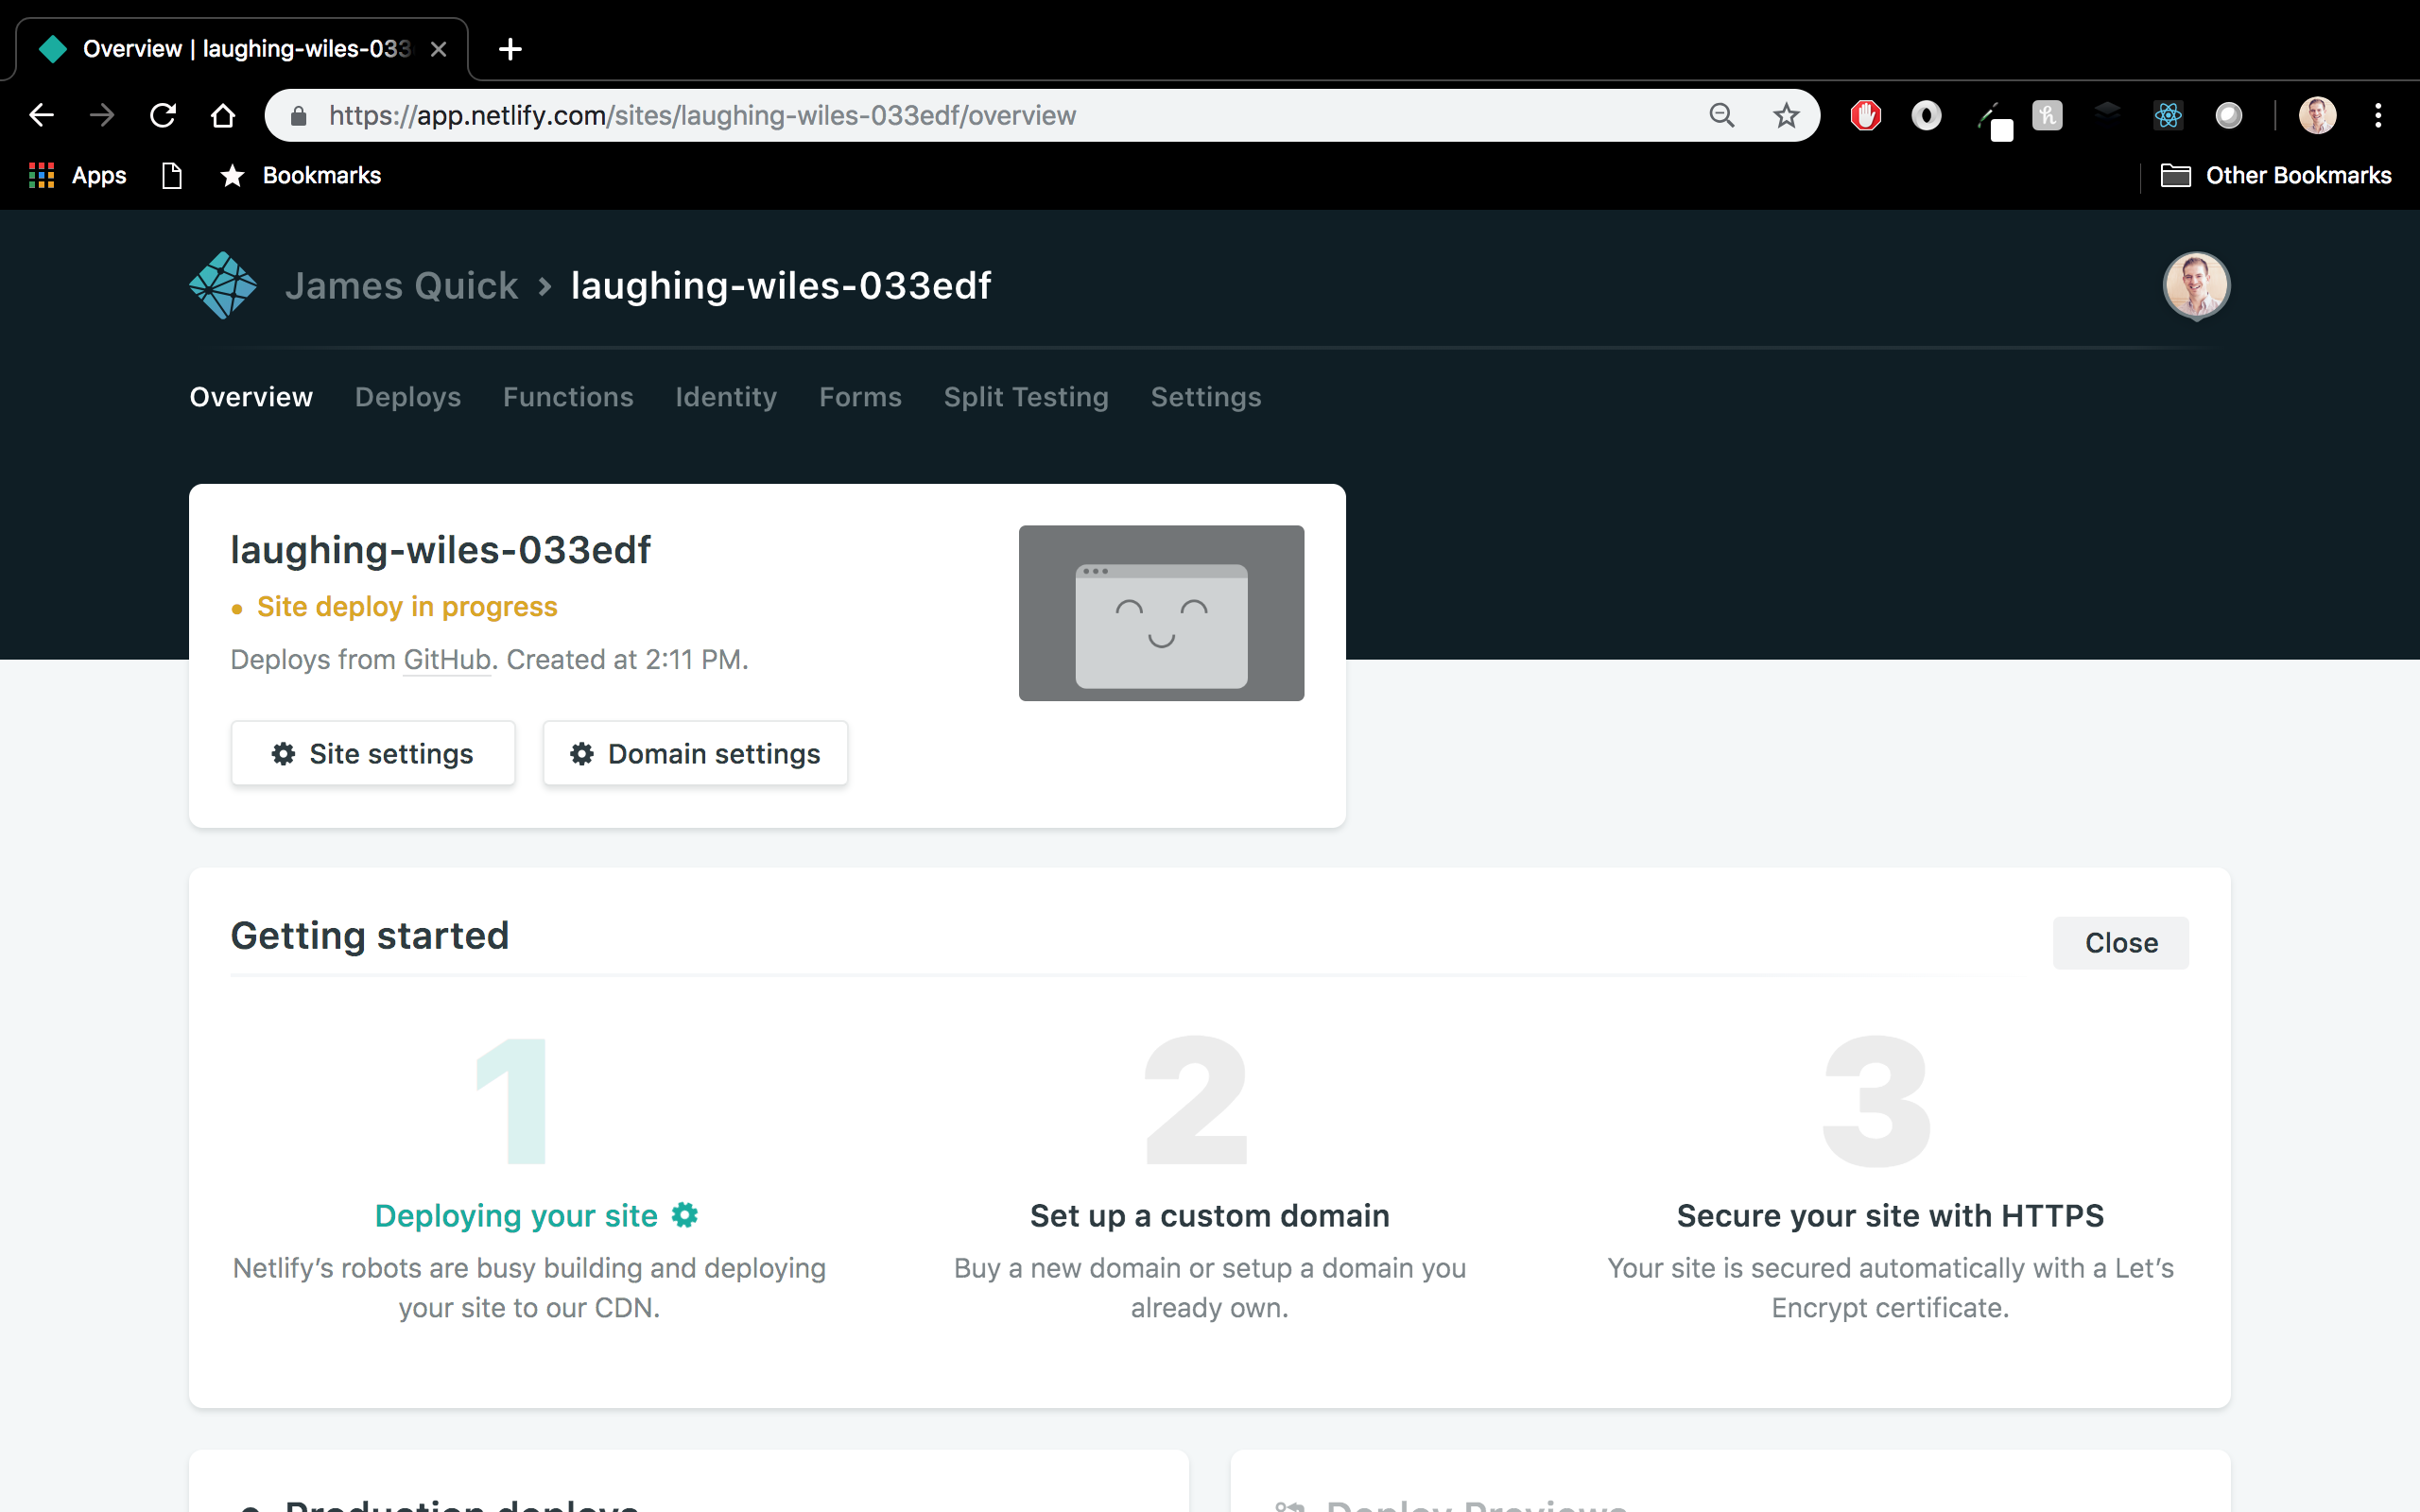
This will go out to Github and pull your latest code, then run the command we defined. You should see that a build is in progress.
After a minute or so, you’ll see that it’s finished.
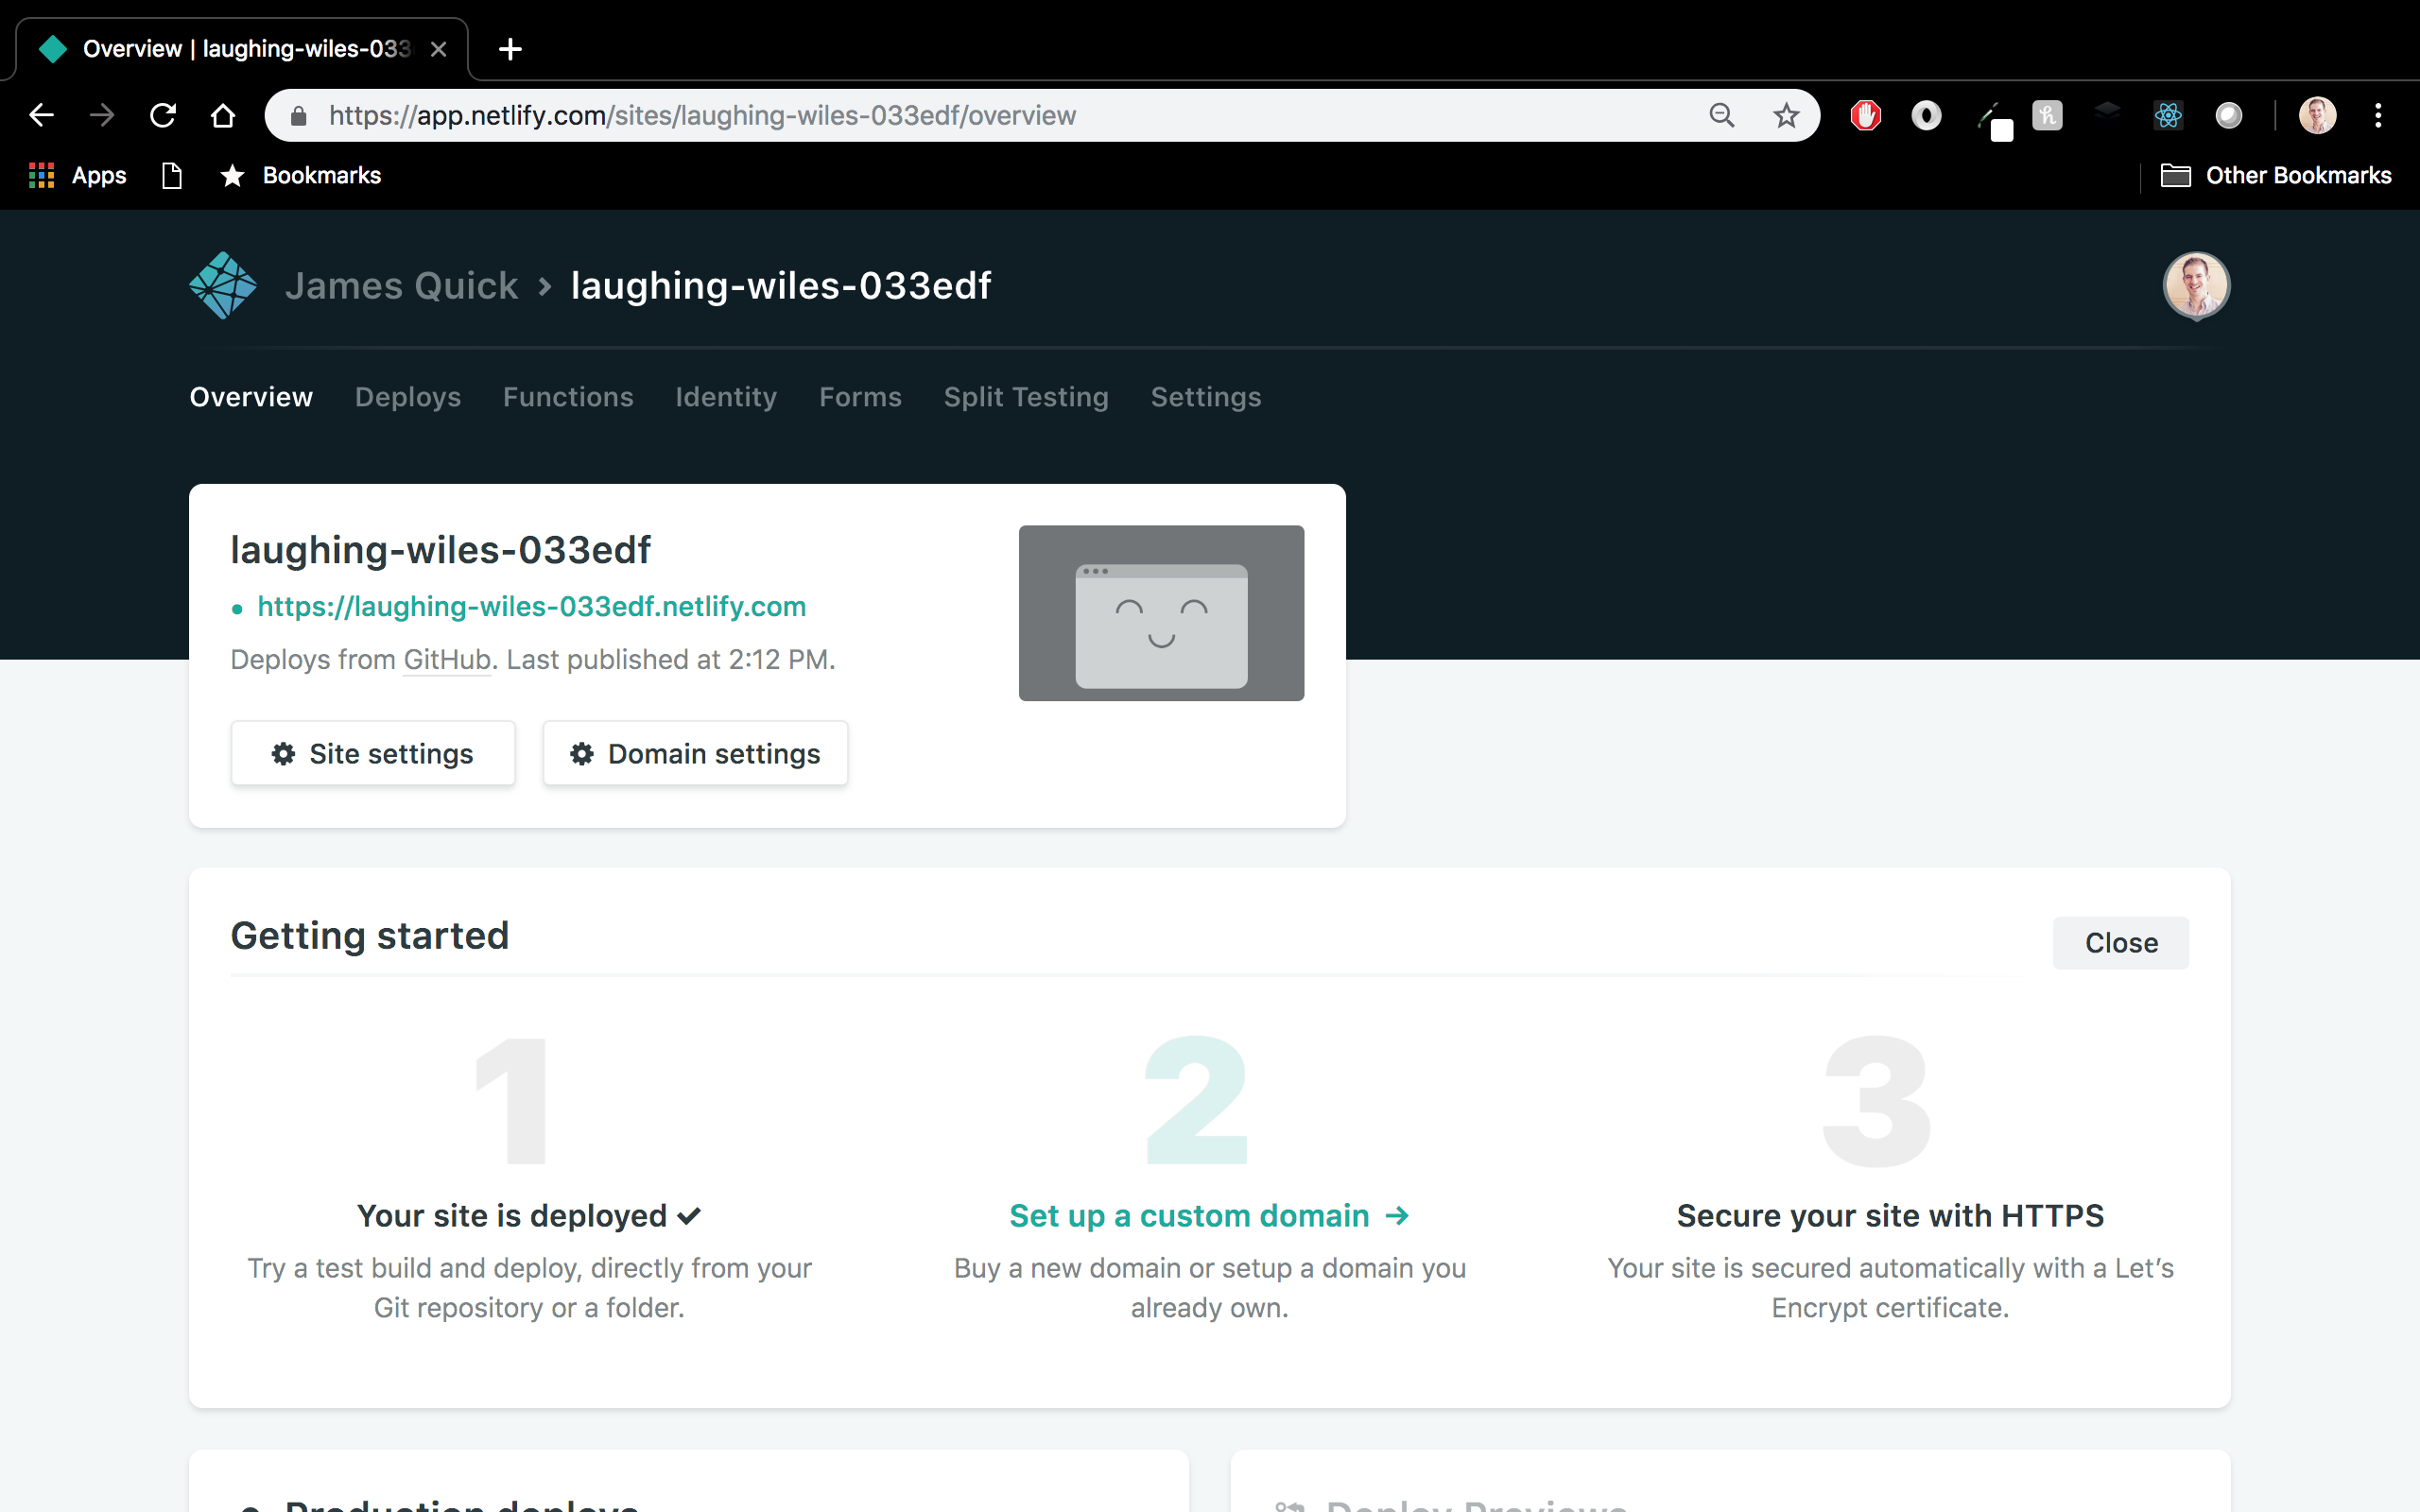
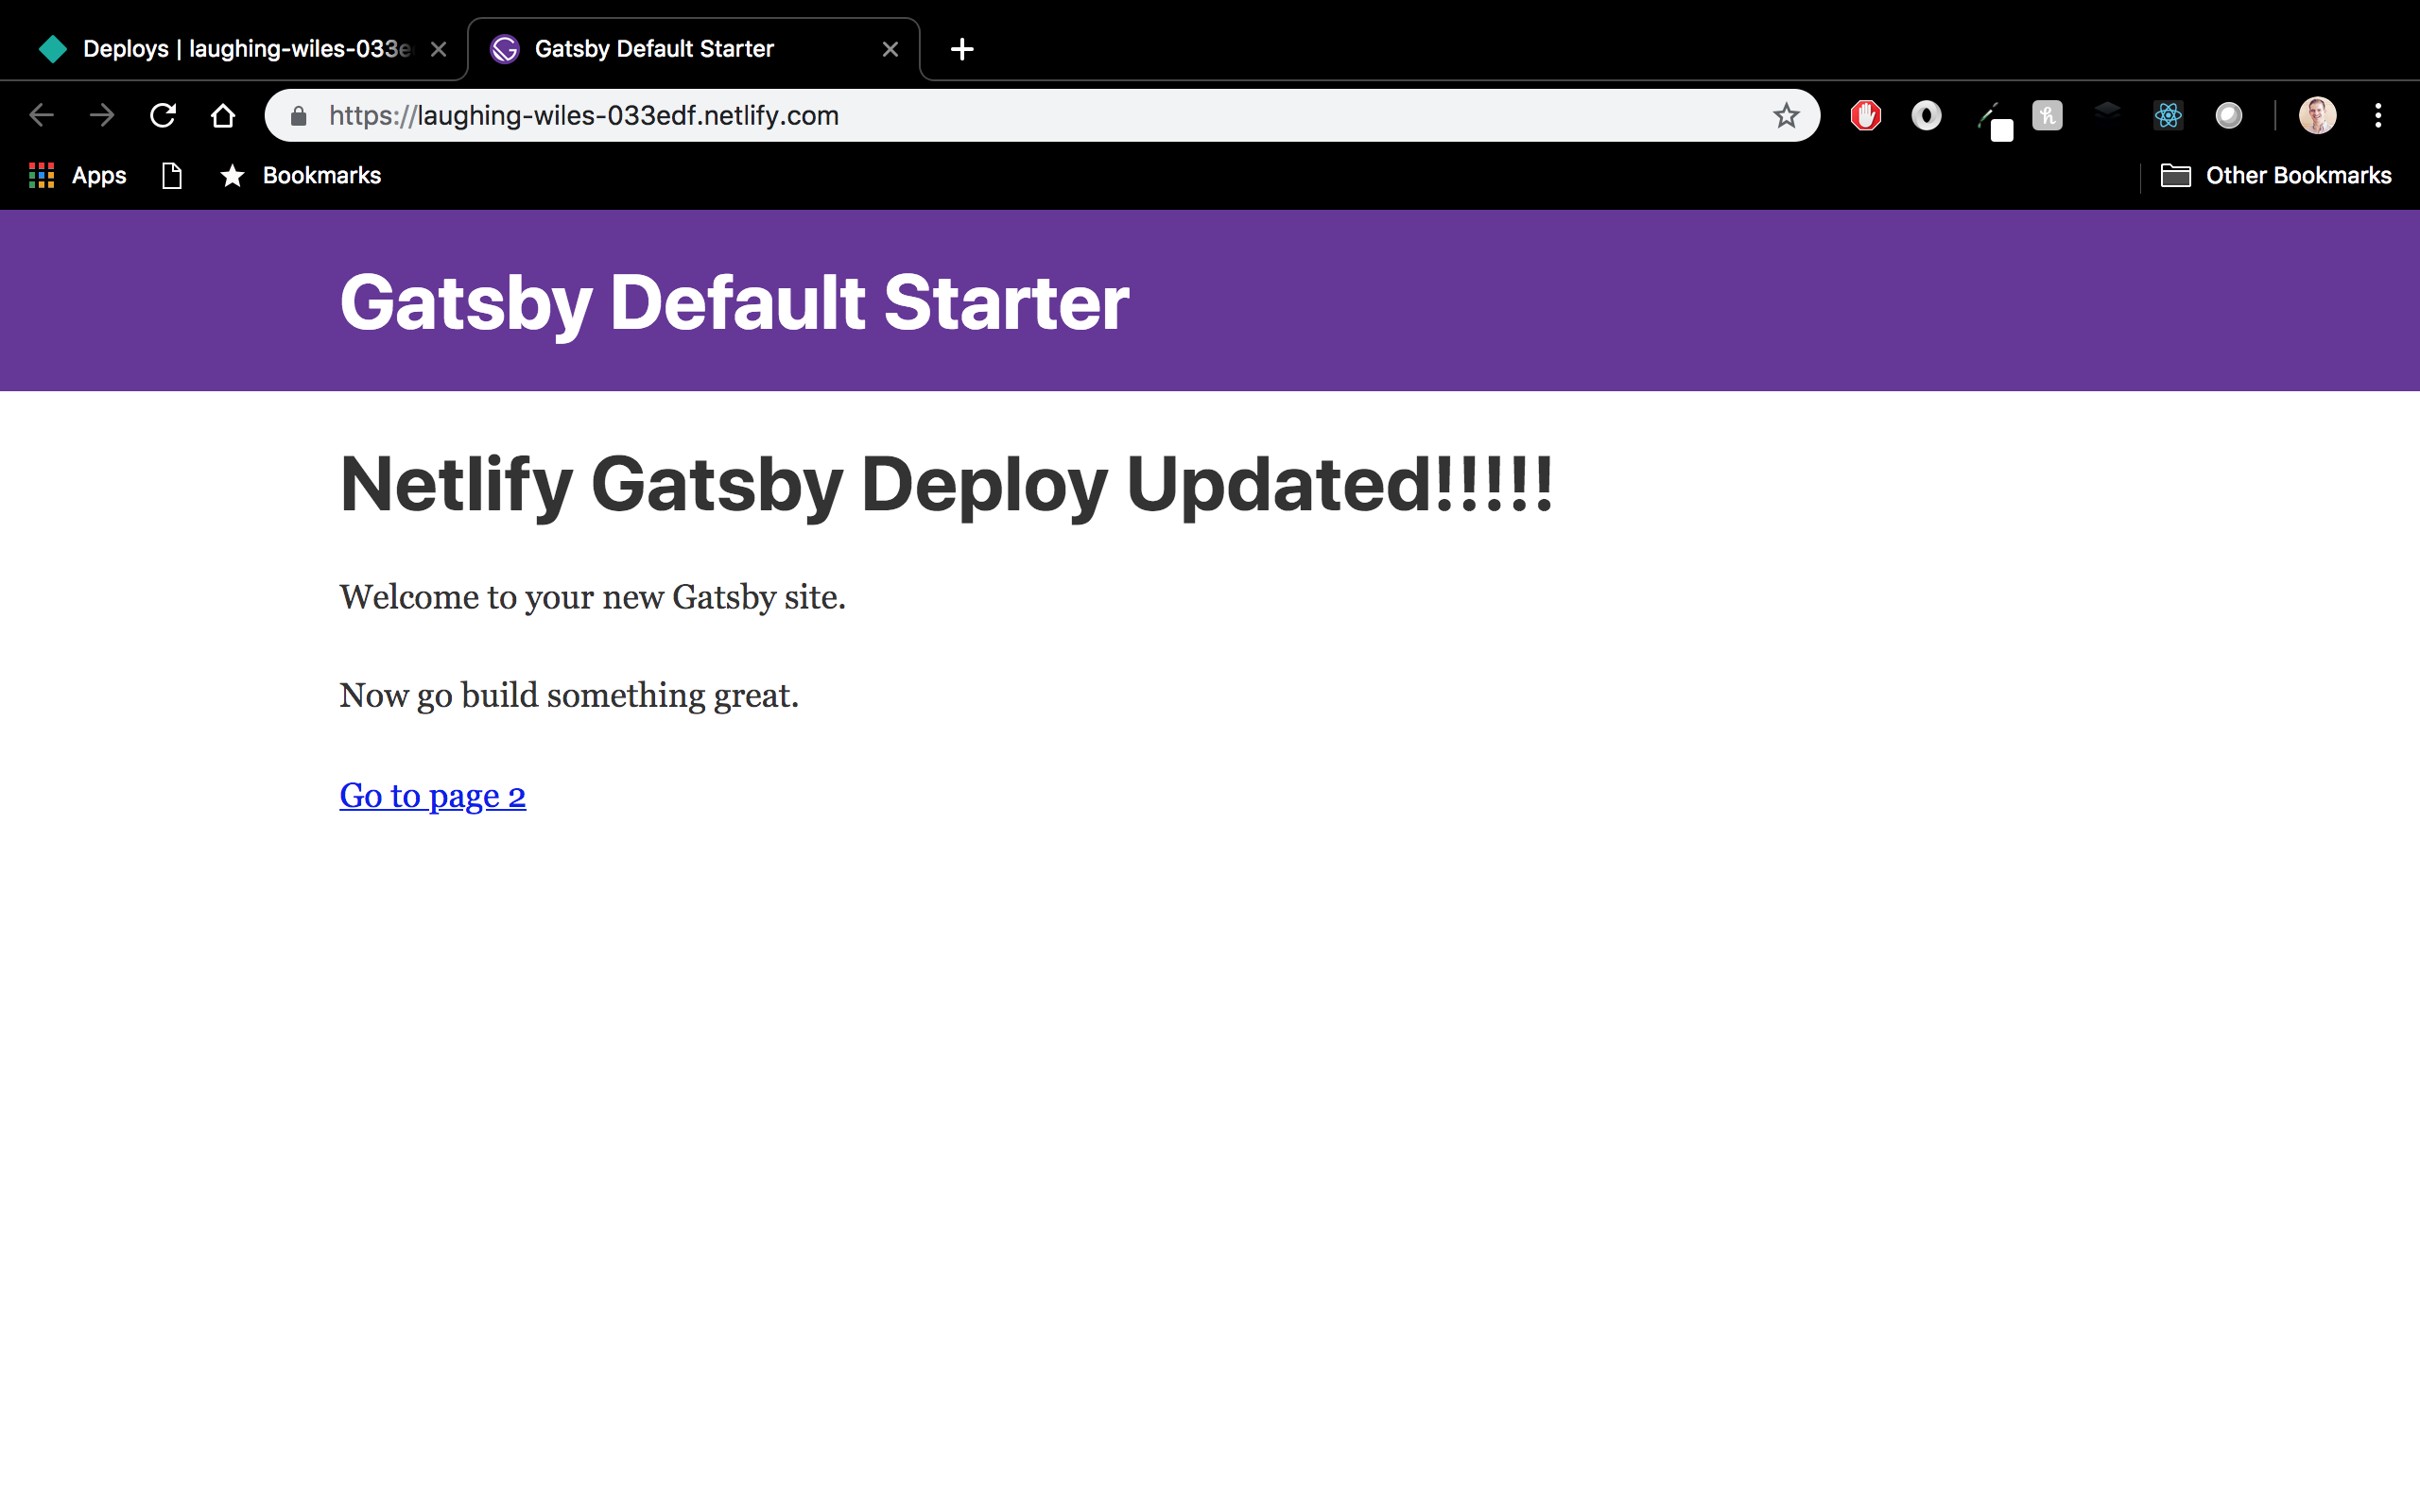
You can click the link associated with your site to see it live!
You did it…your very first Gatsby site is LIVE!! The cool part is that, from now on, every time you commit to your master branch, your site will be automatically rebuilt. I’ll make a small change in my code (the h1 tag in the index.js file) and push it to Github.
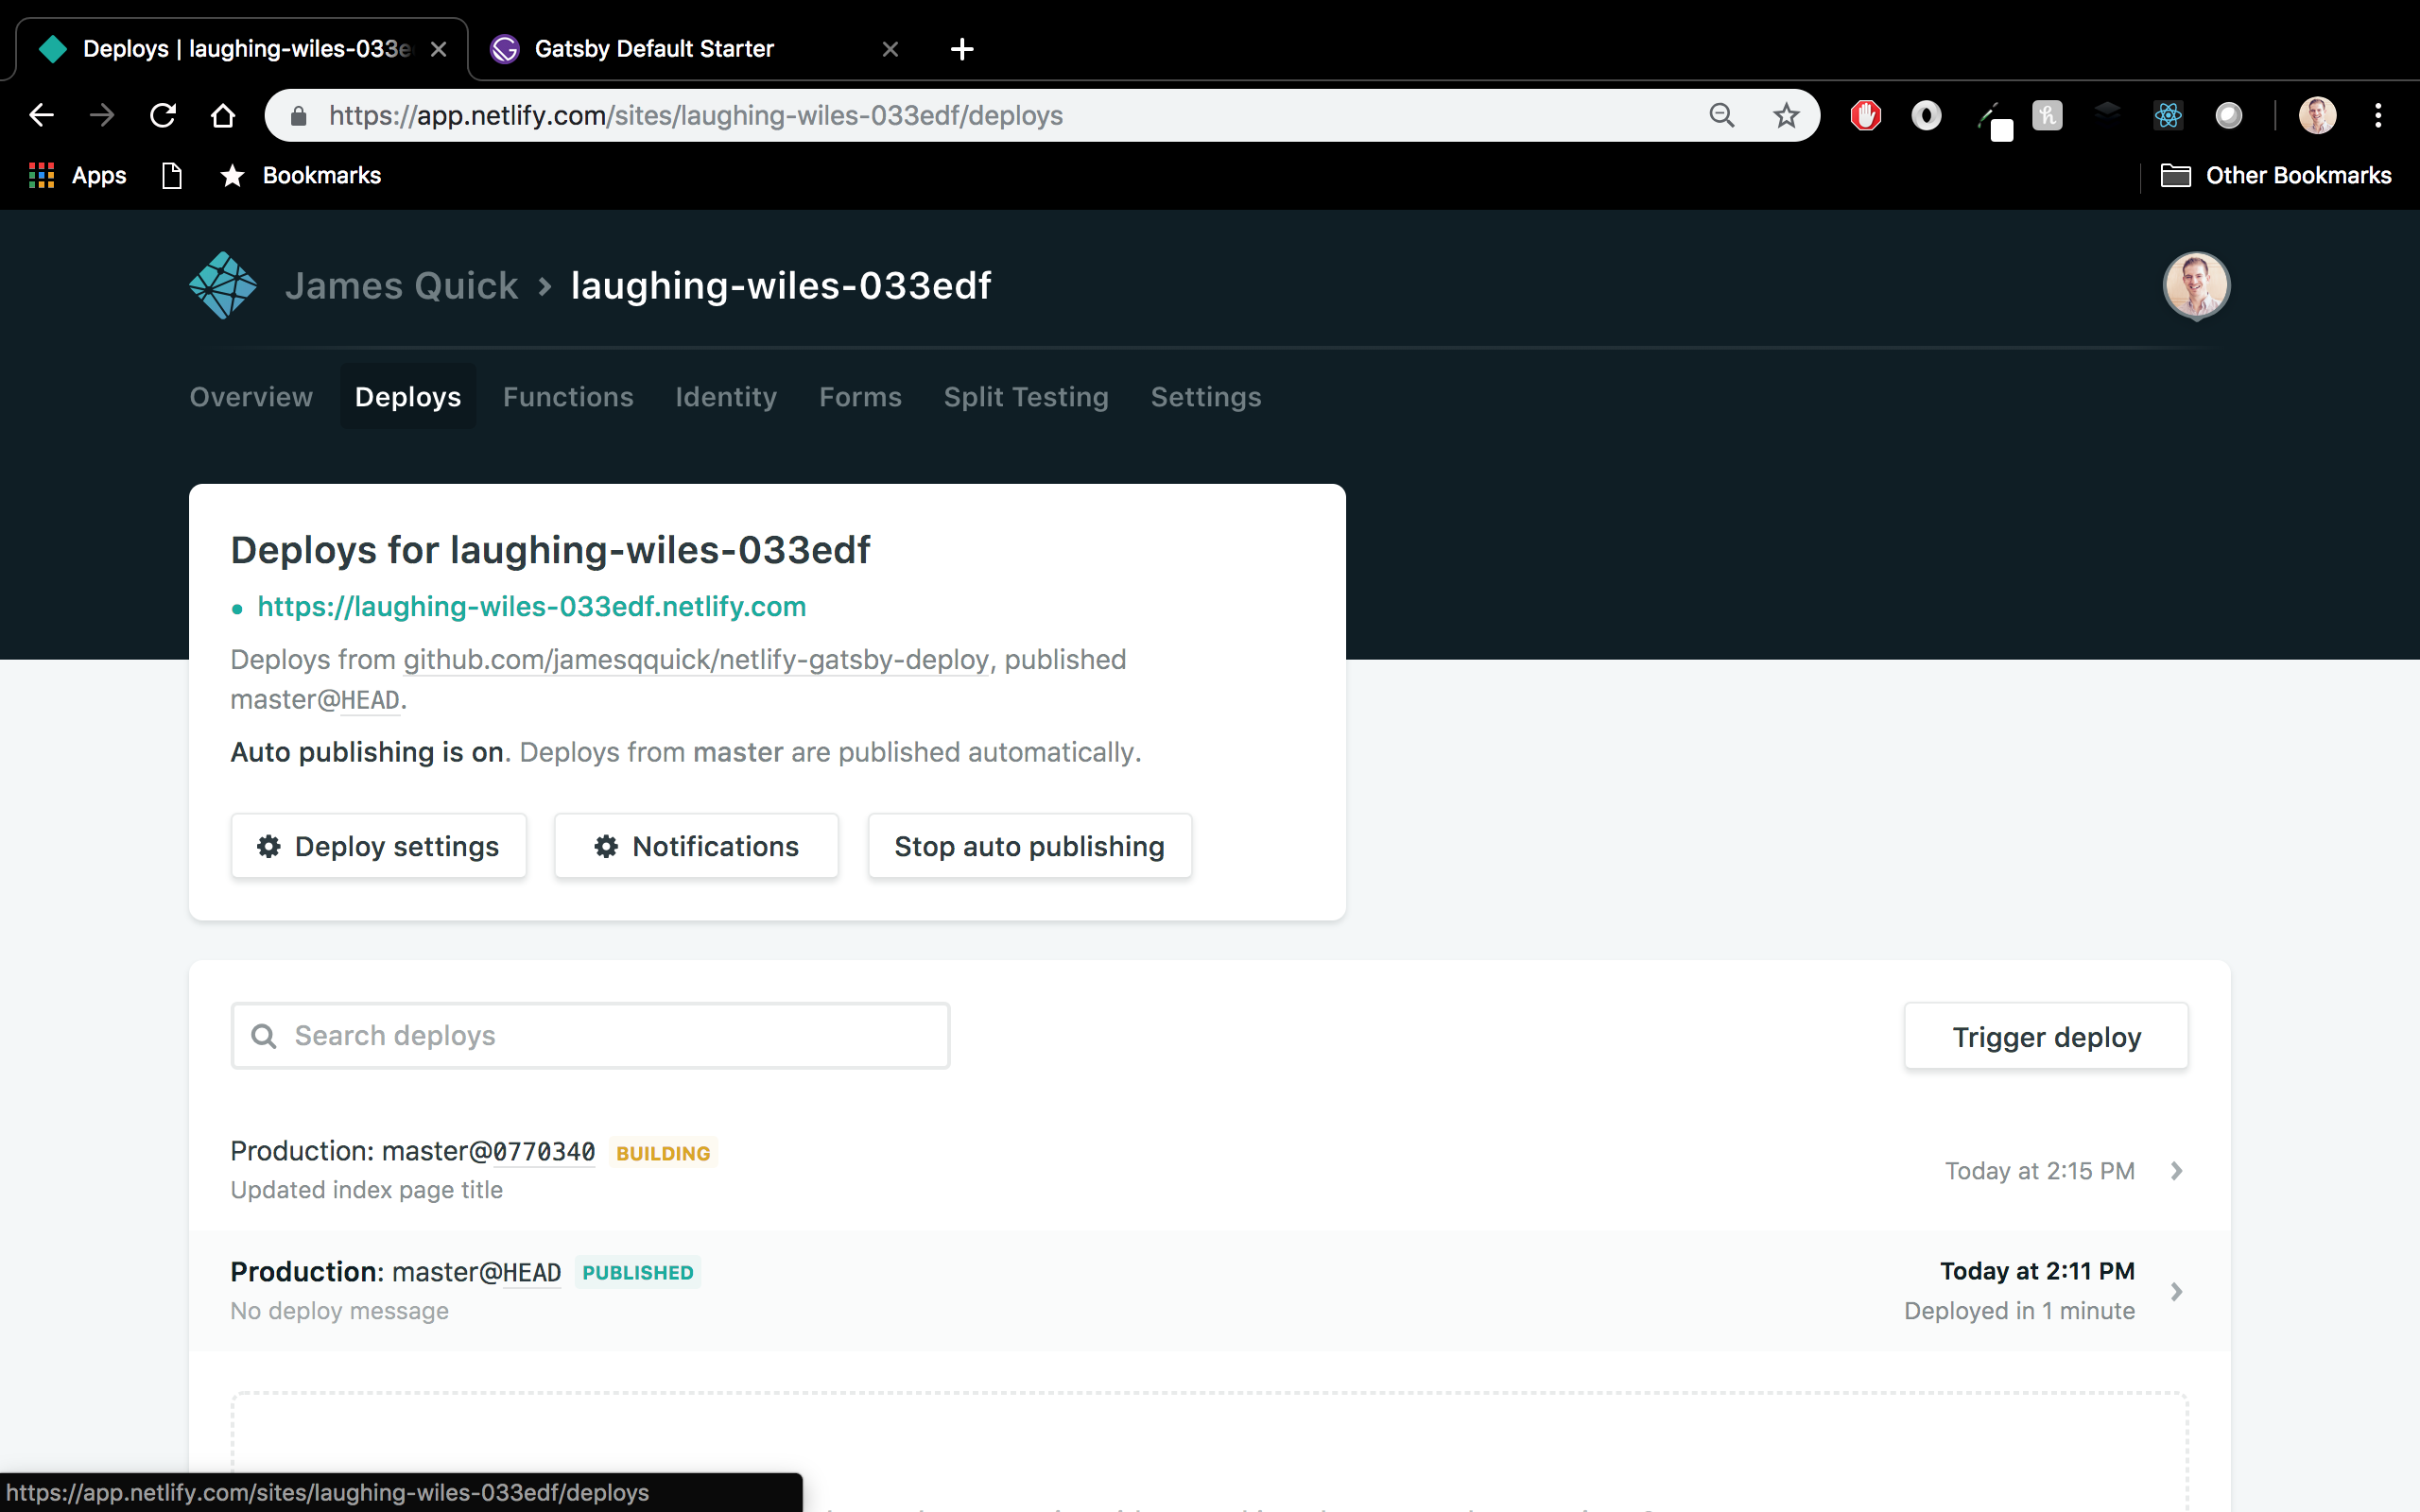
Back in Netlify, under the deployments tab, you can see that the site is being rebuilt.
…and a minute or so later, it’s finished.
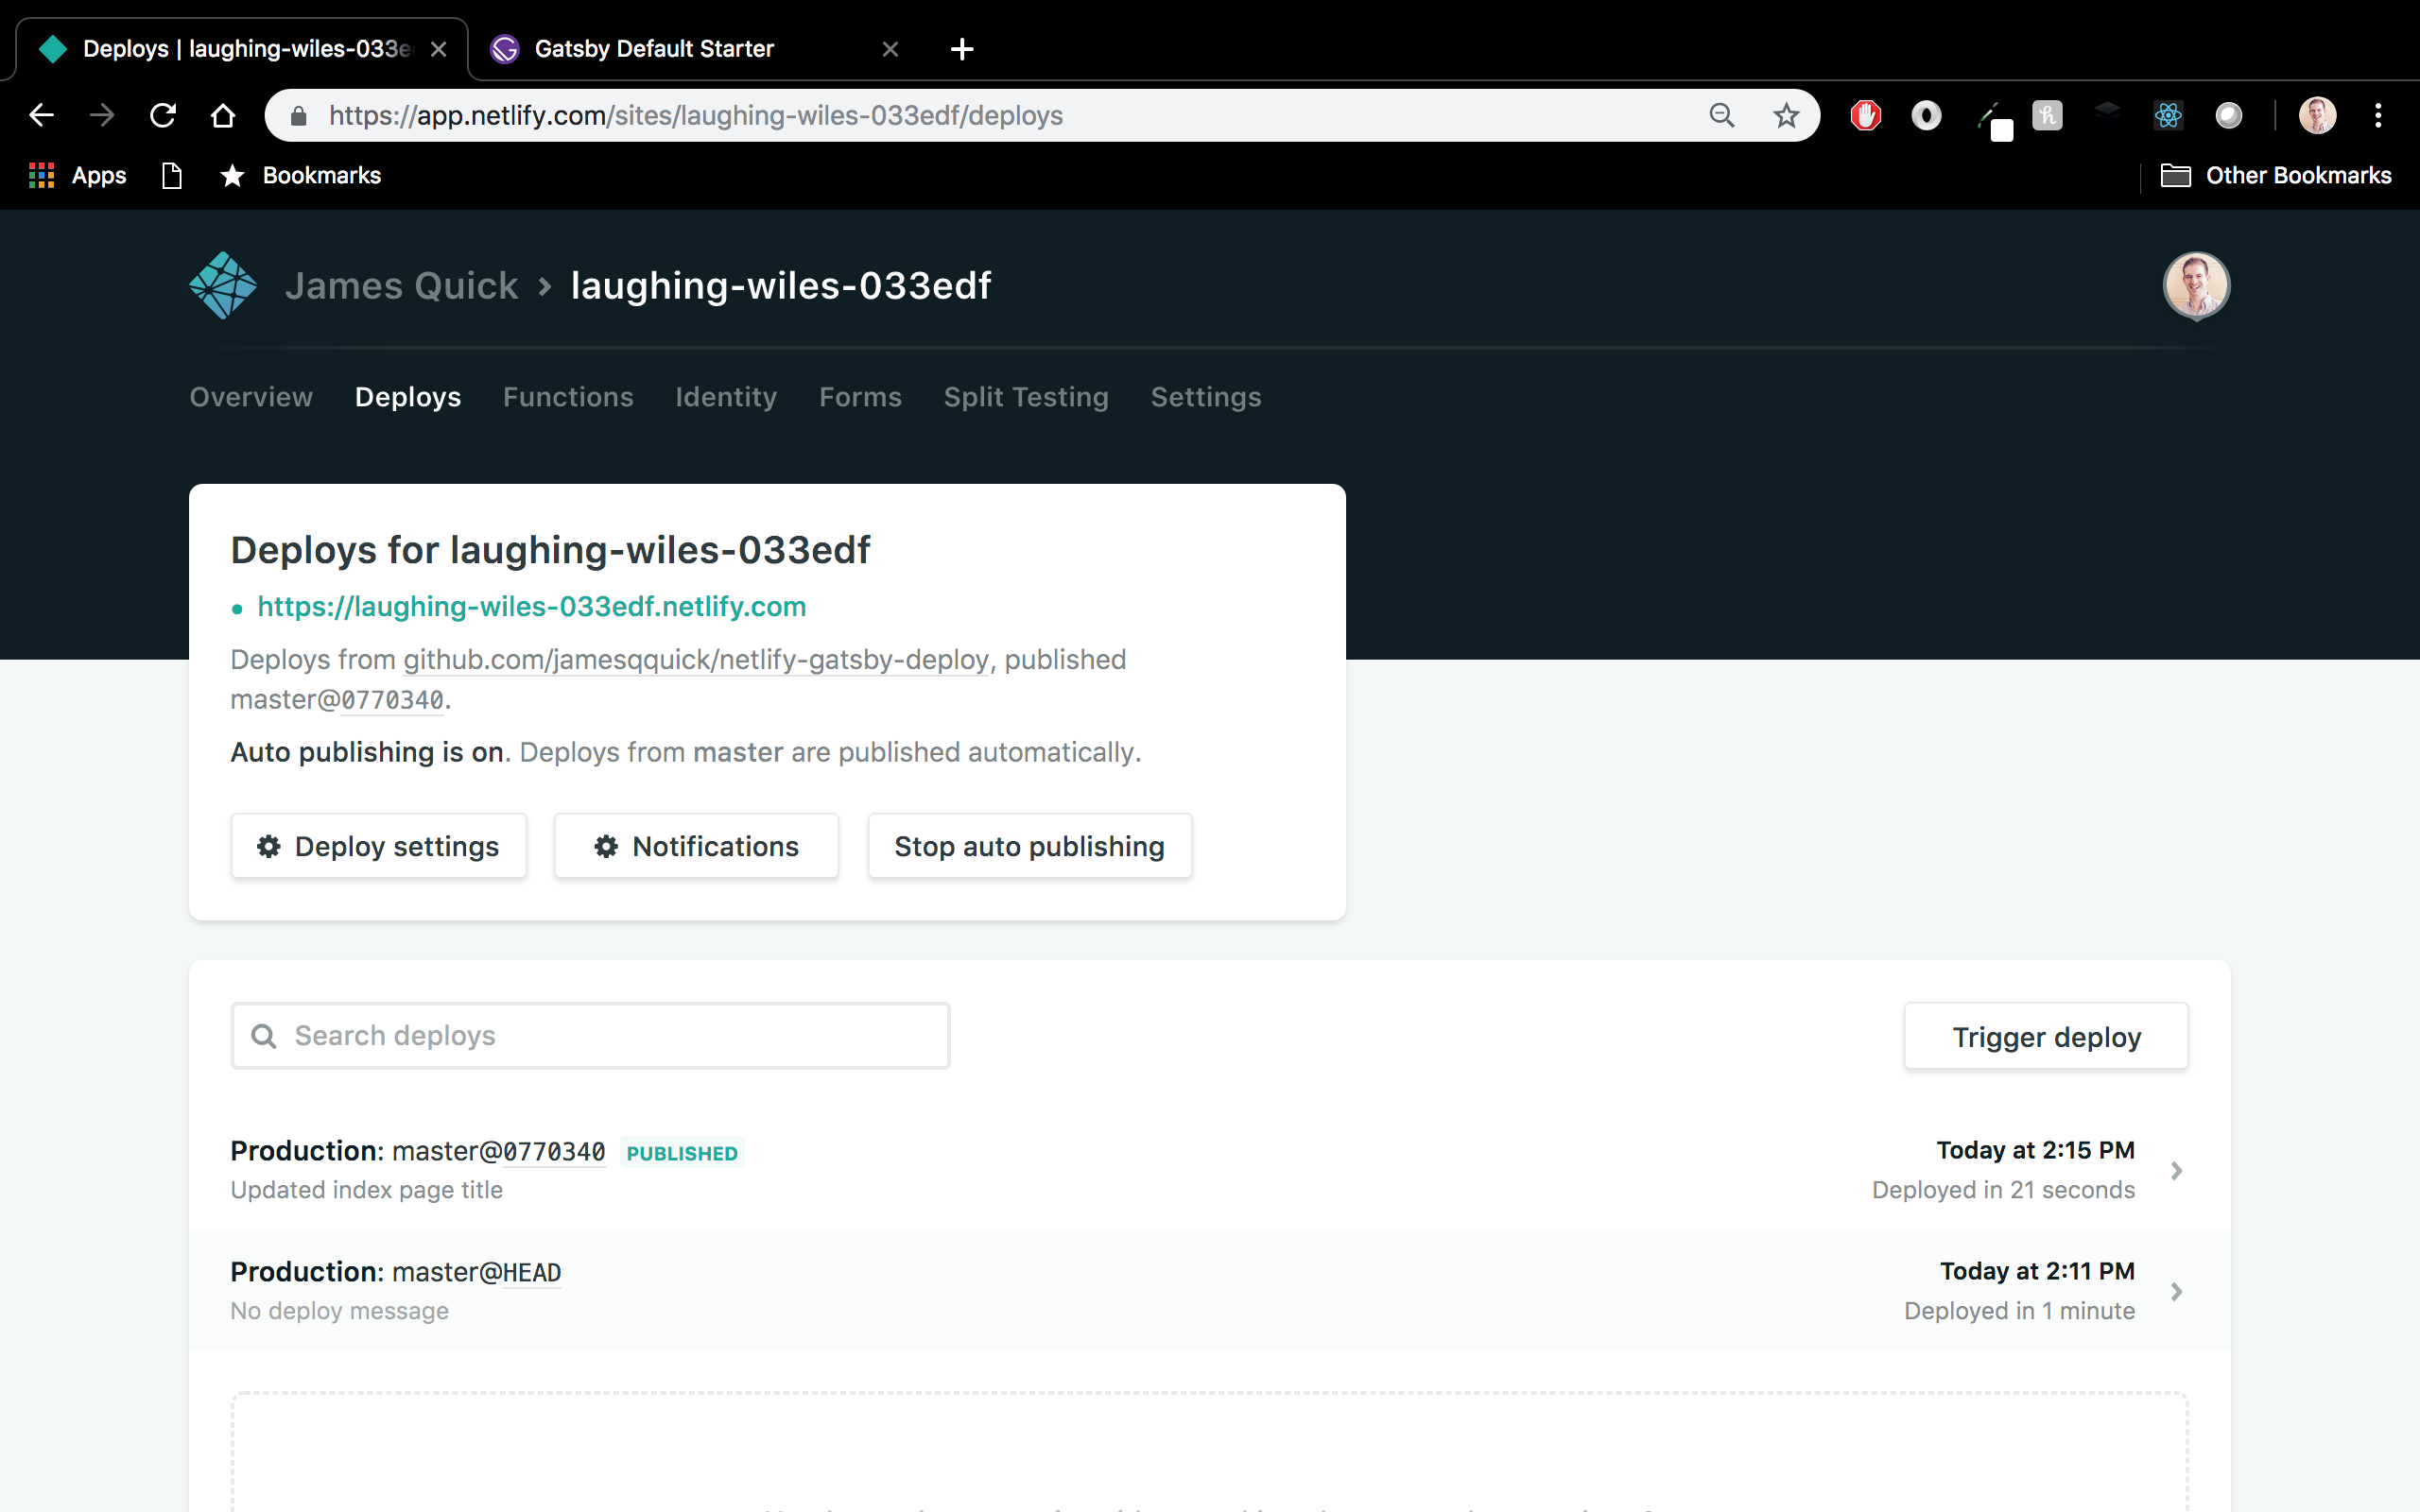
and you can reload the page in the browser and see the changes.
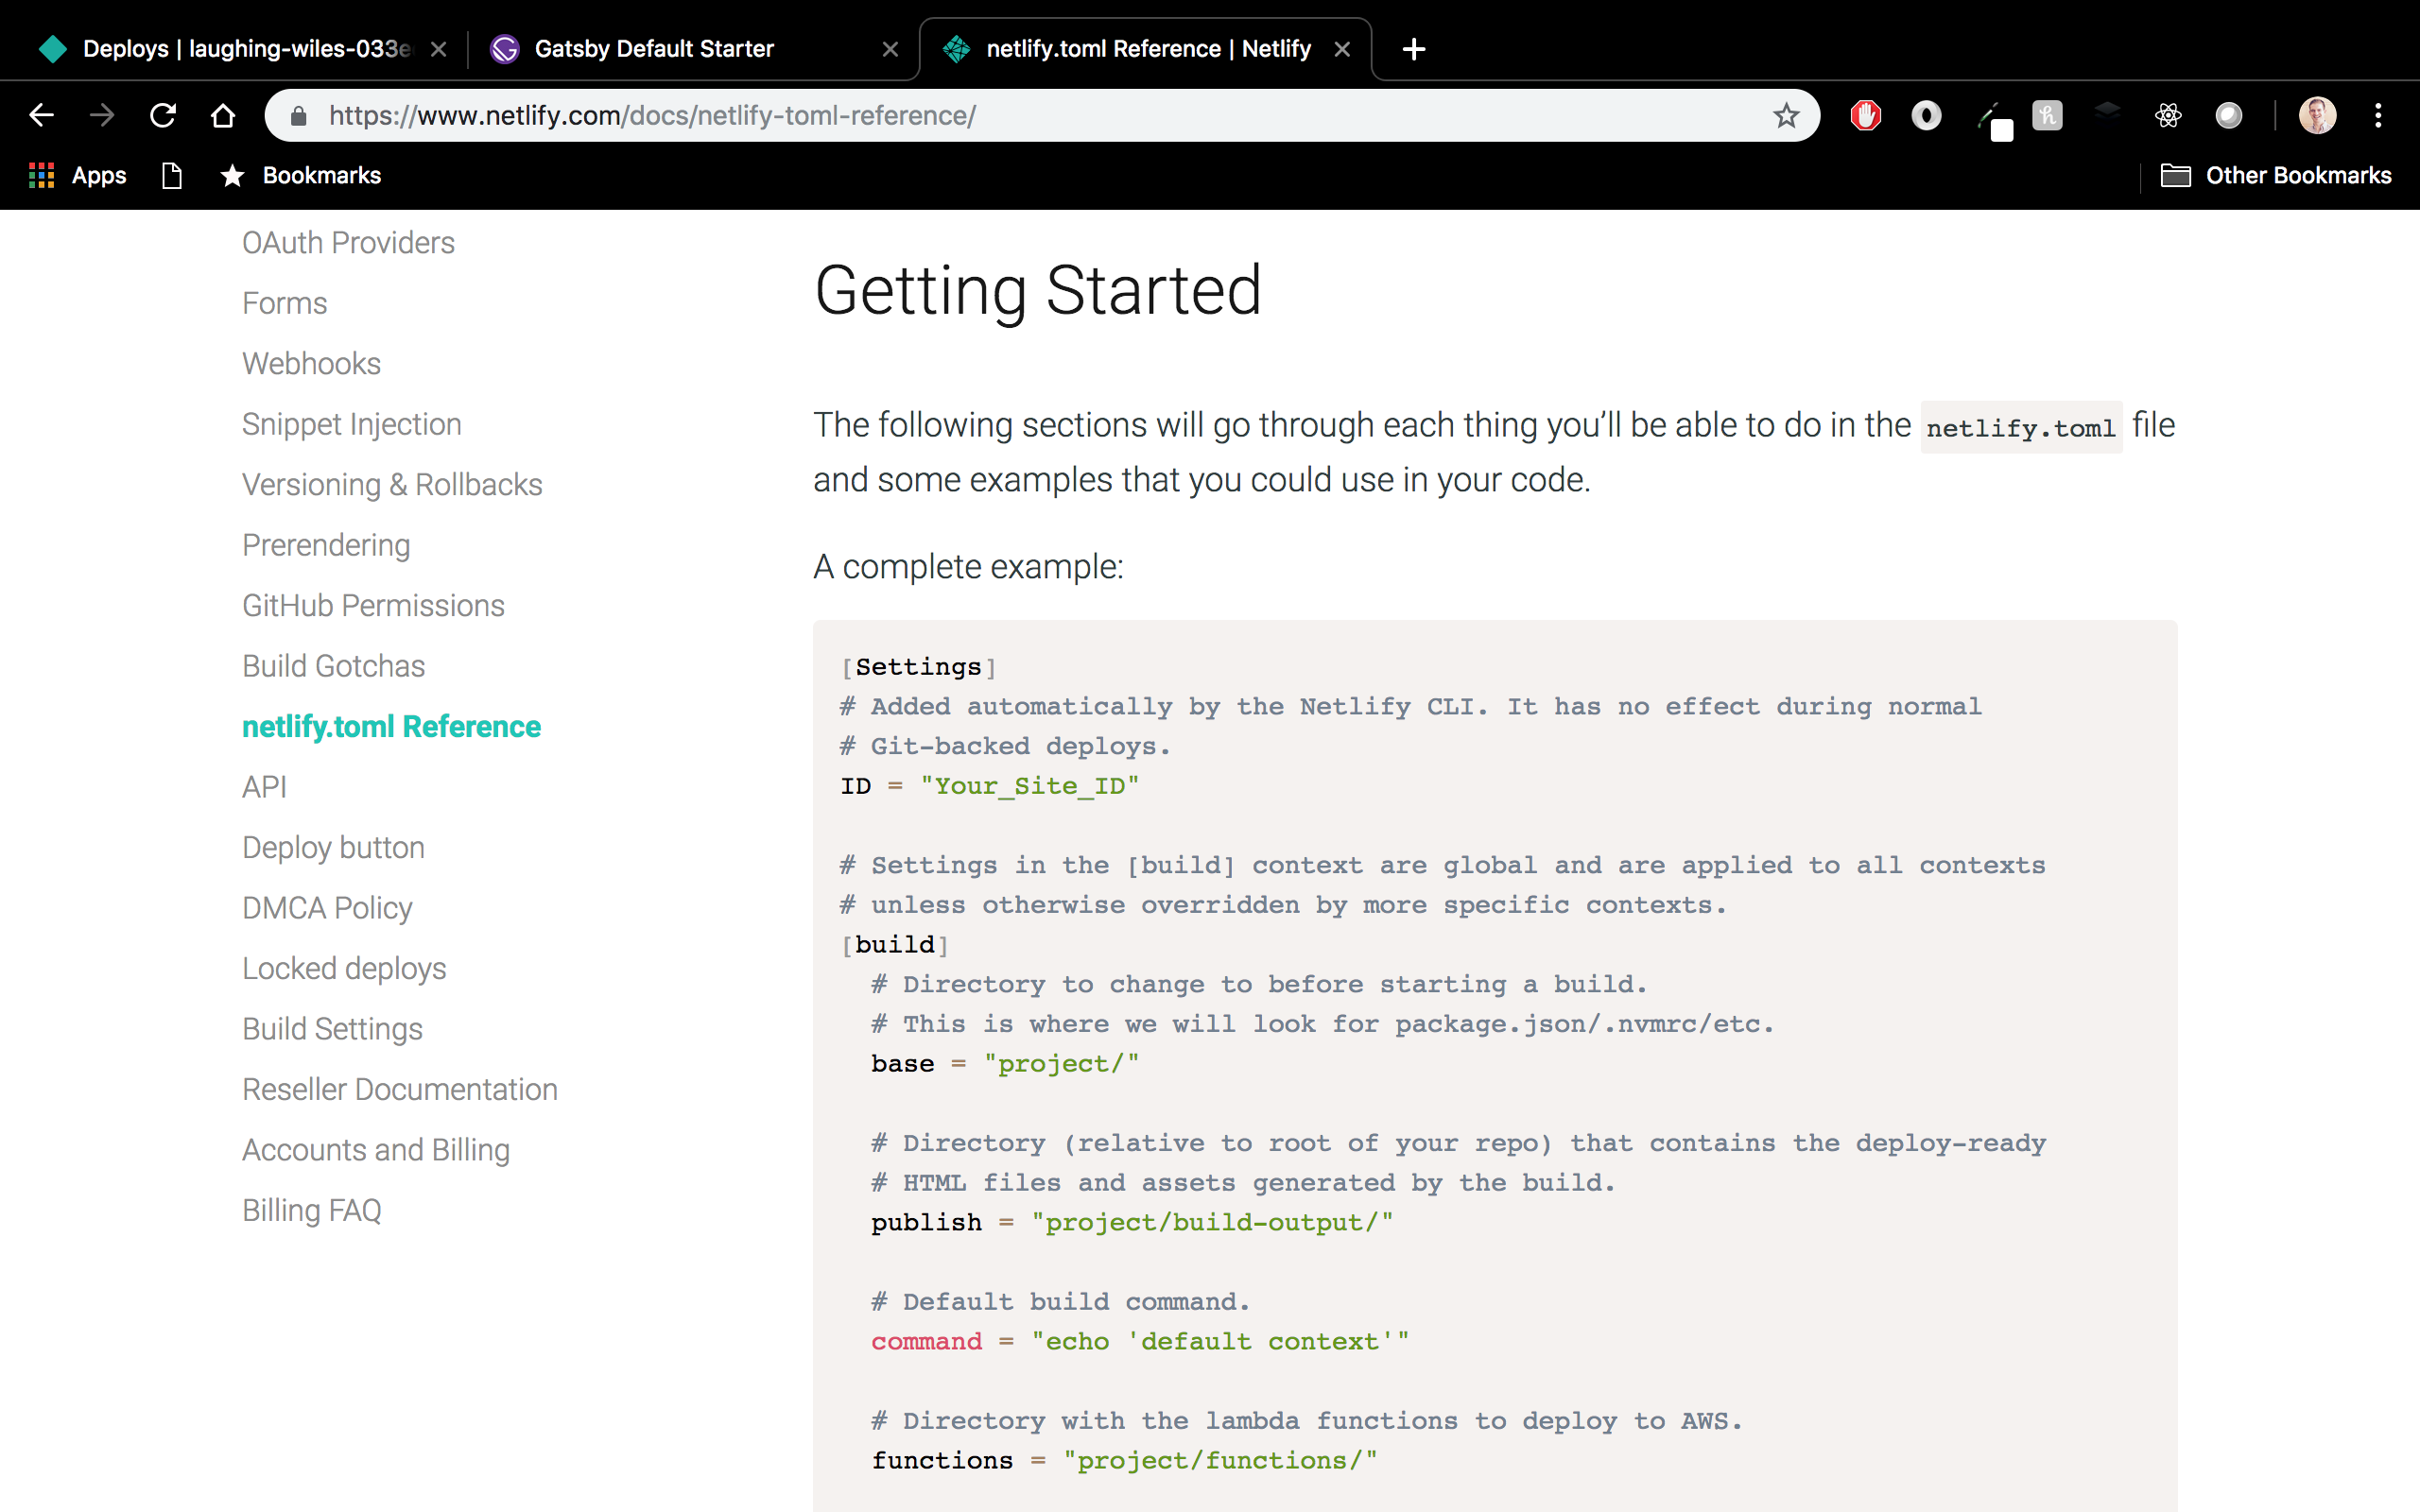
There’s one little bonus I want to mention here. Although, I won’t go into too much detail, there are ways to add more customization to your deployments. You can do this by including a configuration file, called Netlify.toml, in the root of your directory. In here, you can specify your build command as well as many other things.
It’s also worth noting that there are other settings you can look at in the Netlify dashboard under the Settings tab.
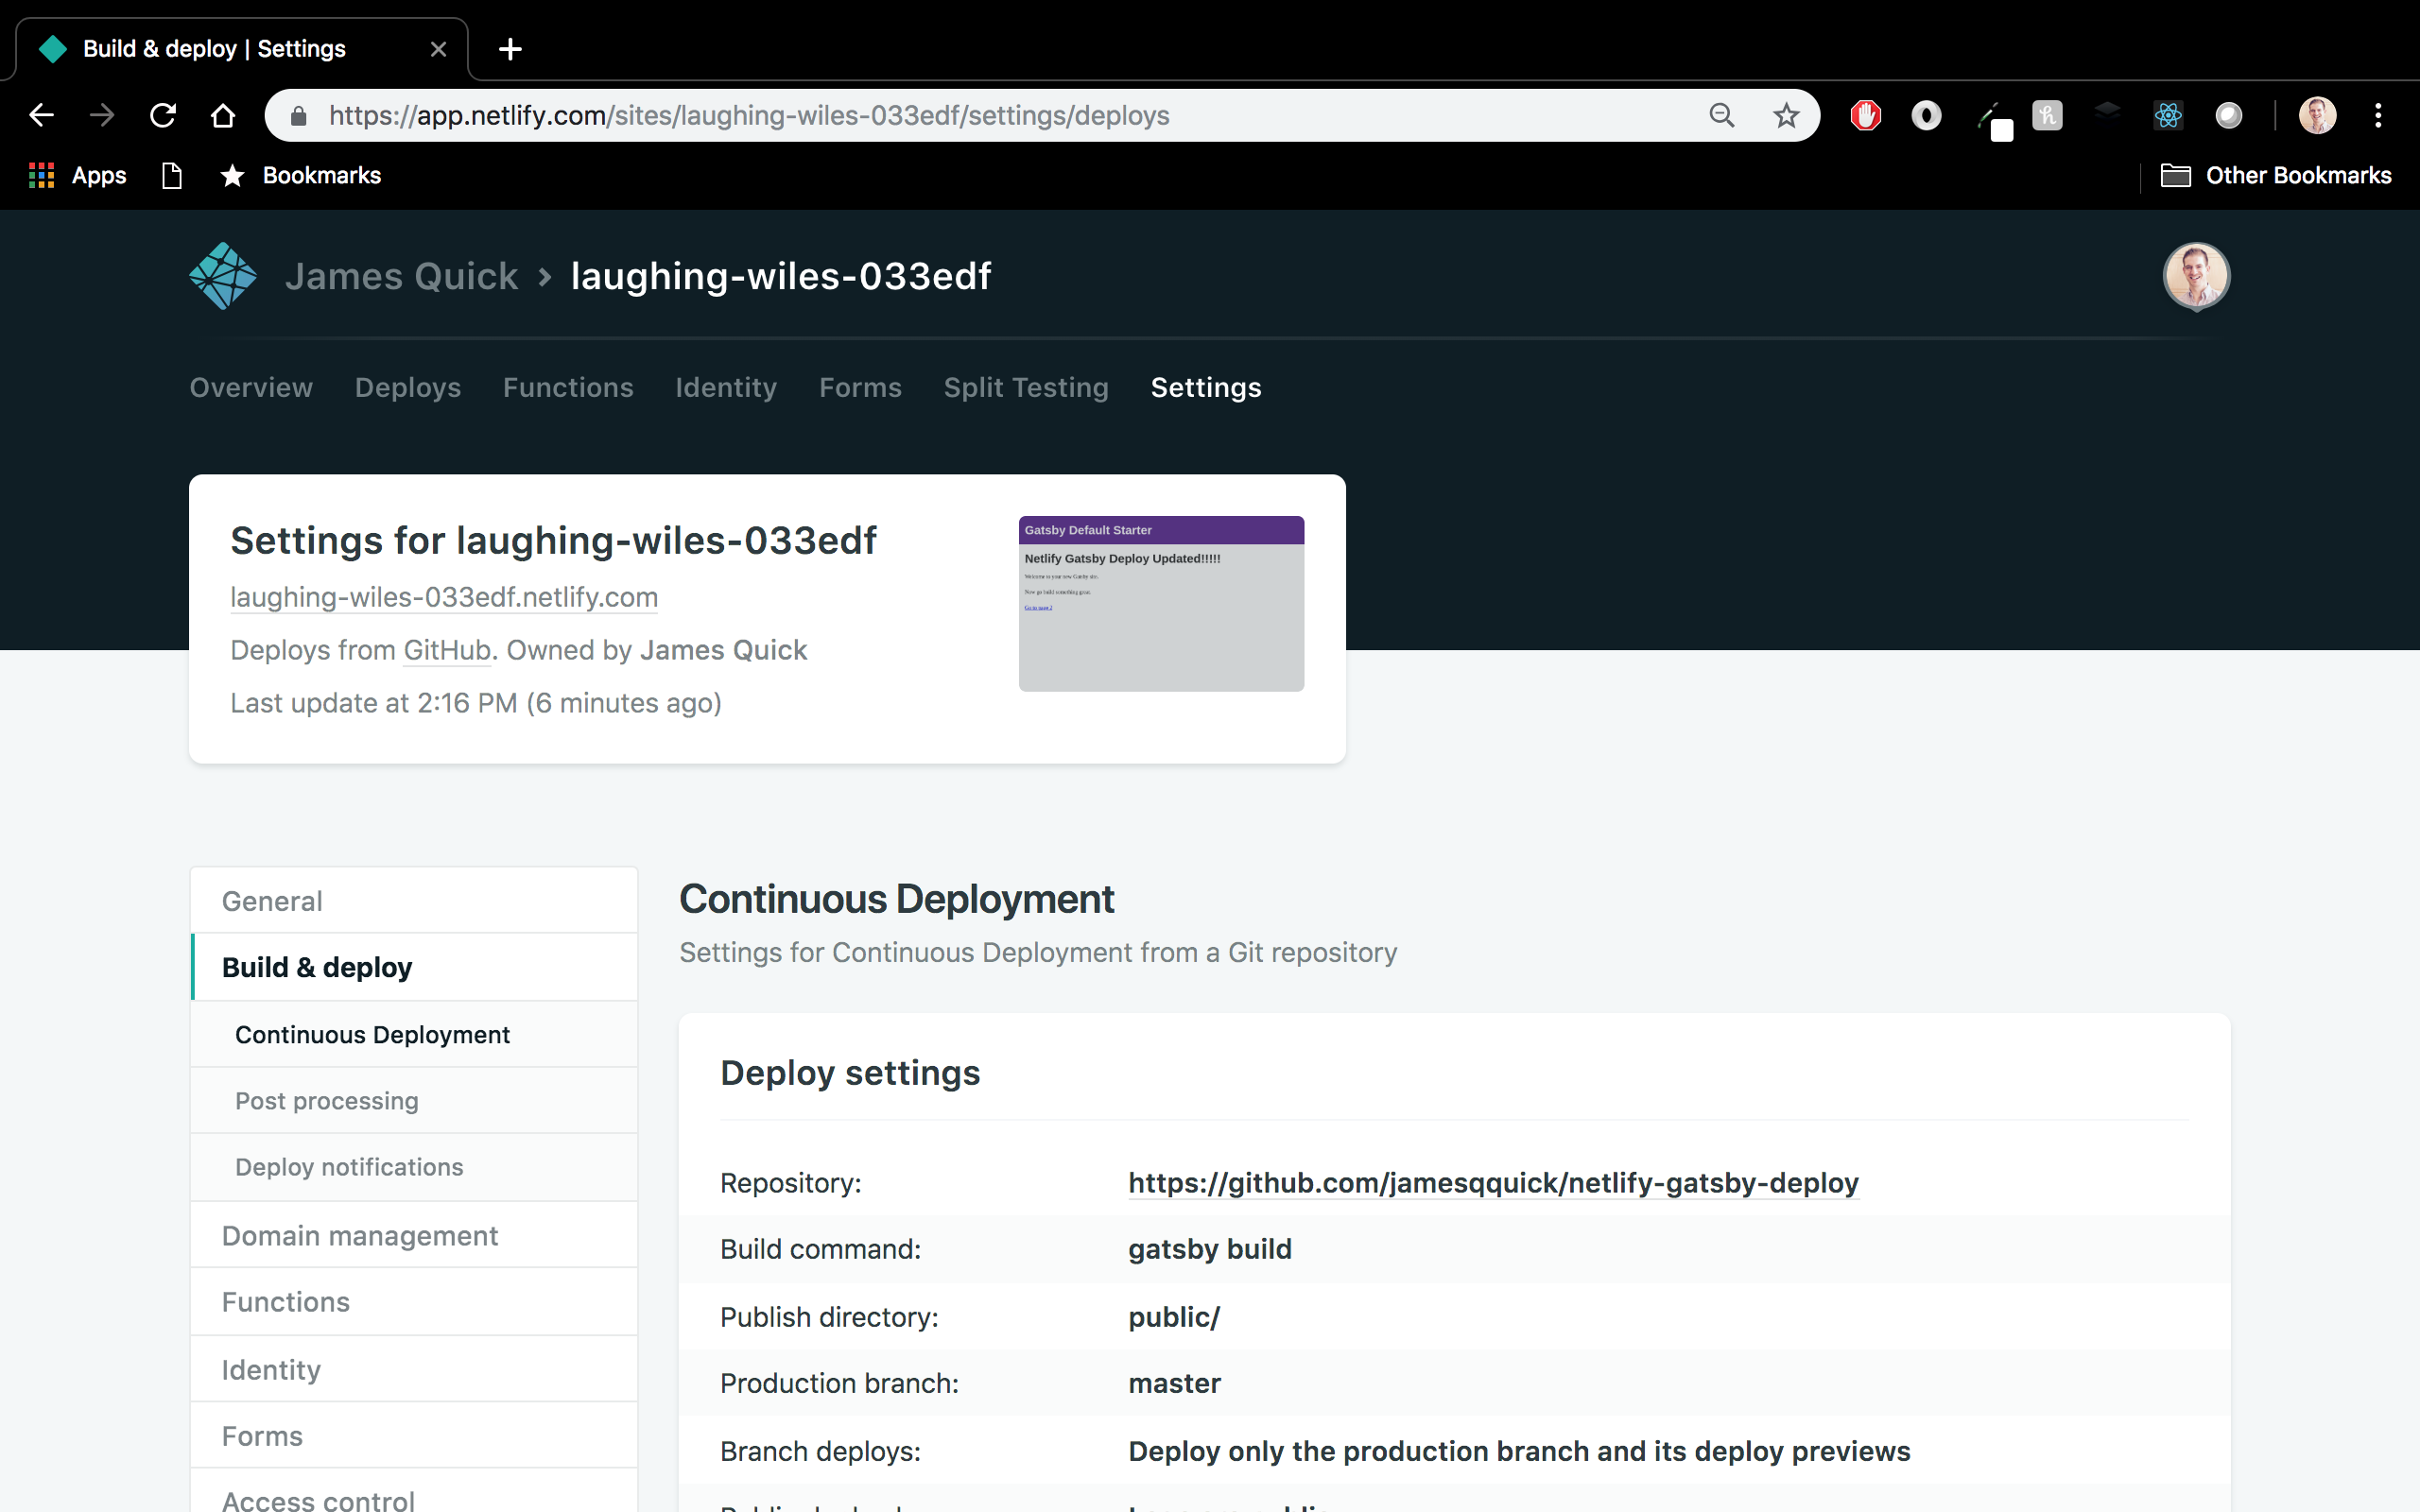
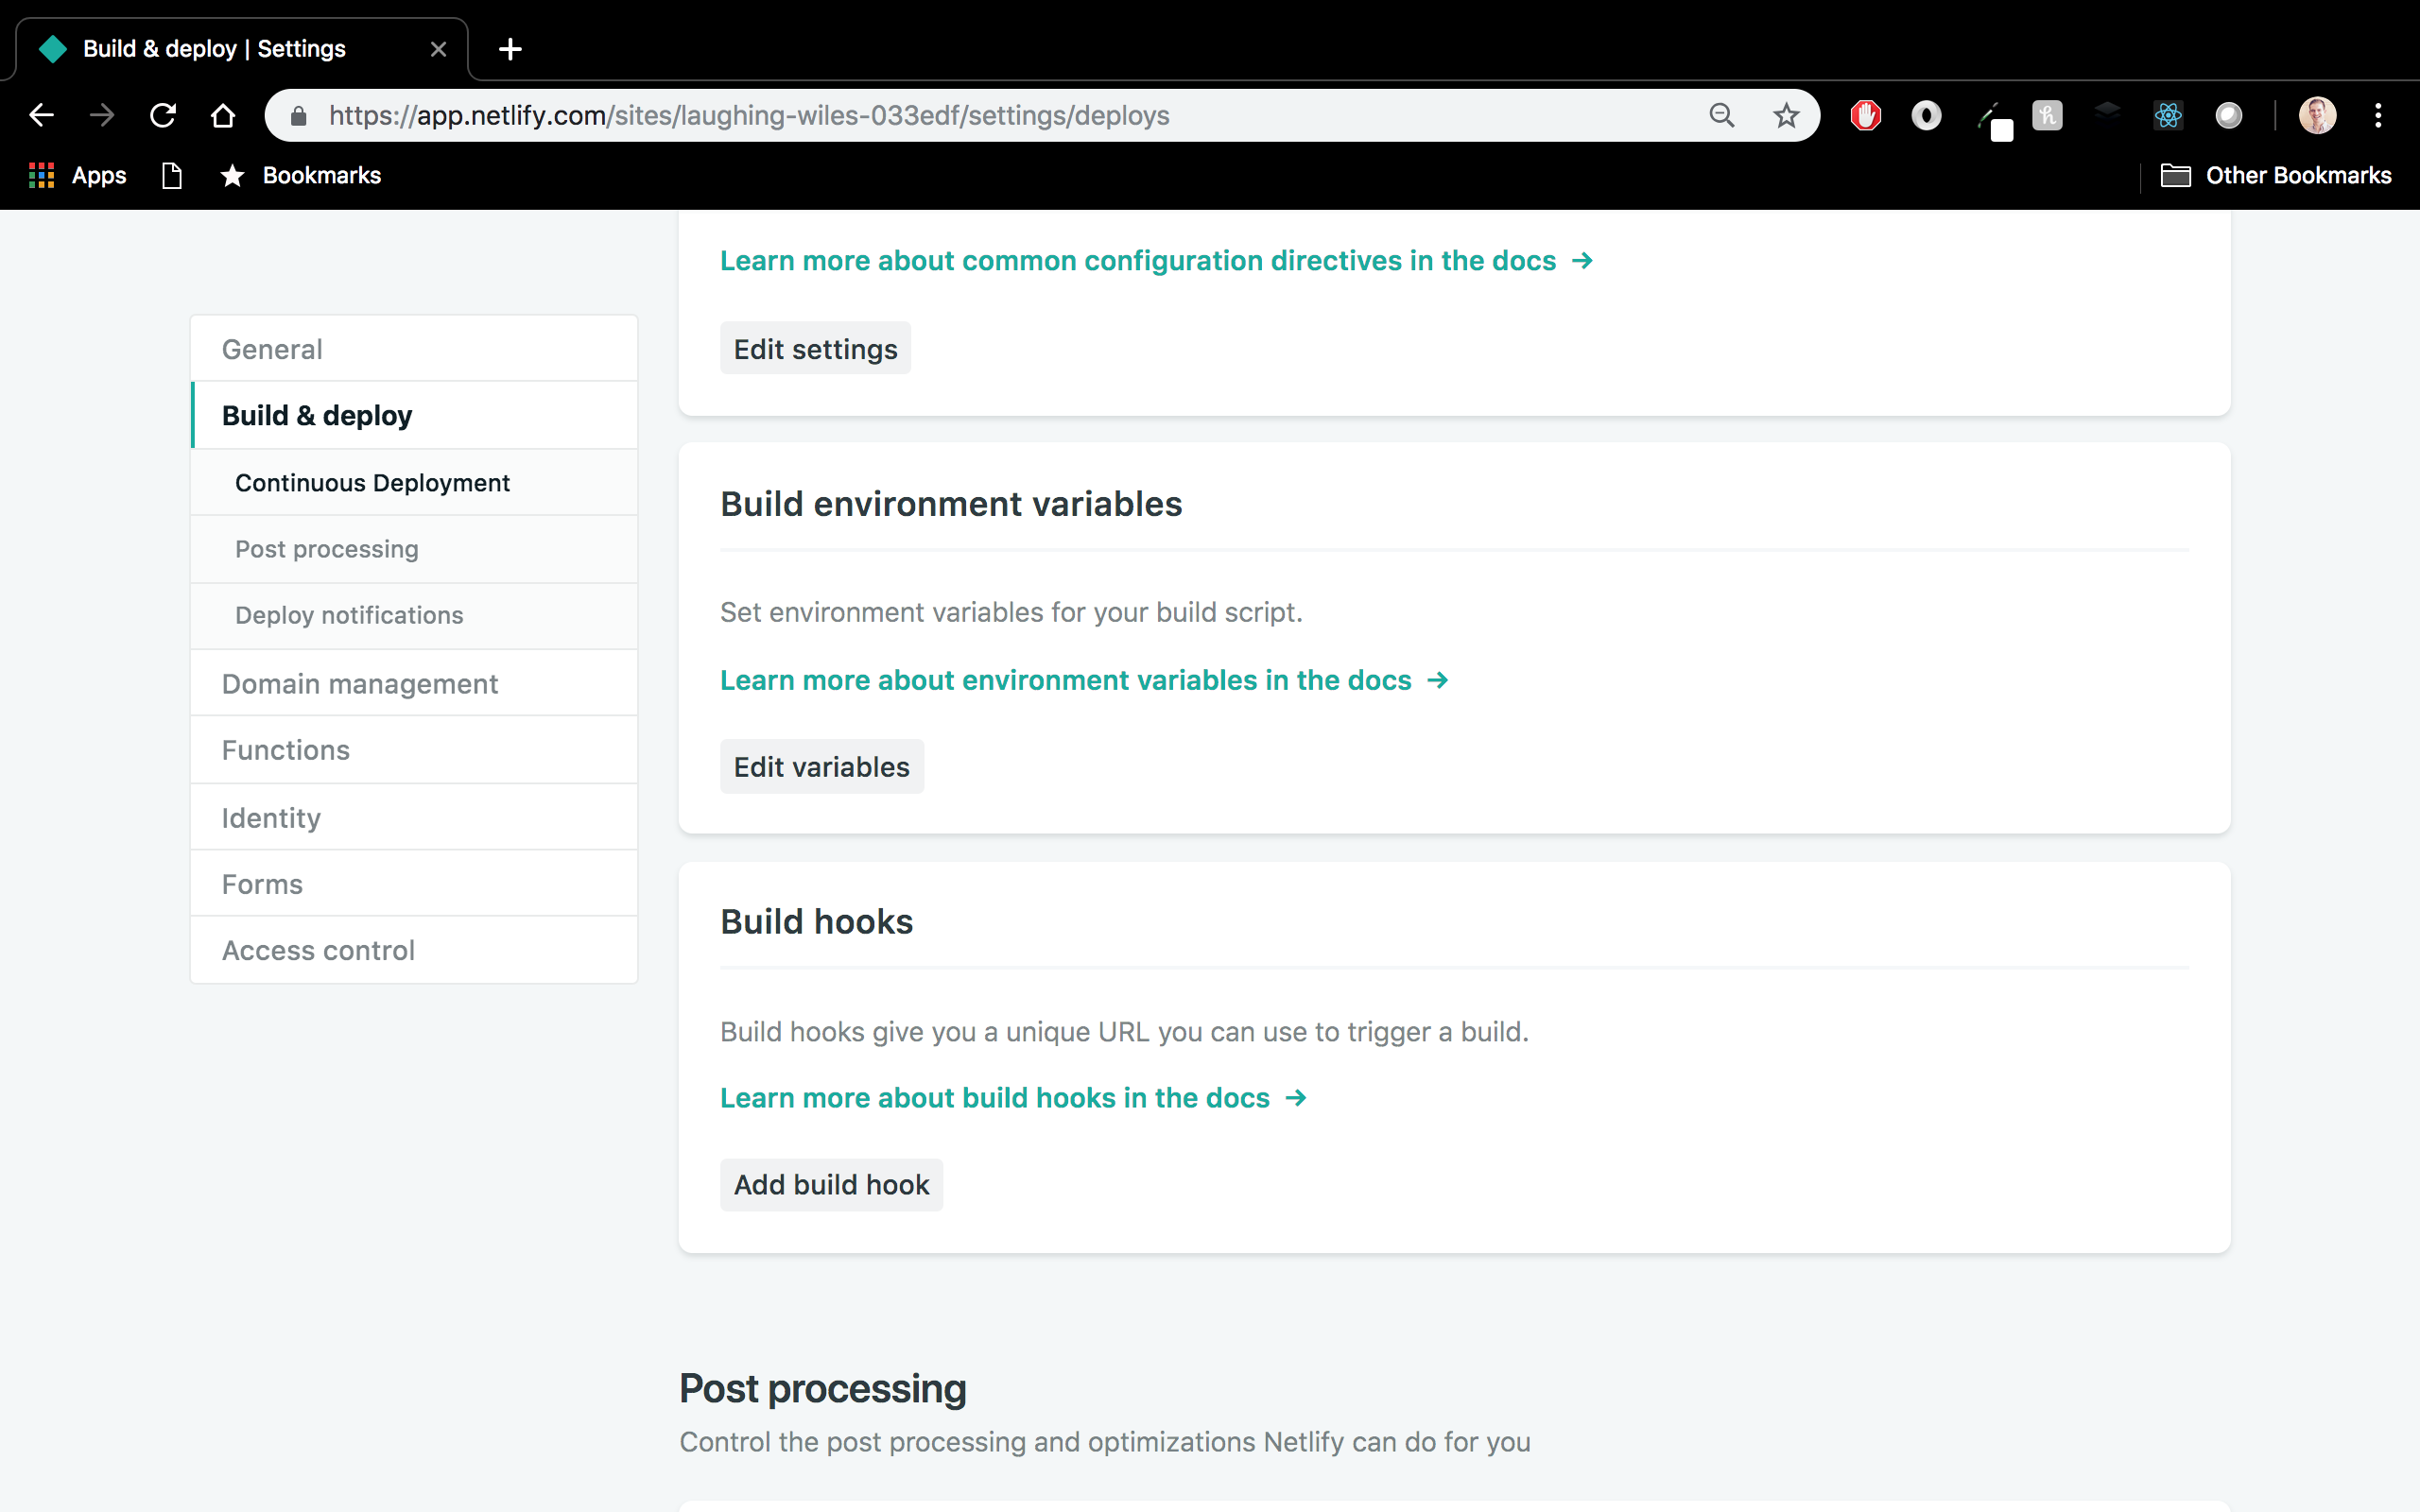
Specifically, you can defined Environment Variables here, which are incredibly useful.
Recap
So, that’s it. The first time I actually deployed a Gatsby site to Netlify, it only took me like 5 minutes! I was amazed and became very excited to learn more and share with you! Would love to hear in the comments about the projects you guys are working on and how working with Netlify has been for you.
Resources
Source: Scotch.io
Thank you very much! I had 3 tabs opened with the gatsby and netlify guides but yours is much easier and to the point
Thank you Alexx. Its great to know that you got help from my Article.