When we saw Chris put up a list of cloud-hosted data-stores, we couldn’t resist letting him know that we also had one of those, only ours is a fully featured CMS that come with a rich query language and an open source, real time, collaborative authoring tool that you can tailor to your specific needs using React. It’s called Sanity.io.
“Add us to your list!” we asked Chris. “No, your stuff is interesting, can’t you write about you,” he replied. “Maybe something that would be useful for people working with images.” Challenge accepted!
Systems like Sanity wants to free your content from the specific page it happens to be sitting on, so that you can flow it through APIs. That way you can reuse your painstakingly crafted content anywhere you need it.
So, what does this mean for images?
Images are the odd ones out. We can capture documentation articles, pricing plans or project portfolios as potentially complex, but ultimately graspable data-structures that machines can query and process in many useful ways. But images? They’re really just bags of pixels sitting at the end of a CDN, aren’t they?
We came up with some ideas anyway because everyone needs images and images should be just as willing to travel to new and exciting places and services as the rest of your structured stuff.
So, here we are with a medium-sized bag of image tricks you can pull off with Sanity.
1. Grab the palette from image metadata
Ever tried to overlay text over a random image submitted by a user? How did that work out? We’ve usually ended submitting our images to filters till they’re predictable and skulked home with a moody expression.
We thought it would be nice to ship an image palette with your pictures so you can select between dark and light typography as well as pair visual elements with image color. This makes legibility so much better and prevents clashes between the colors of images and text.
See the Pen Access image colors as metadata in Sanity by Knut Melvær (@kmelve) on CodePen.
2. Get low-quality image placeholders
However fast and nearby your CDN is, it still takes time to transmit large image files. So, we included a Low-Quality Image Placeholder (LQIP) with your image metadata. It’s a base64 encoded string of your photo at 20px width. Getting LQIP in the first request lets you bake a proxy image right into the HTML.
<figure
  style={{
    backgroundImage: `url(${mainImage.metadata.lqip})`,
    paddingTop: `calc(100% / ${mainImage.metadata.dimensions.aspectRatio})`
   }}
>
  <img src={`${mainImage.url}`} />
</figure>
A challenge with image placeholders is being able to predict the dimensions of the image in a fluid layout. In this example, we used the aspect ratio that also comes in the metadata object to calculate the padding-top trick. That means that you don’t have to calculate the aspect ratio yourself, and e.g. output it as a custom property combined with CSS variables.
See the Pen Get Low Quality Image Placeholders out of the box by Knut Melvær (@kmelve) on CodePen.
3. Use on-demand image transforms
You should be able to store archival originals and get the image in whatever resolution and format you need. Go ahead, upload your 268 megapixel TIFF, and ask for a 128×128 cropped JPEG with a 50% blur.
The transforms are generated from URL-parameters and generated on the first request. We cache the result locally and on a CDN so many requests for the same result image will be super snappy.
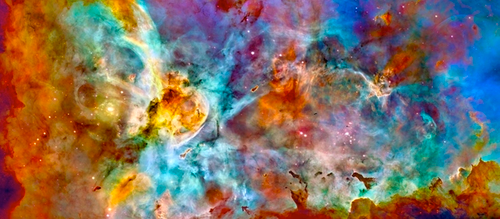
Take this image of the Carina Nebula. We uploaded a 29.566 x 12.960 version of it. Let’s say we wanted a PNG version with a 500px width. Attach ?w=500&fm=png to the image URL, and there it is:

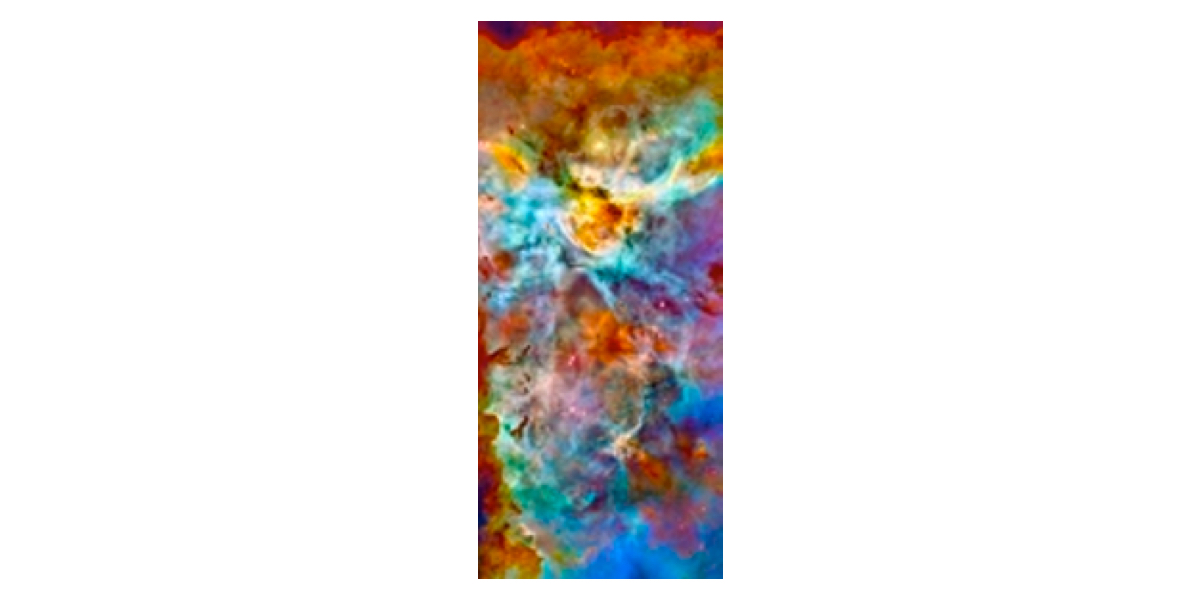
Not only is it hard to hear screaming in space, it’s also hard to judge directions. But let’s say you need to rotate the image. Well, you can append &or=90 and it’s tilted 90 degrees (and scale it down to 128px):

Not to ruffle any feathers at NASA, but if you want to simulate spherical aberration on your new 1.5bn USD telescope, you can do that by adding ?blur=30 to the image-url!

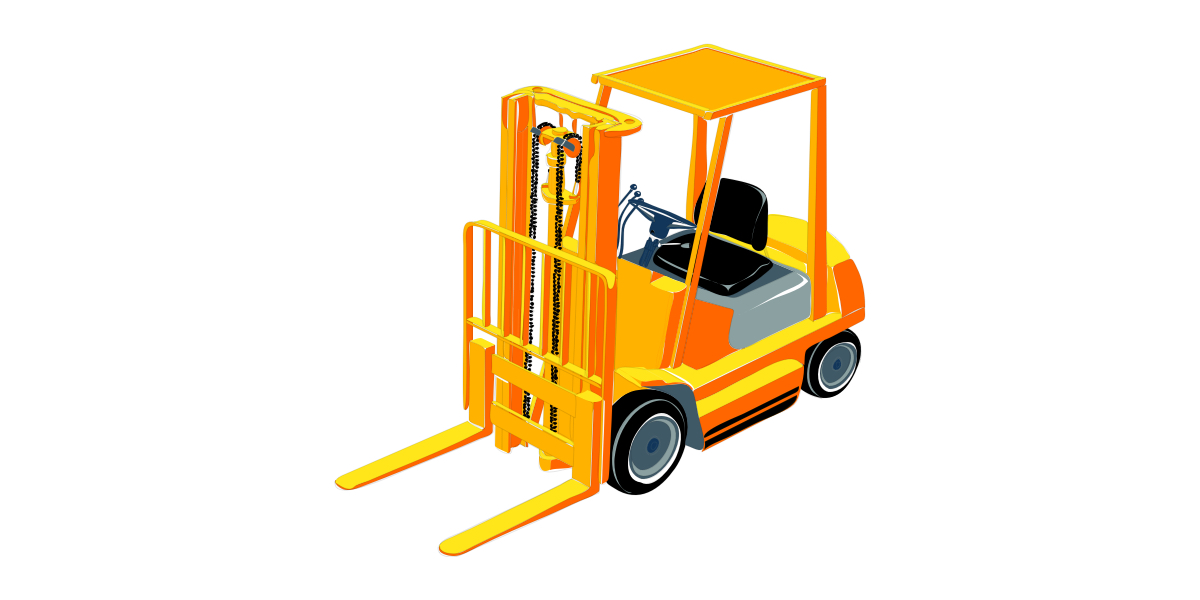
The image pipeline is good for your SVGs as well. Say you need to offer a JPG Open Graph (og:image) to Facebook or you have an urgent need to add this SVG of a forklift as a Slack emoji:

Get the 128×128 PNG version you need, by appending the URL parameters w=128&h=128&fm=png just like this.
You also have control of background color, with bg=<hexcolor> Let’s say we, for some reason, wanted this forklift on a lovely purple background.
And, finally, if you want to link to this image and trigger a download for the user, you can append dl=<suggested file-name> to make it happen.
It’s not always as fun as this to mess around with URL parameters, so we made a JavaScript library that makes it a bit easier. Install it with npm install --save @sanity/image-url and learn how to use it (we use it in the demos throughout this post).
4. Crop and scale to fit around a focus point
Those pesky images with their fixed aspect ratios. In addition to not knowing the pixel density of the output device, you often don’t even know what crop would be best suited for the layout. Even on a single website, you’ll often use the same image in different layouts, and often need to serve them up to third parties, like Facebook, that expects specific aspect ratios.

To ease the pain of dealing with this, we’ve let content editors set hotspots and crops for images. We have also made a JavaScript package that does all the hard work of making the correct image transform URLs for you. Simply pass an image asset and the size you want and we’ll figure out the crop and scale.
See the Pen Custom crop and hotspots by Knut Melvær (@kmelve) on CodePen.
5. Make a real-time photomap
If this isn’t turning it up to 11, it’s at least a good 10.5.
We can extract EXIF and geo-location data from an image. EXIF-data contains information about the camera state when the photo was taken (e.g. exposure, aperture, lens, if the flash went off etc). Due to privacy concerns (we take GDPR-compliance super seriously) we have turned the feature off by default, but if you set [options: { metadata: ['exif', 'location' ] } in your schema options, they will be included.
We have made a tiny demo that lets you upload an image and, if it has location data (e.g. typically those you take with your phone), it will automatically pop up in the map — because the API is real-time with listeners!
See the Pen Shared Realtime Photo Map by Knut Melvær (@kmelve) on CodePen.
If you want to test out Sanity and these features yourself, you can get started with writing npm i -g @sanity/cli && sanity init. Even though the CLI guides you through the installation process, it’s worth checking out the documentation (if not for the illustrations alone) and there are always people that want to help out with the nitty gritty in our Slack group.
The post Five interesting ways to use Sanity.io for image art direction appeared first on CSS-Tricks.
Source: CSS-tricks.com