Smooth Scrolling, dont know what it is? Well, instead of clicking on a button and being instantly taken to a different part of the (same) page, the user is navigated there via a scroll animation. It’s one of those subtle features on a site that makes an incredible difference in terms of aesthetics. I personally just implemented this on one of my personal sites because I love the look and feel it provides to the user.
That said, even though smooth scrolling might be subtle, it can be a bit tricky to implement yourself. Because of that, in this article, we are going to use the react-scroll package on NPM.
Using react-scroll
We’ll be building a simple app in this tutorial, but if you want a quick rundown of how react-scroll works:
Install react-scroll
npm i -S react-scrollImport the react-scroll Package
import { Link, animateScroll as scroll } from "react-scroll";Add the Link Component
The <Link /> component will point to a certain area of your app.
<Link to="section1">Let’s take a deeper dive and build a little React app with smooth scrolling.
Getting Started
For convenience, I’ve created a starter React project (using Create React App 2.0) that has a navbar at the top along with five different sections of content. The links in the navbar are just anchor tags at this point, but we will update them shortly to enable smooth scrolling. You can find the project at React With Smooth Scrolling . Notice, this link is for the “start” branch. The master includes all of the finished changes.
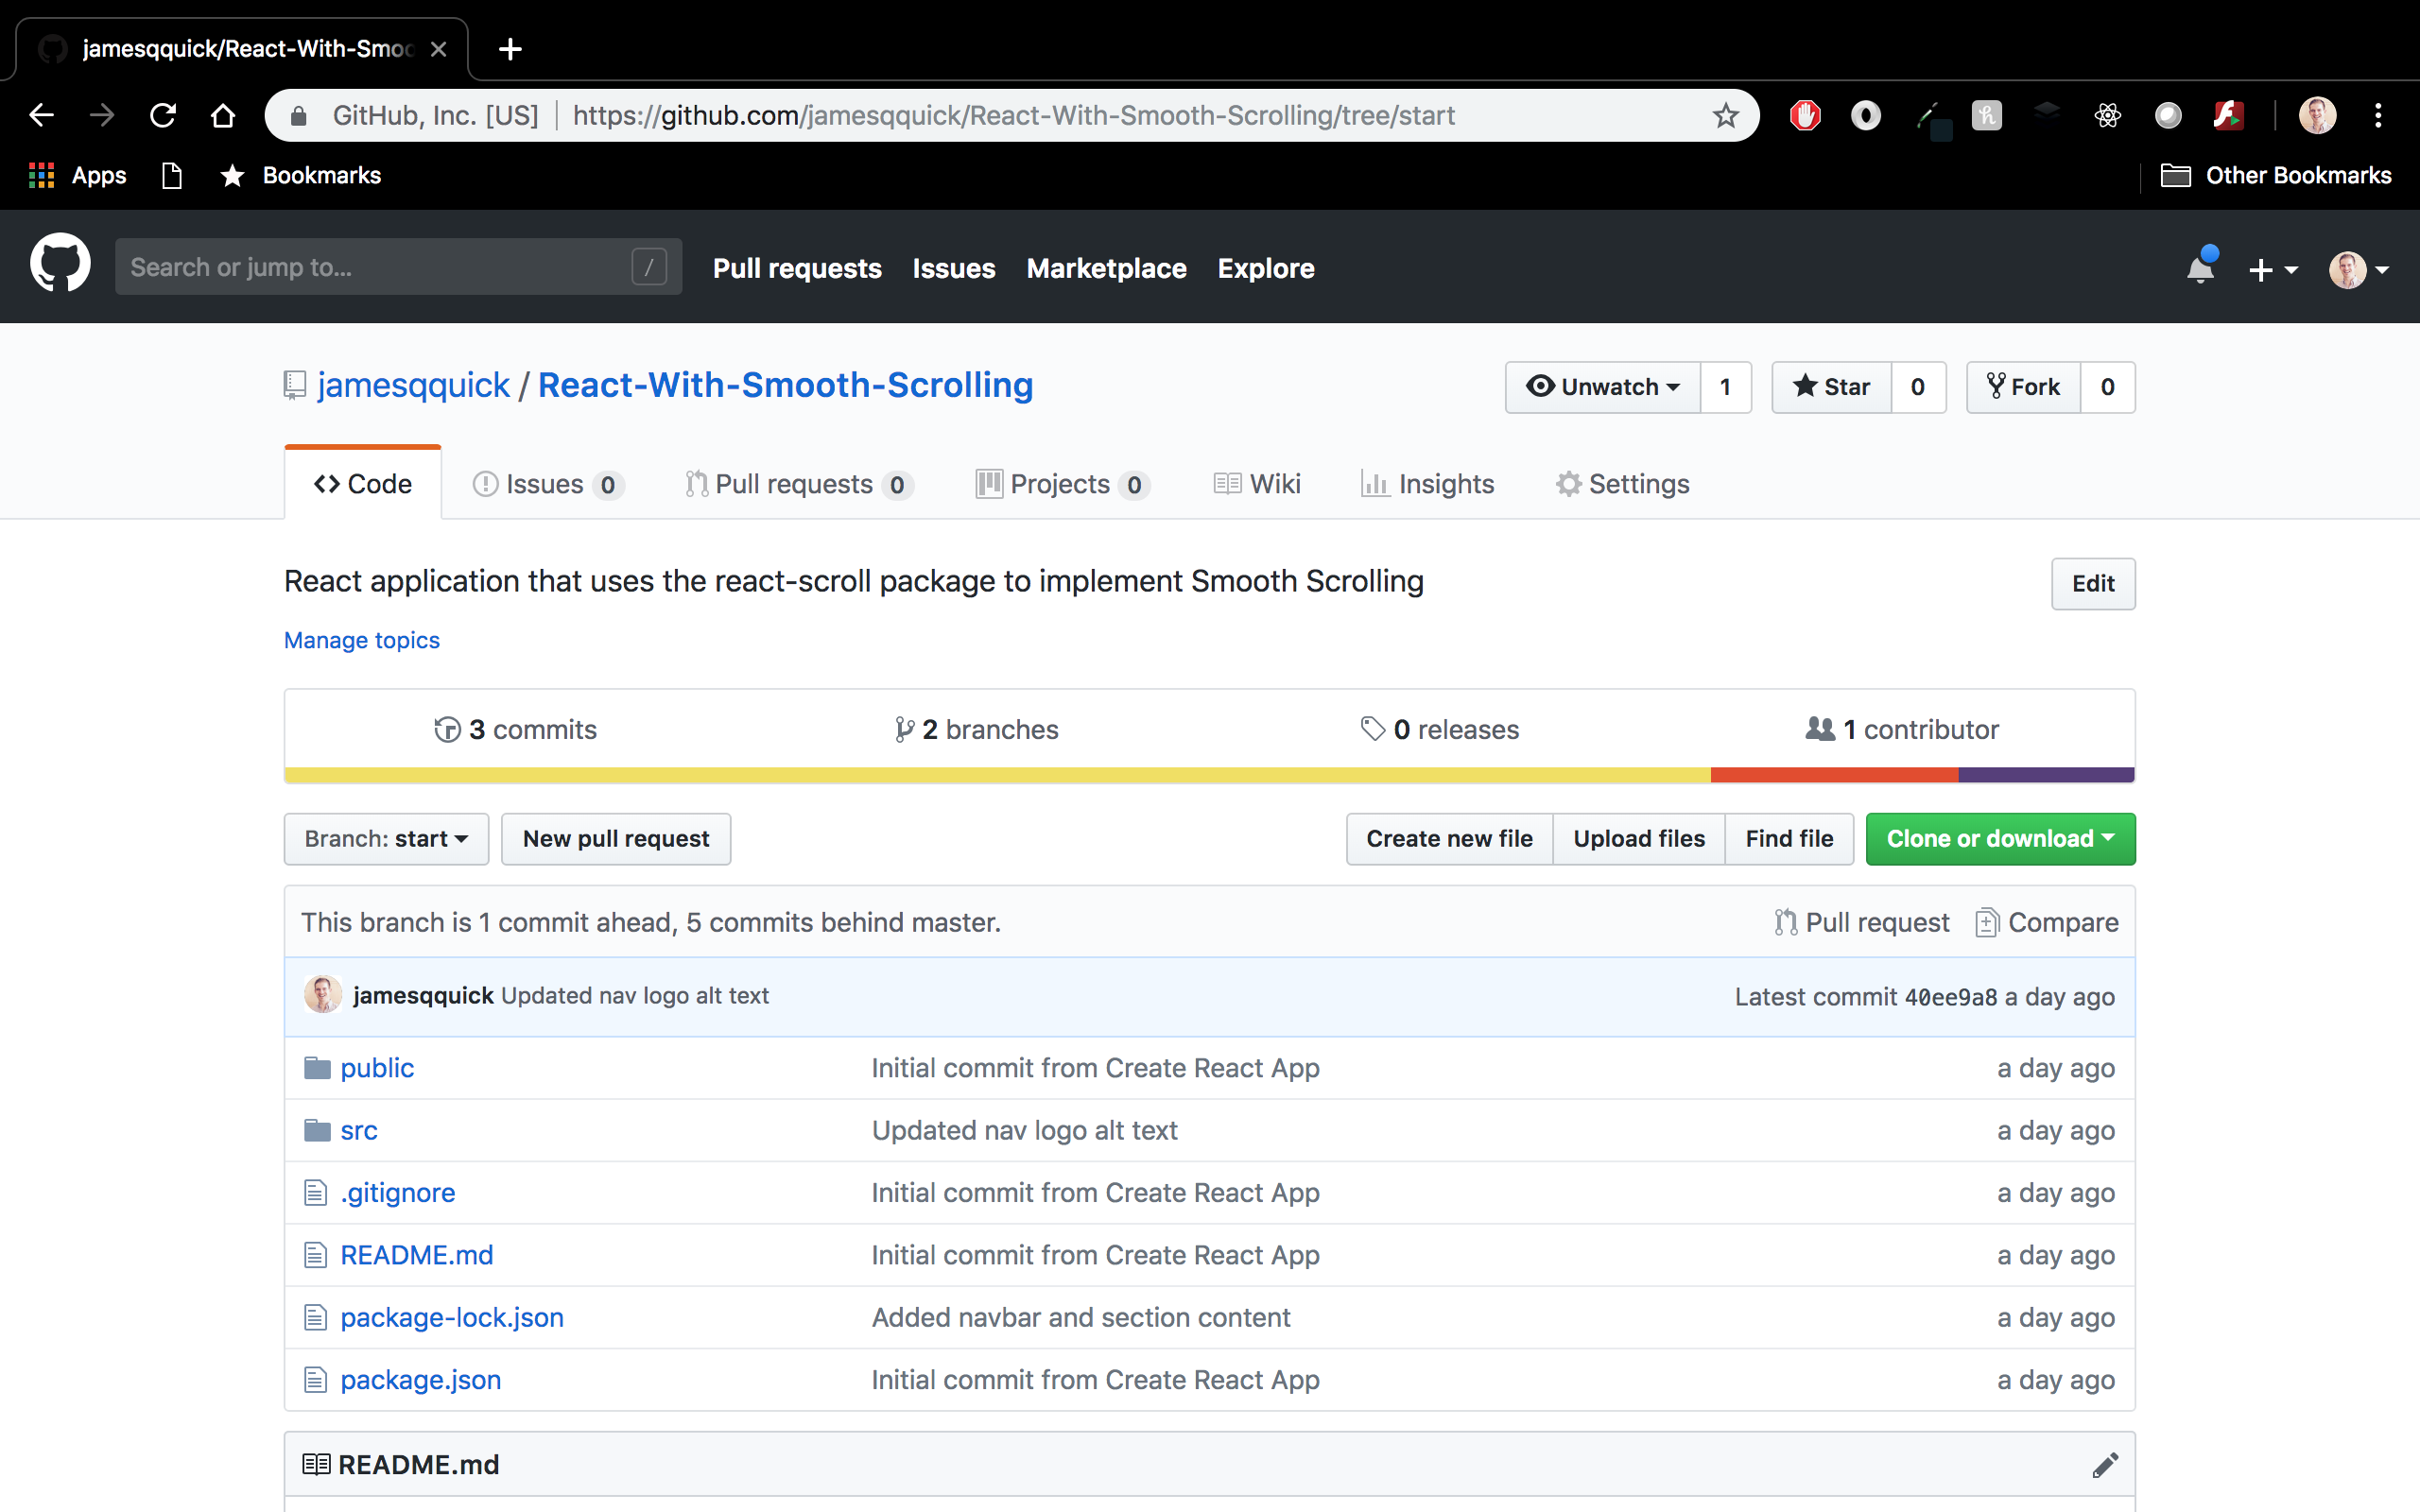
To clone the project, you can use the following command.
git clone https://github.com/jamesqquick/React-With-Smooth-Scrolling.gitIf you look into the Src->Components directory, you’ll find a Navbar.js file that contains the navbar with nav items corresponding to 5 different sections.
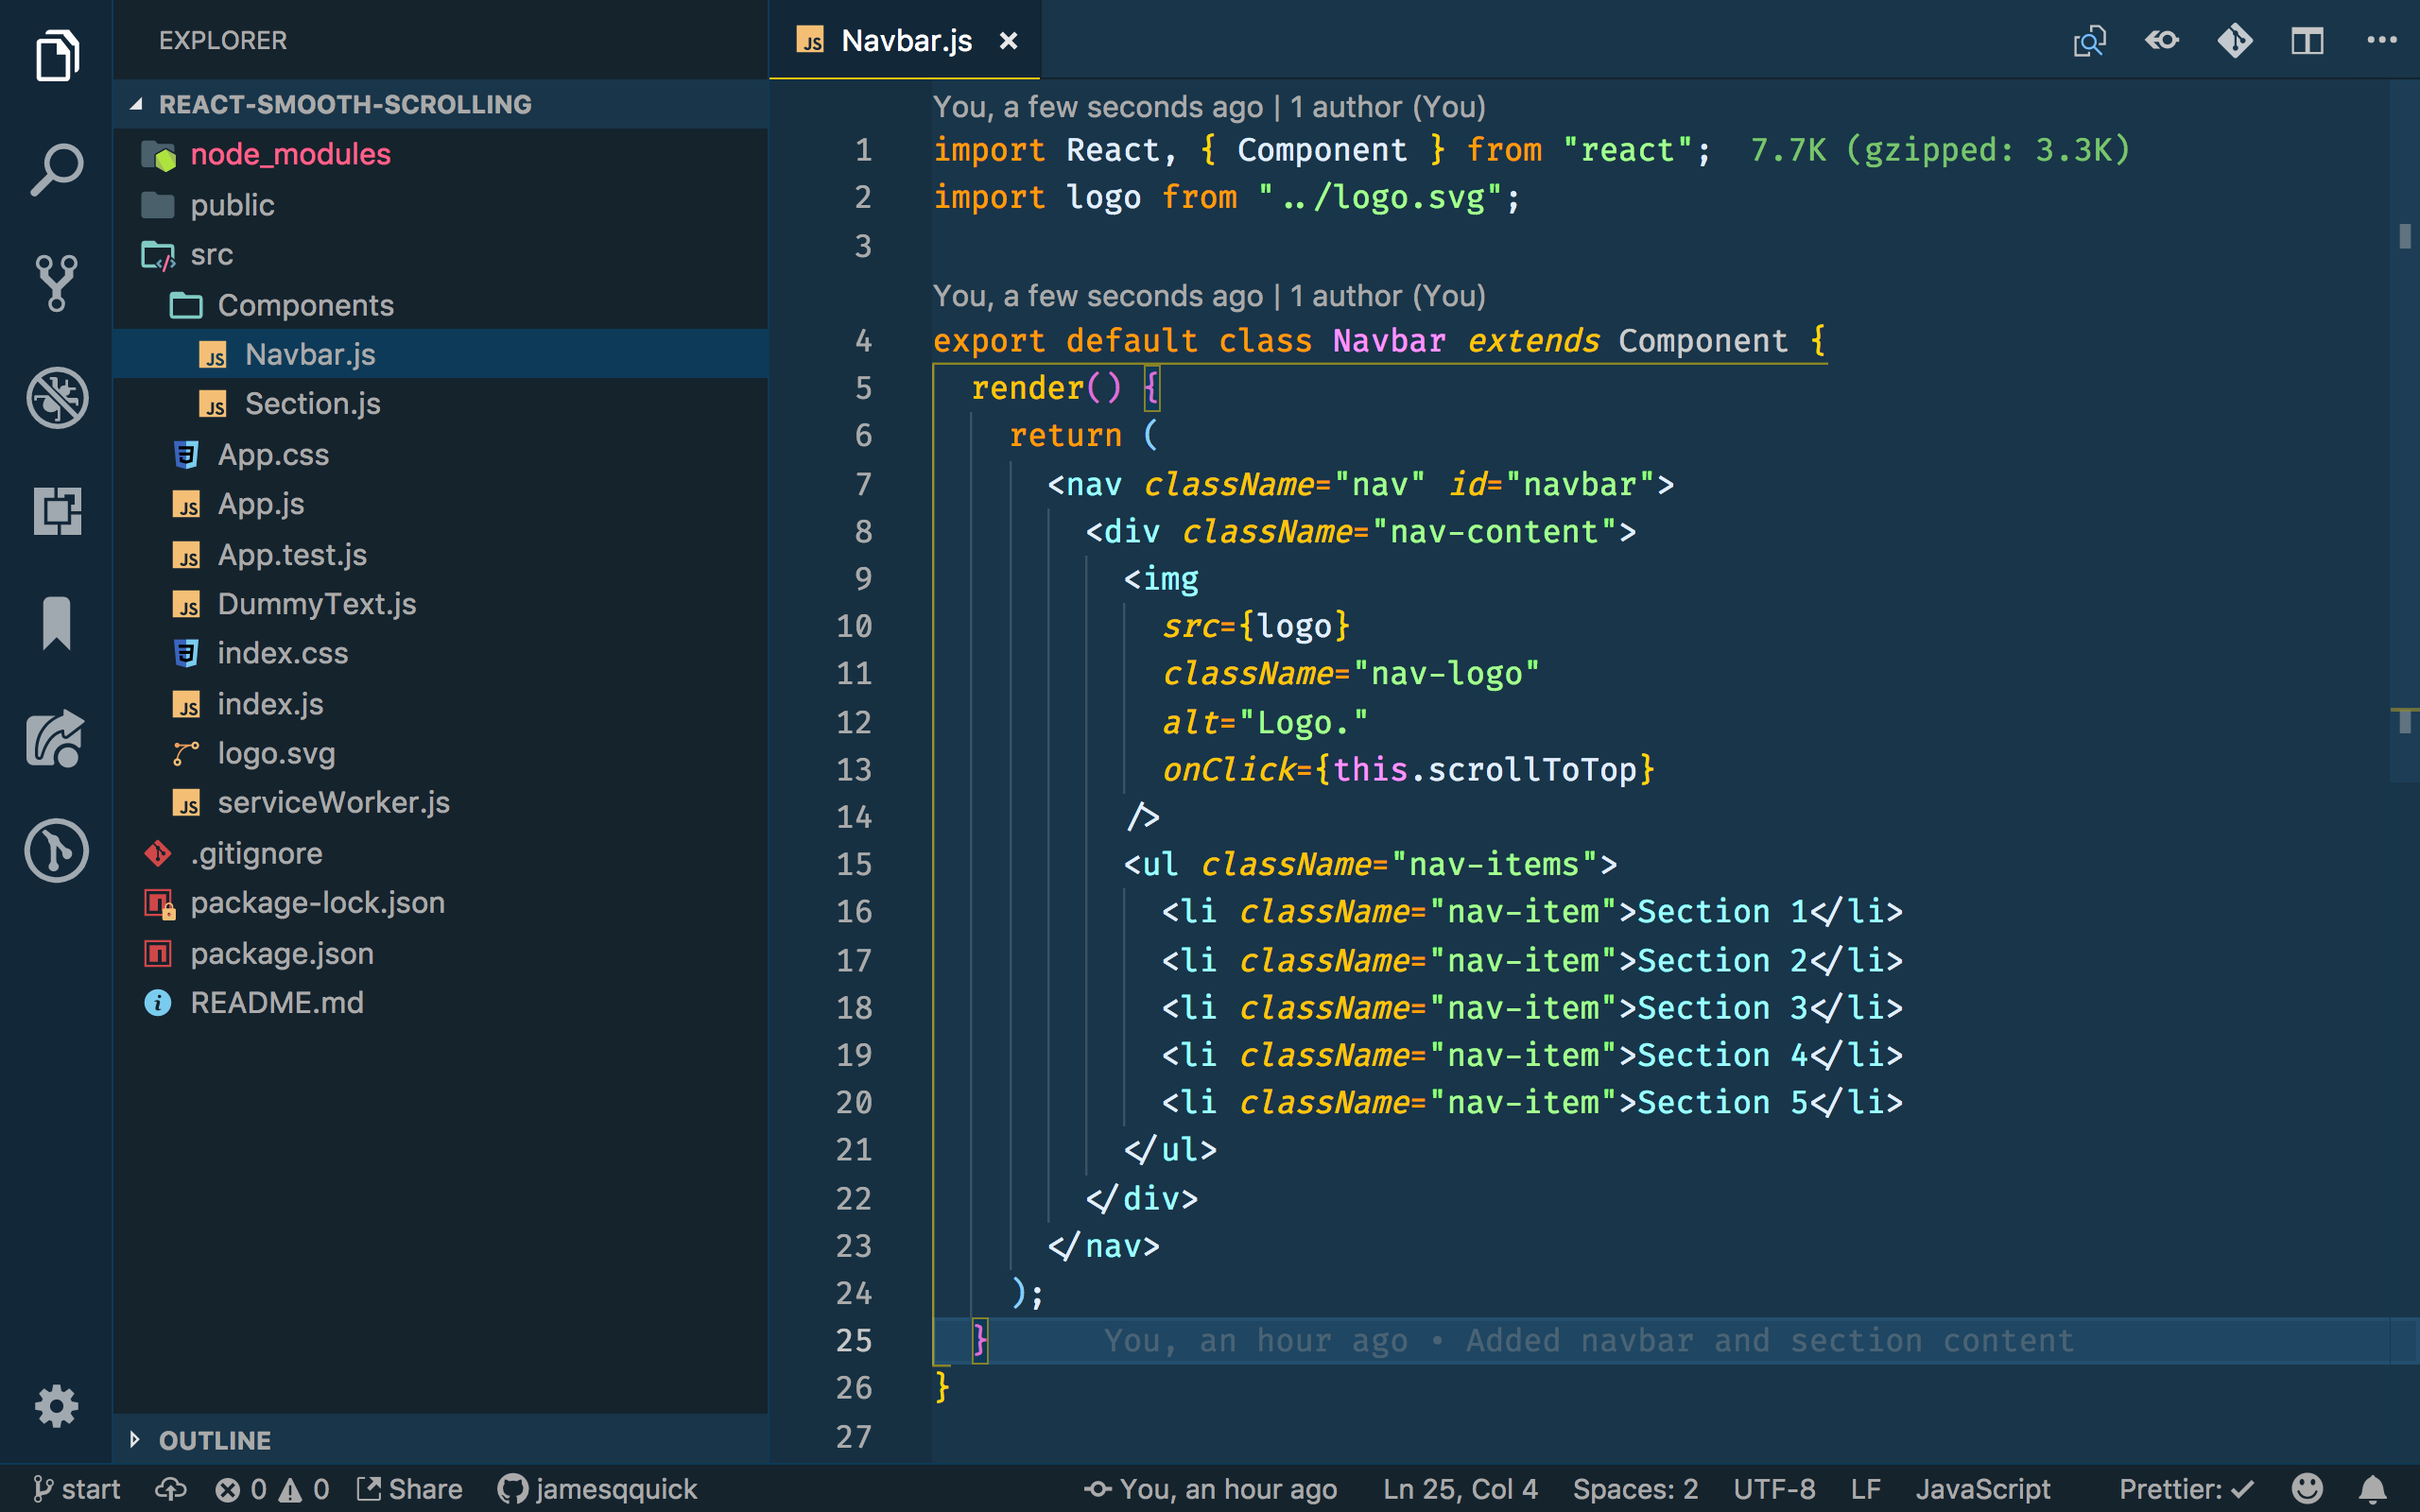
Then, if you open up the App.js file in the Src directory, you’ll see where the Navbar is included along with the five actual sections.

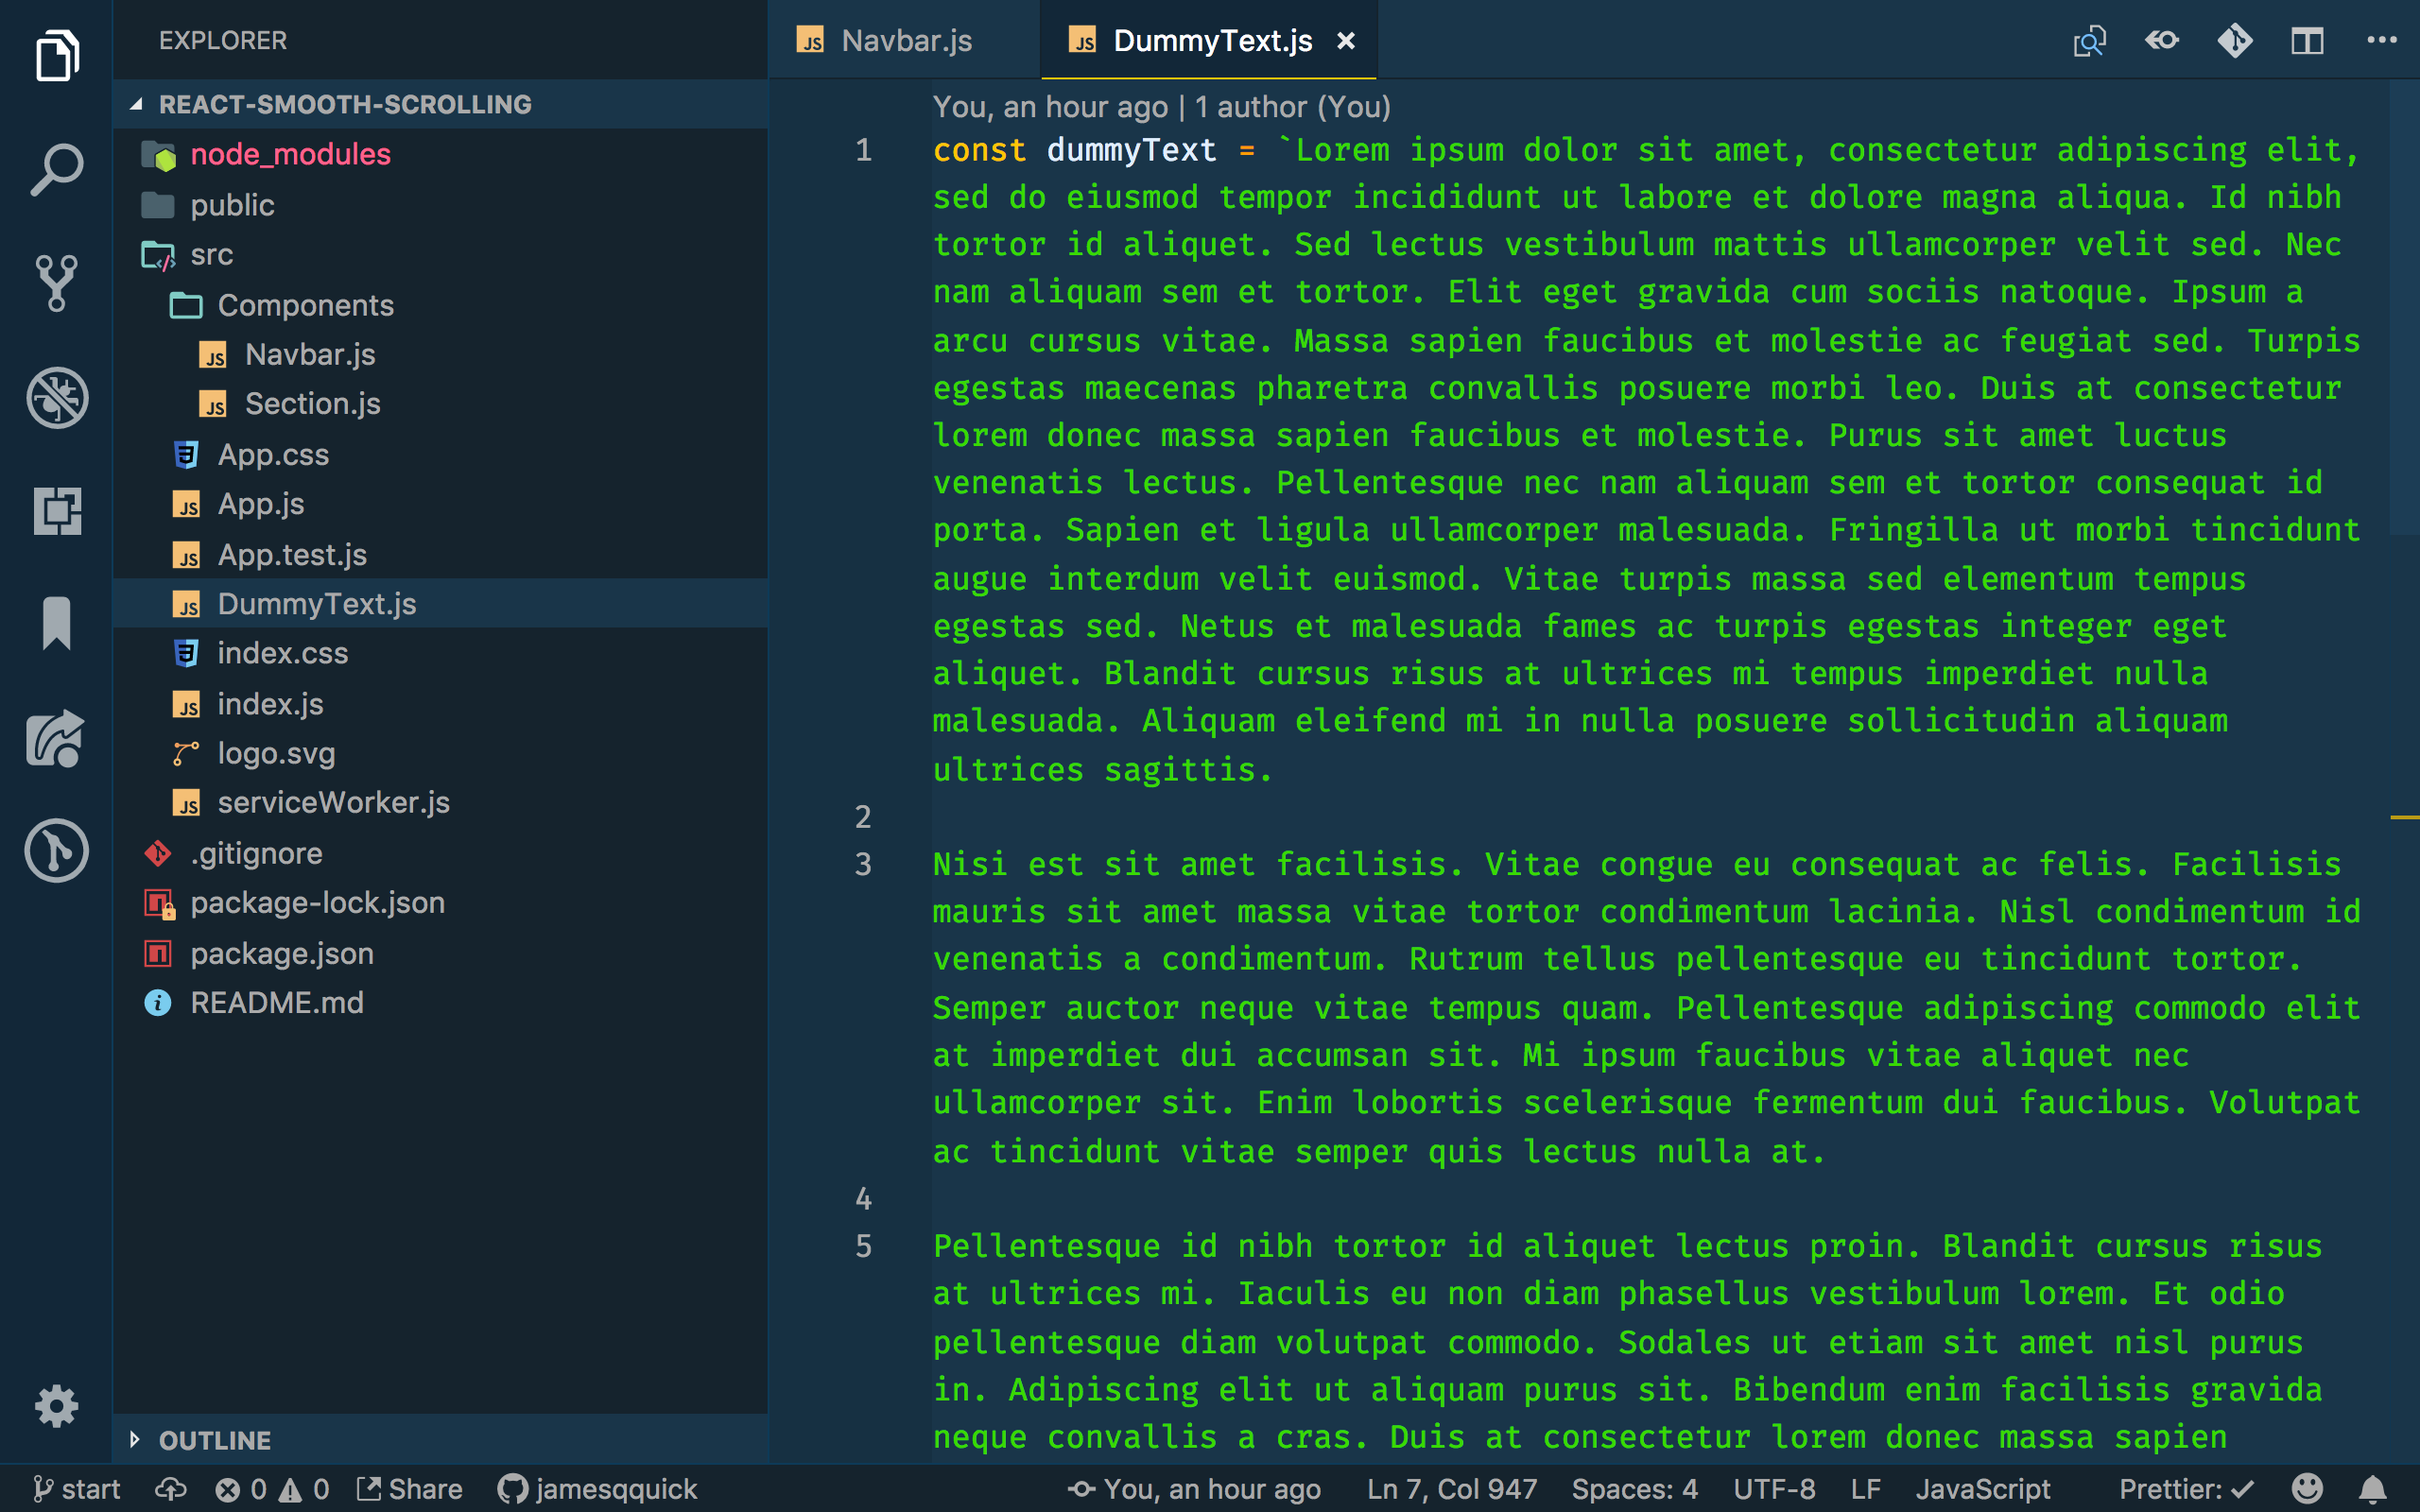
Each section component takes in a title and subtitle. Since I’m just using dummy text in the different sections, I added that text to a DummyText.js file, imported it, and passed it into each Section component.
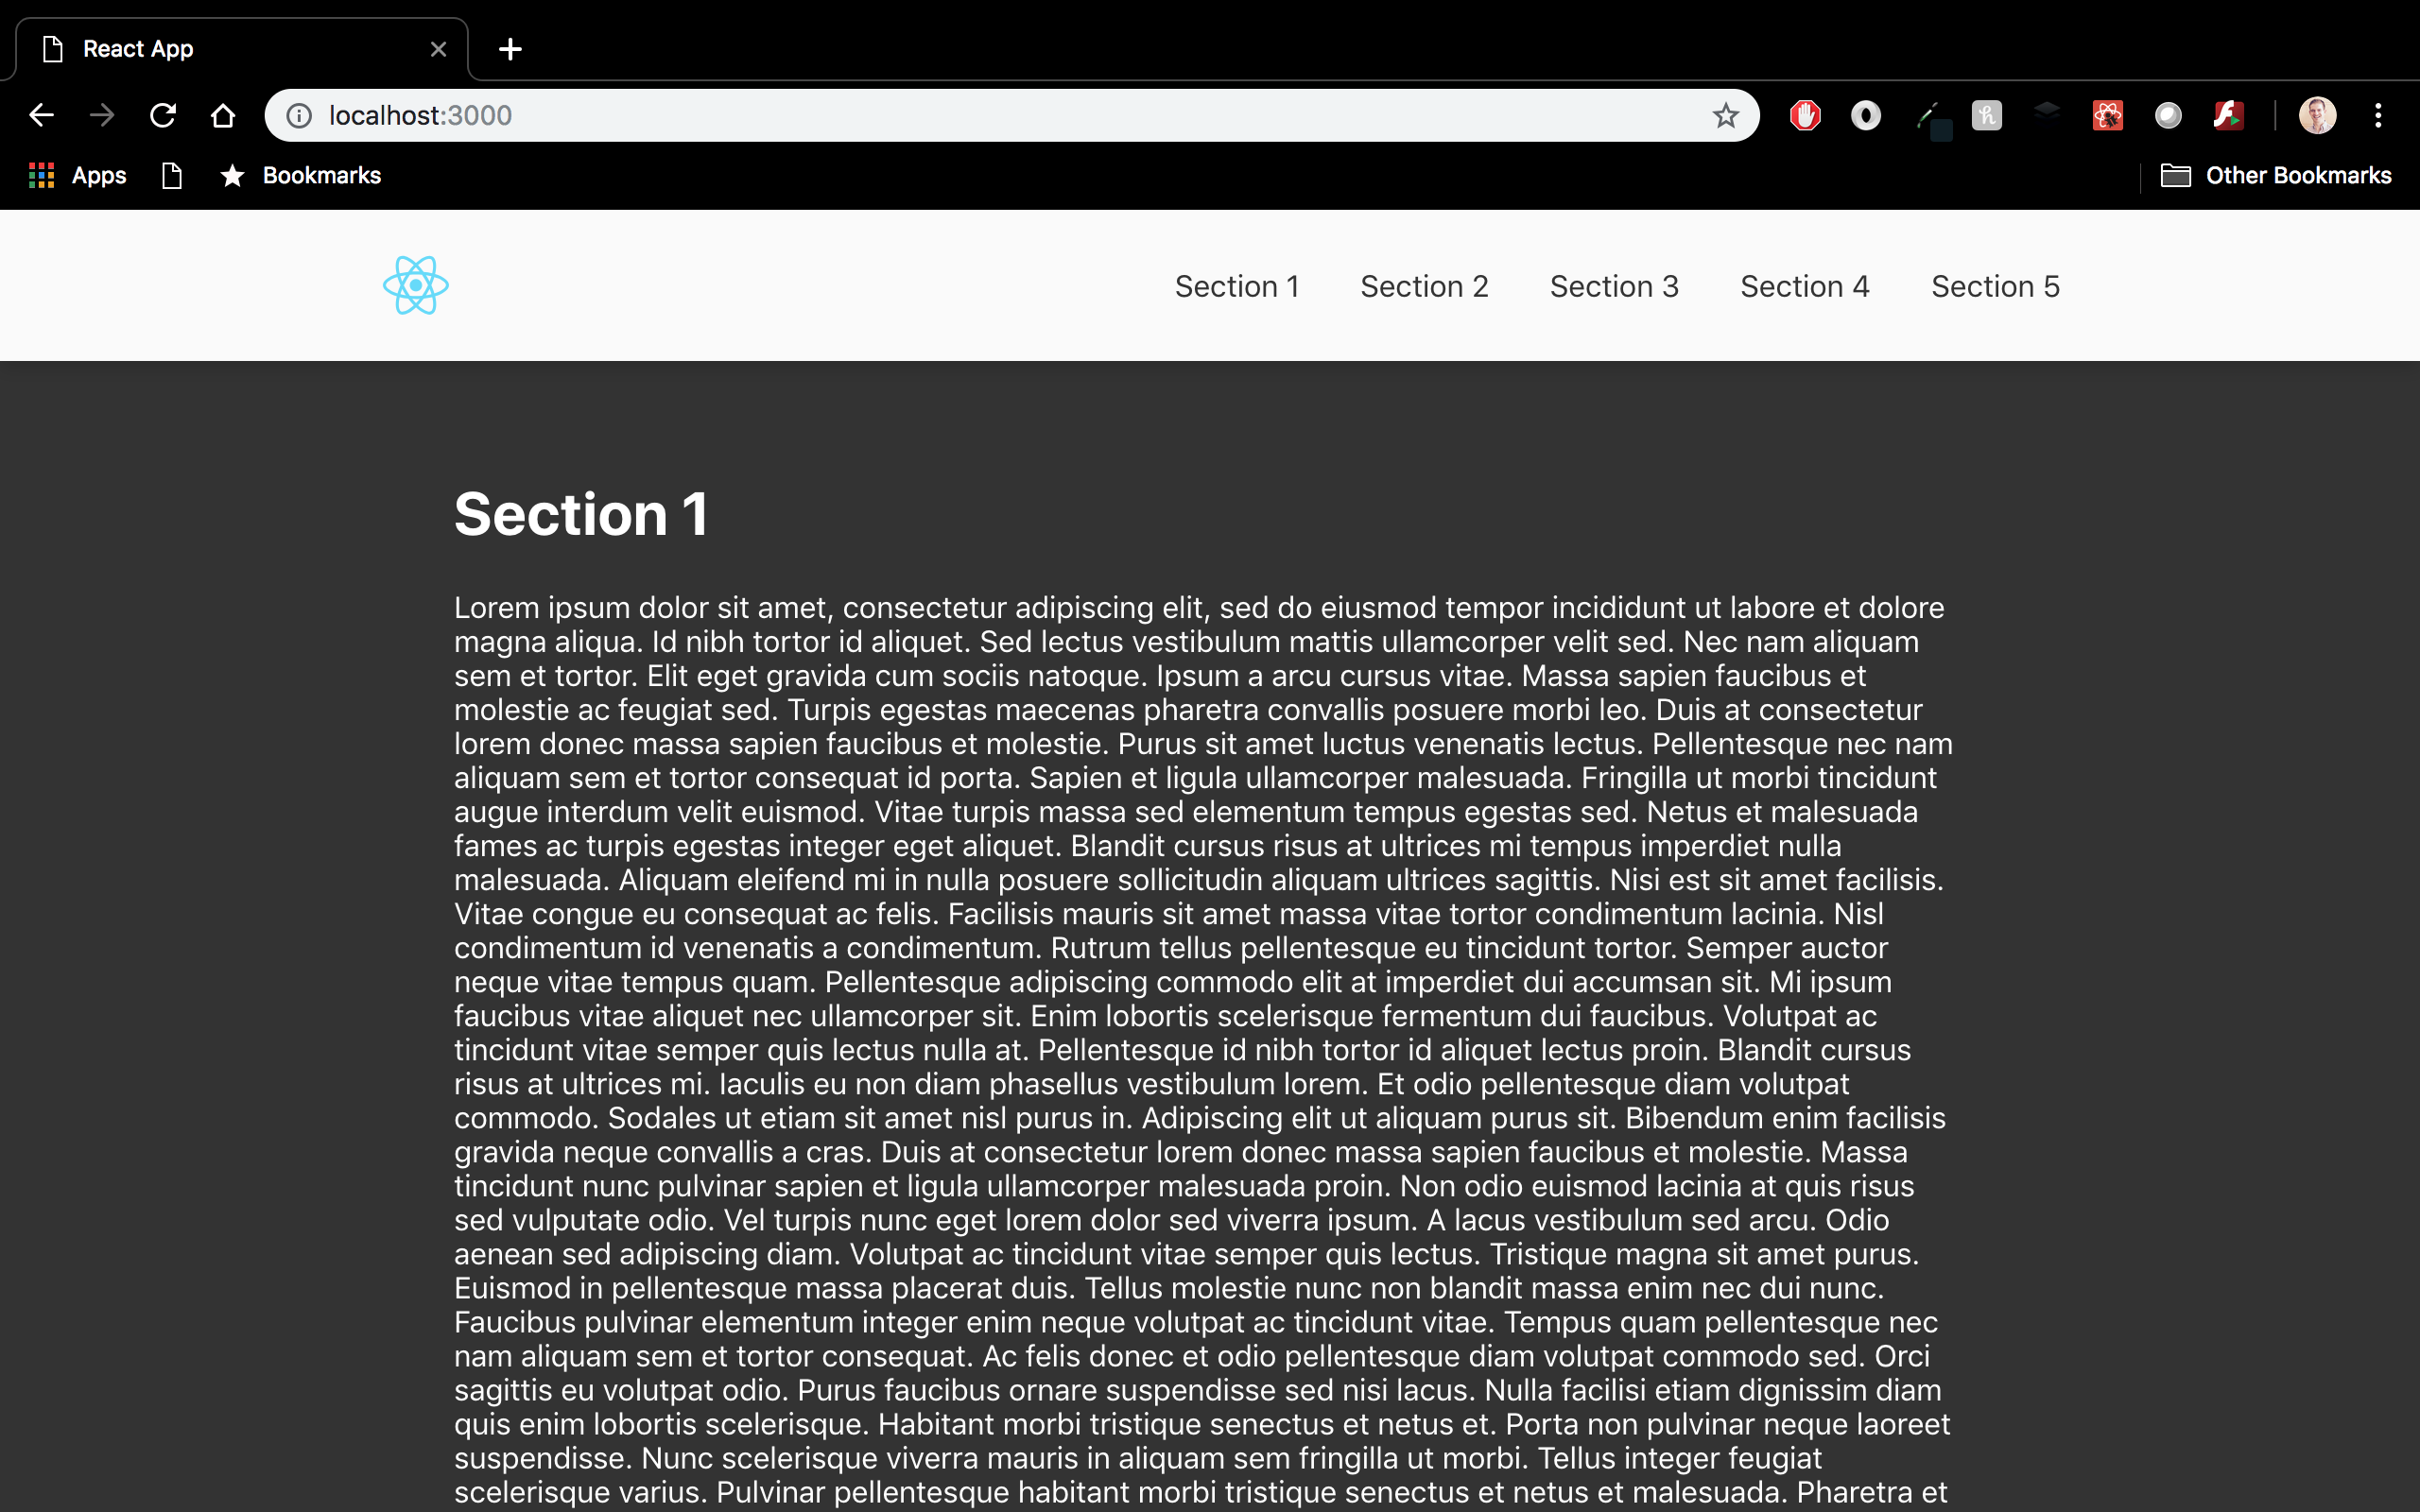
To run the app, you can use the following command.
npm startThis will start the app in development mode and automatically refresh the app when you save on of your files. You can view it in the browser at localhost:3000.
Installing and Configuring React-Scroll
Ok, now it’s time to install the react-scroll package and add that functionality. You can find information on the package on NPM.

To install the package, run the following command.
npm install react-scroll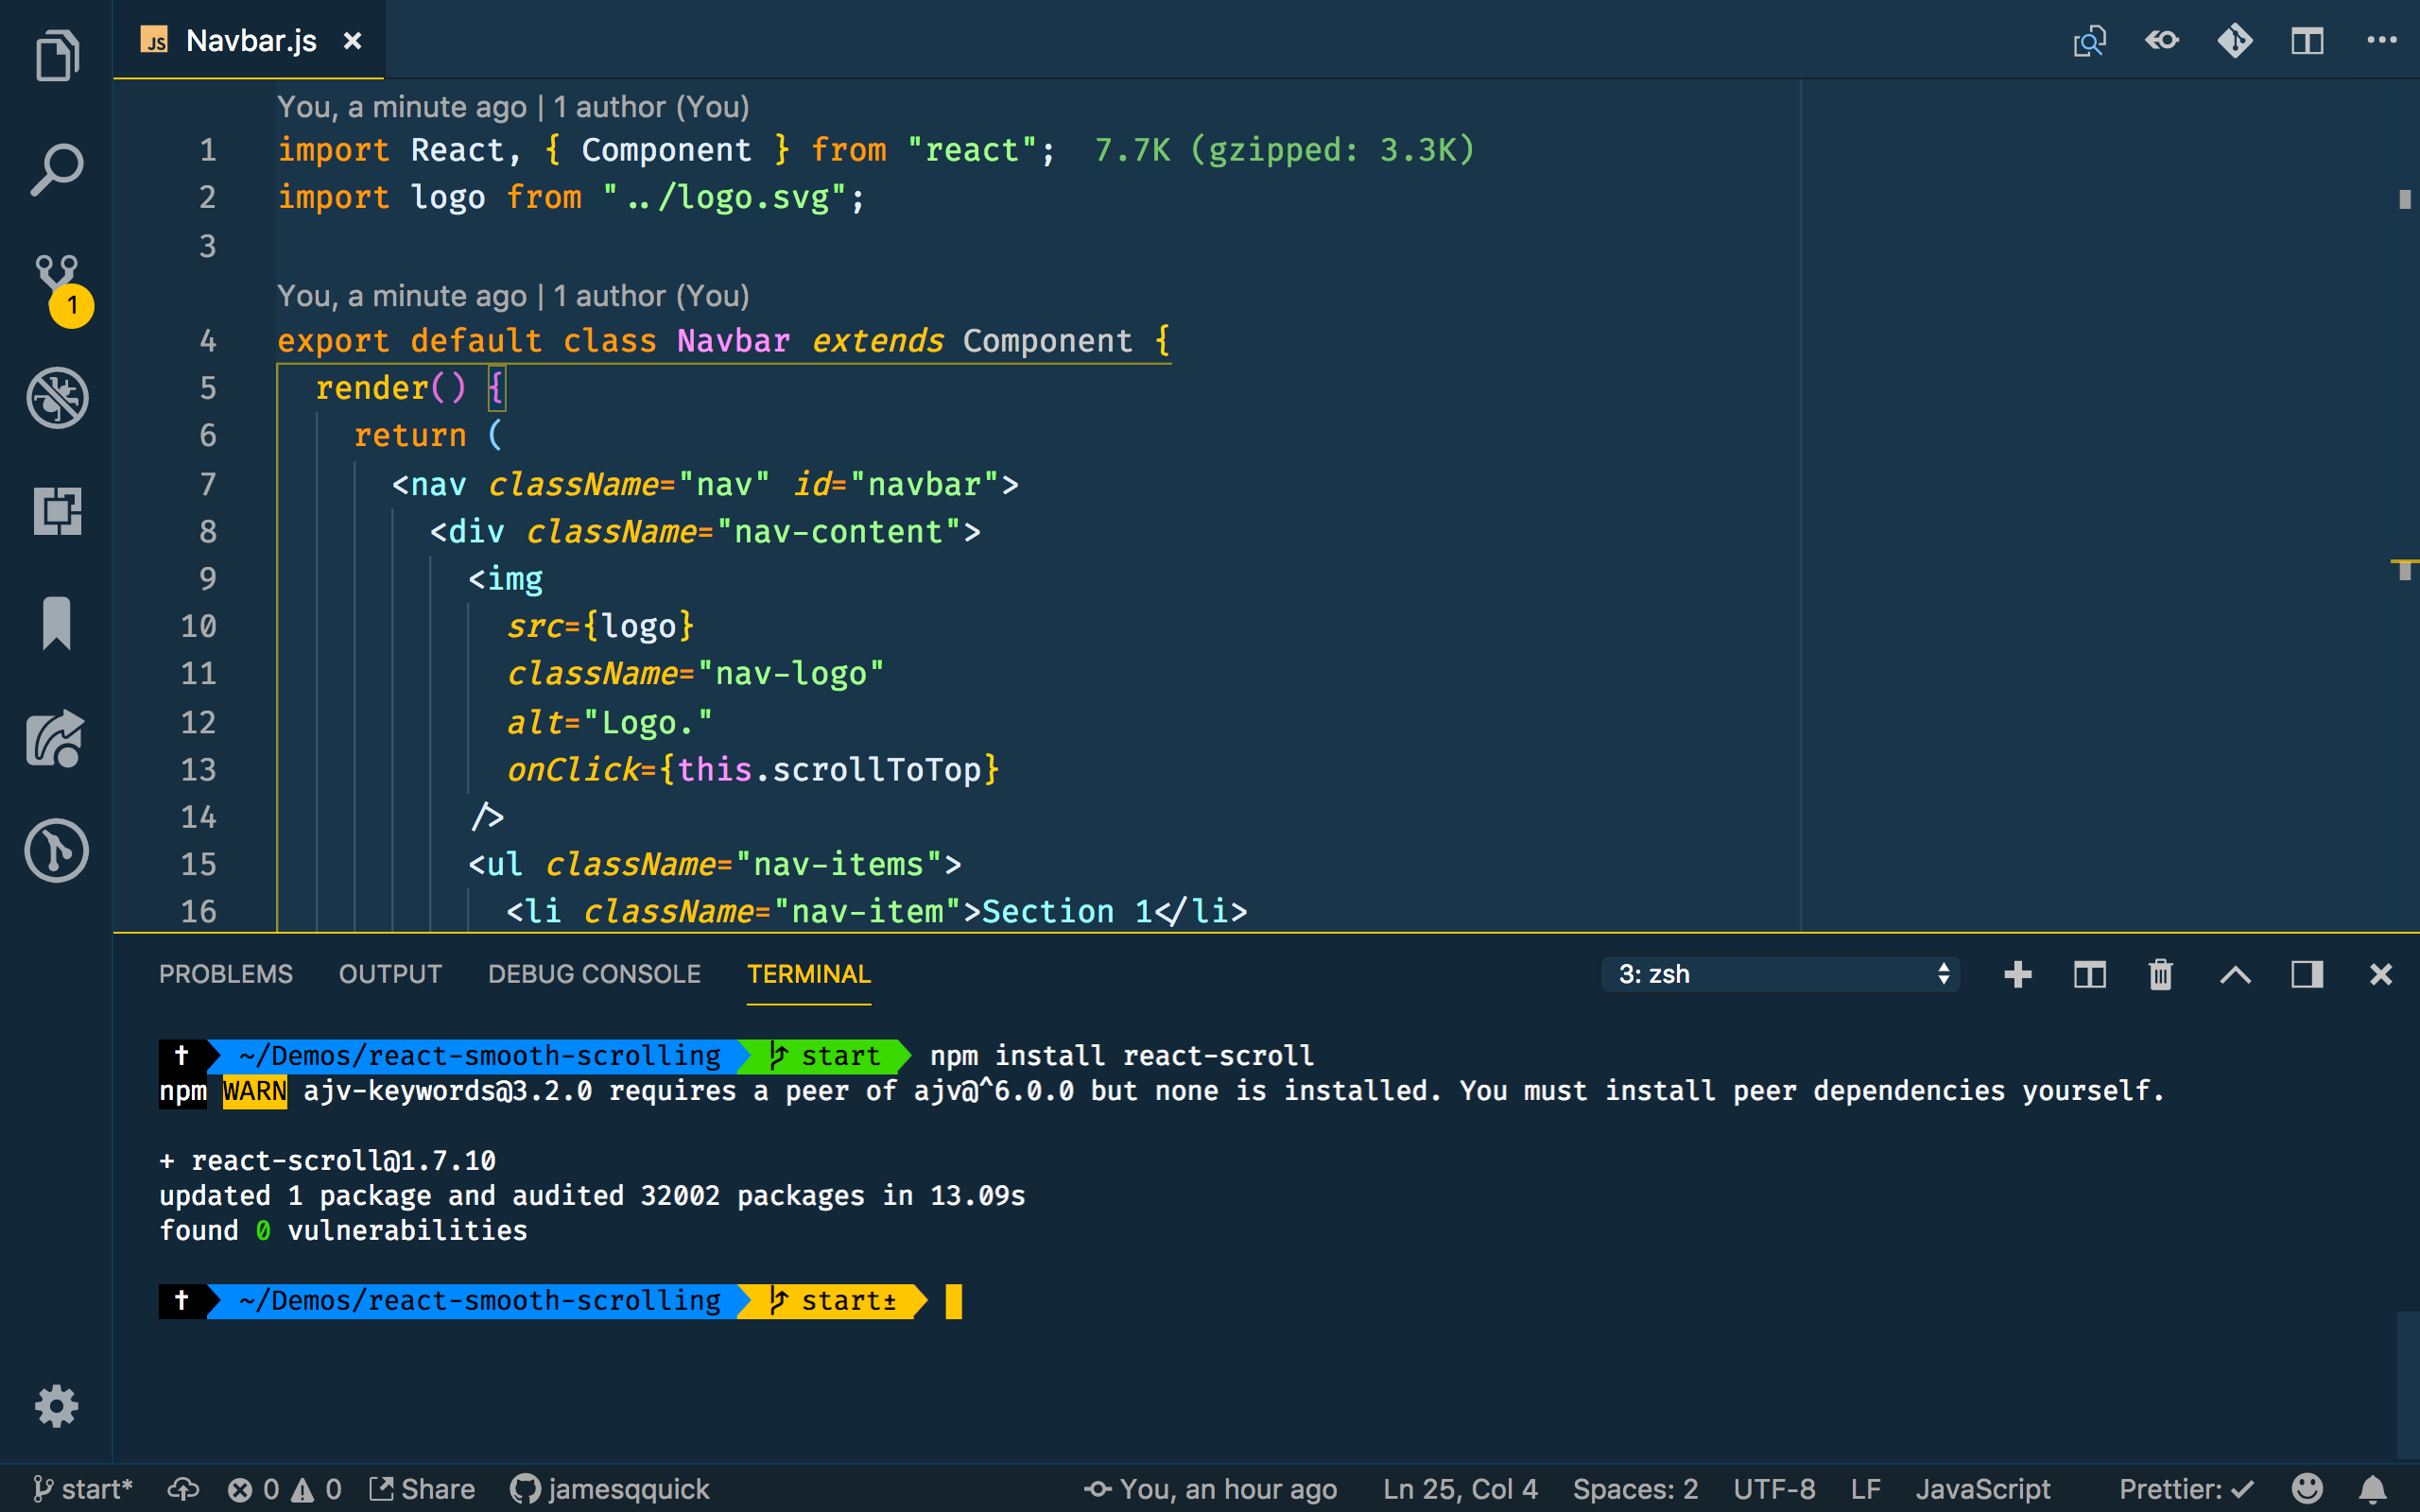
Then, open the Navbar.js file back up and add an import for two named imports, “Link” and “animateScroll”. Notice that I’ve aliased “animatedScroll” to “scroll” for ease of use.
import { Link, animateScroll as scroll } from "react-scroll";With all of our imports defined, we can now updated our nav items to use the “Link” component. This component takes several properties. You can read about all of them on the documentation page on NPM, but we will pay special attention to activeClass, to, spy, smooth, offset, and duraction.
activeClass– class applied when element is reachedto– target to scroll tospy– make Link selected when scroll is at its targets positionsmooth– animate the scrollingoffset– scroll additional px (like padding)duration– time of the scroll animation, can be a number or a function
The “to” property is the most important part as it tells the component which element to scroll to. In this case, this will be each of our sections.
With the offset property, you can define an additional amount of scrolling to perform to get to each section.
Duration is pretty slelf-explanatory, and spy and active class we will come back to in a minute.
Here’s an example of the properties that we will use for each Link component. The only difference between them will be the “to” property as they each point to a different section.
<Link
    activeClass="active"
    to="section1"
    spy={true}
    smooth={true}
    offset={-70}
    duration= {500}
>
You’ll need to update each of the nav items accordingly. With these added, you should be able to go back to your browser (your app should have automatically restarted already) and see smooth scrolling in action!
Styling Active Links
The active class property allows us to define a class to apply to the Link component when it’s “to” element is active. A Link is considered active if it’s “to” element is in view near the top of the page. This can be triggered by clicking on the link itself or by scrolling down to the section manually. To prove this, I opened up the dev tools in Chrome and inspected the fifth link as shown below. When I clicked on that link or scrolled to the bottom of the page myself, notice that the “active” class is in fact applied.
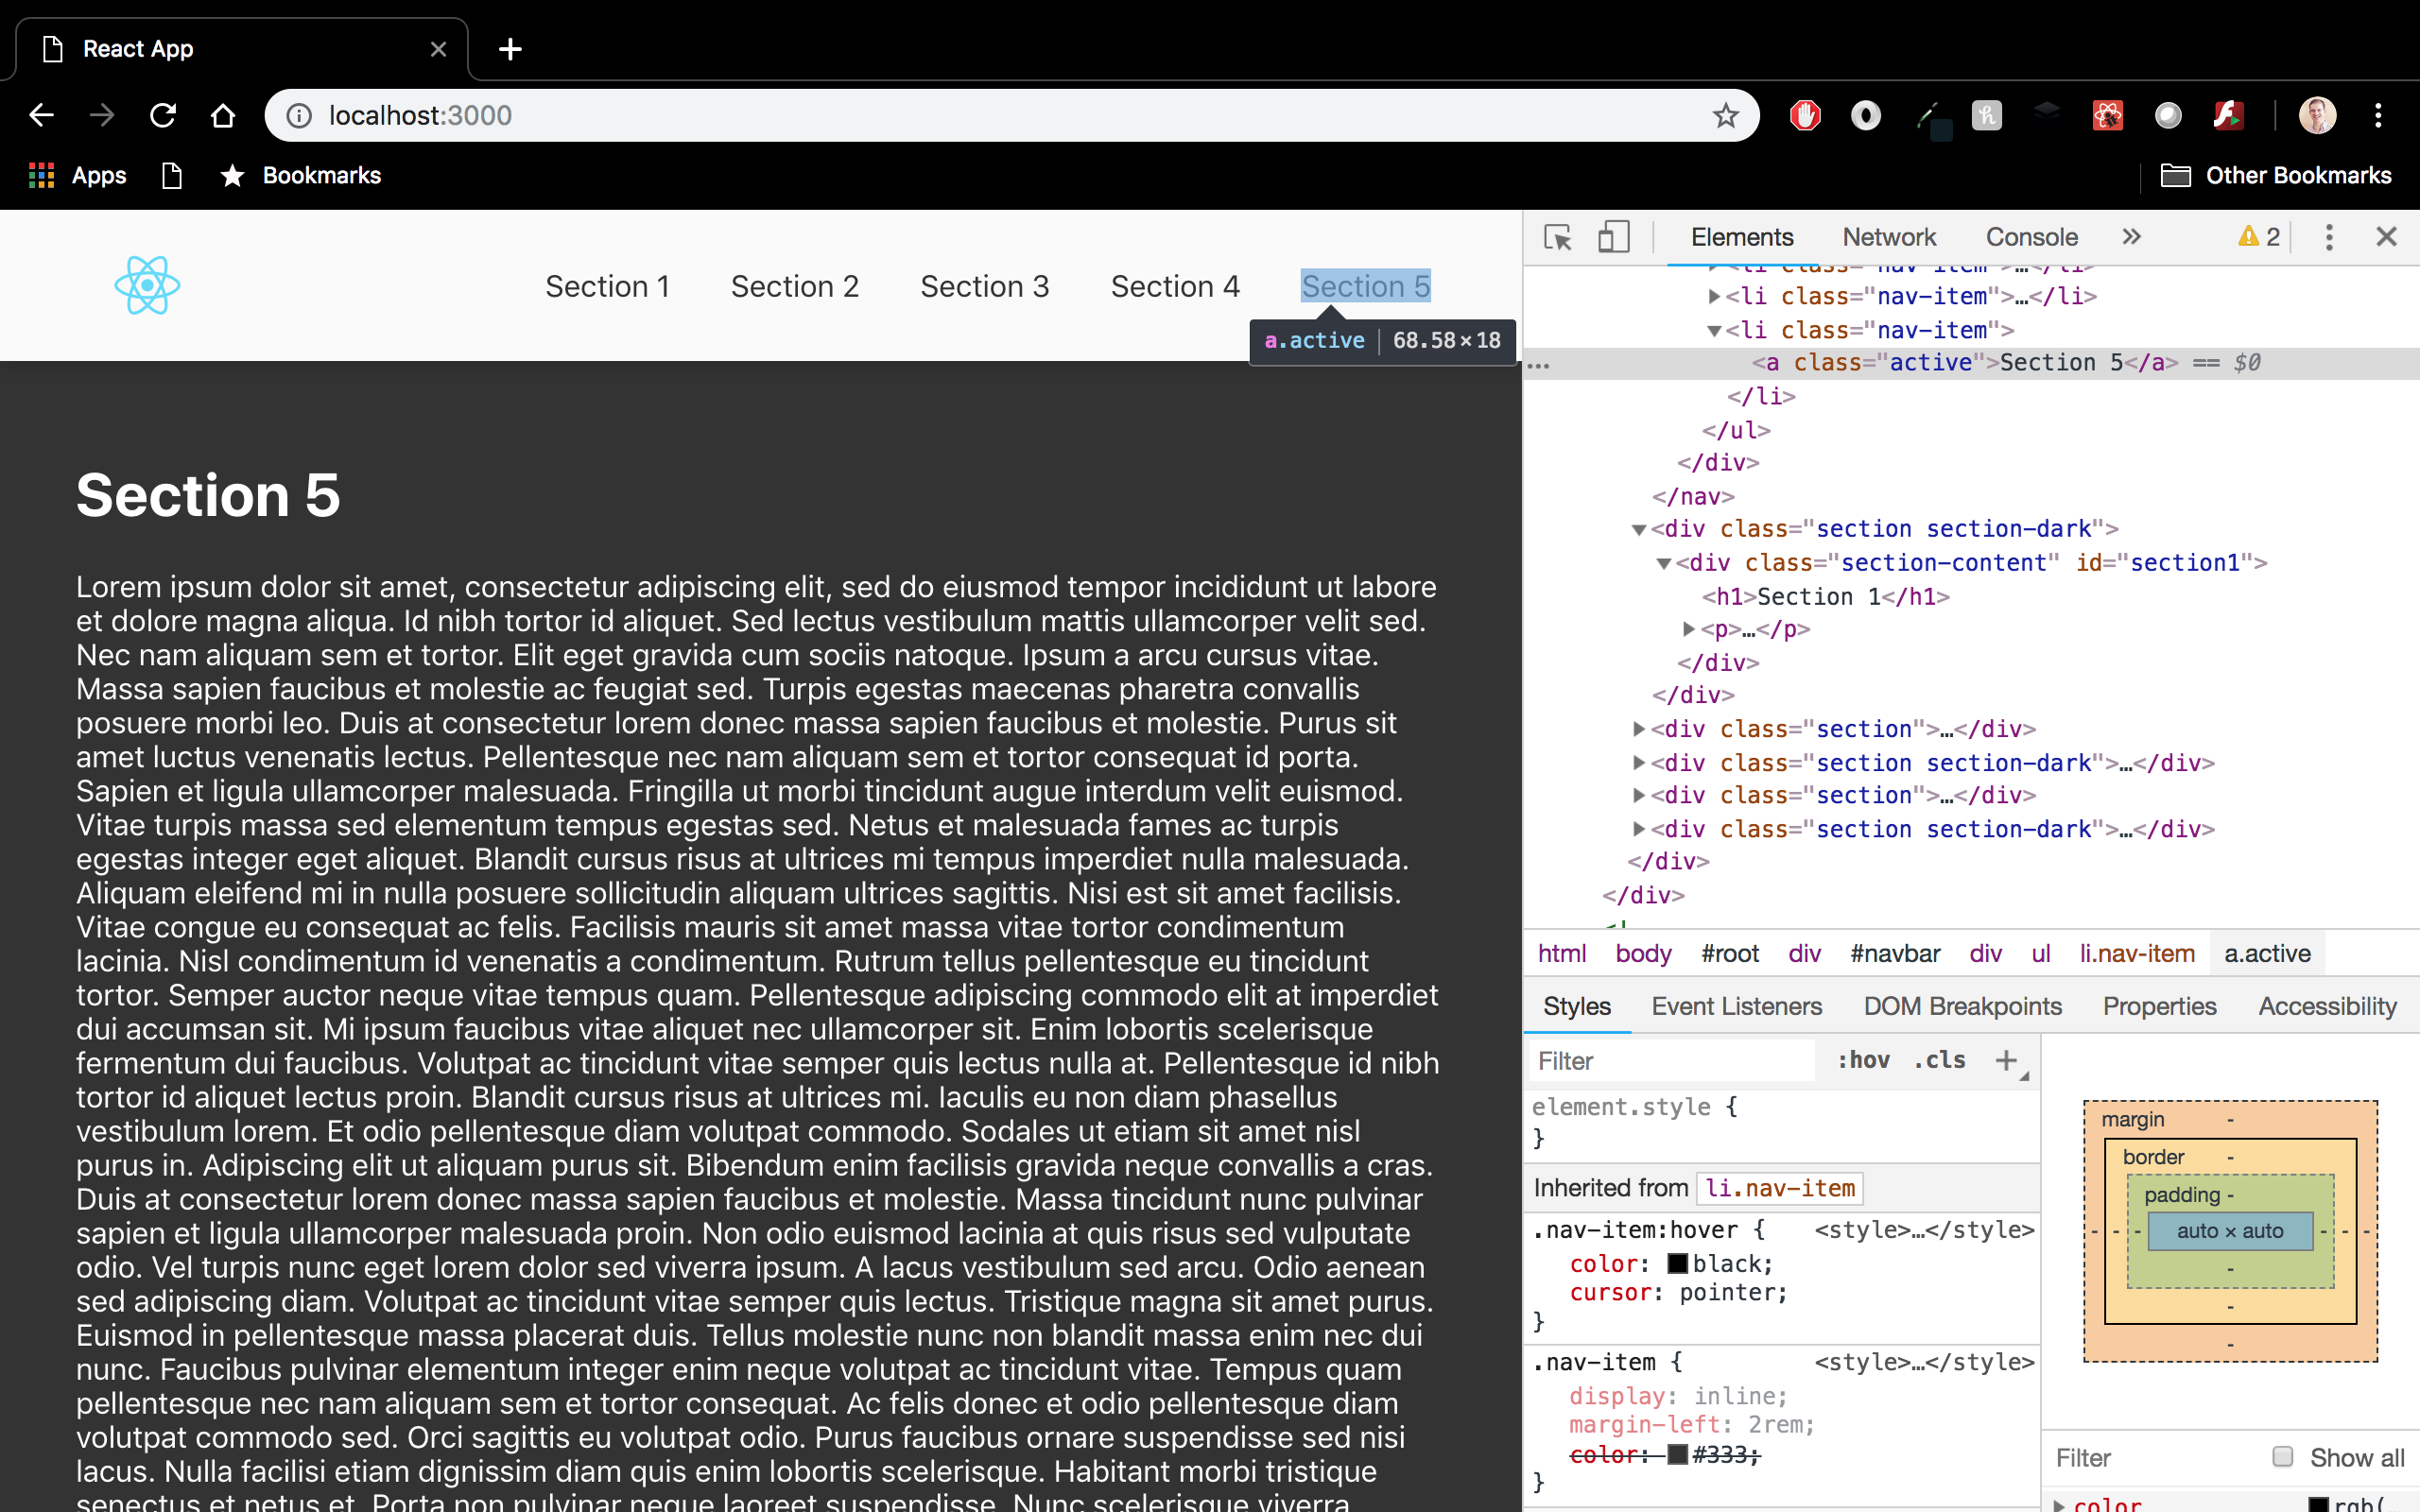
To take advantage of this, we can create an active class and add an underline to the link. You can add this bit of css in the App.css file in the Src directory.
.nav-item > .active {
    border-bottom: 1px solid #333;
}
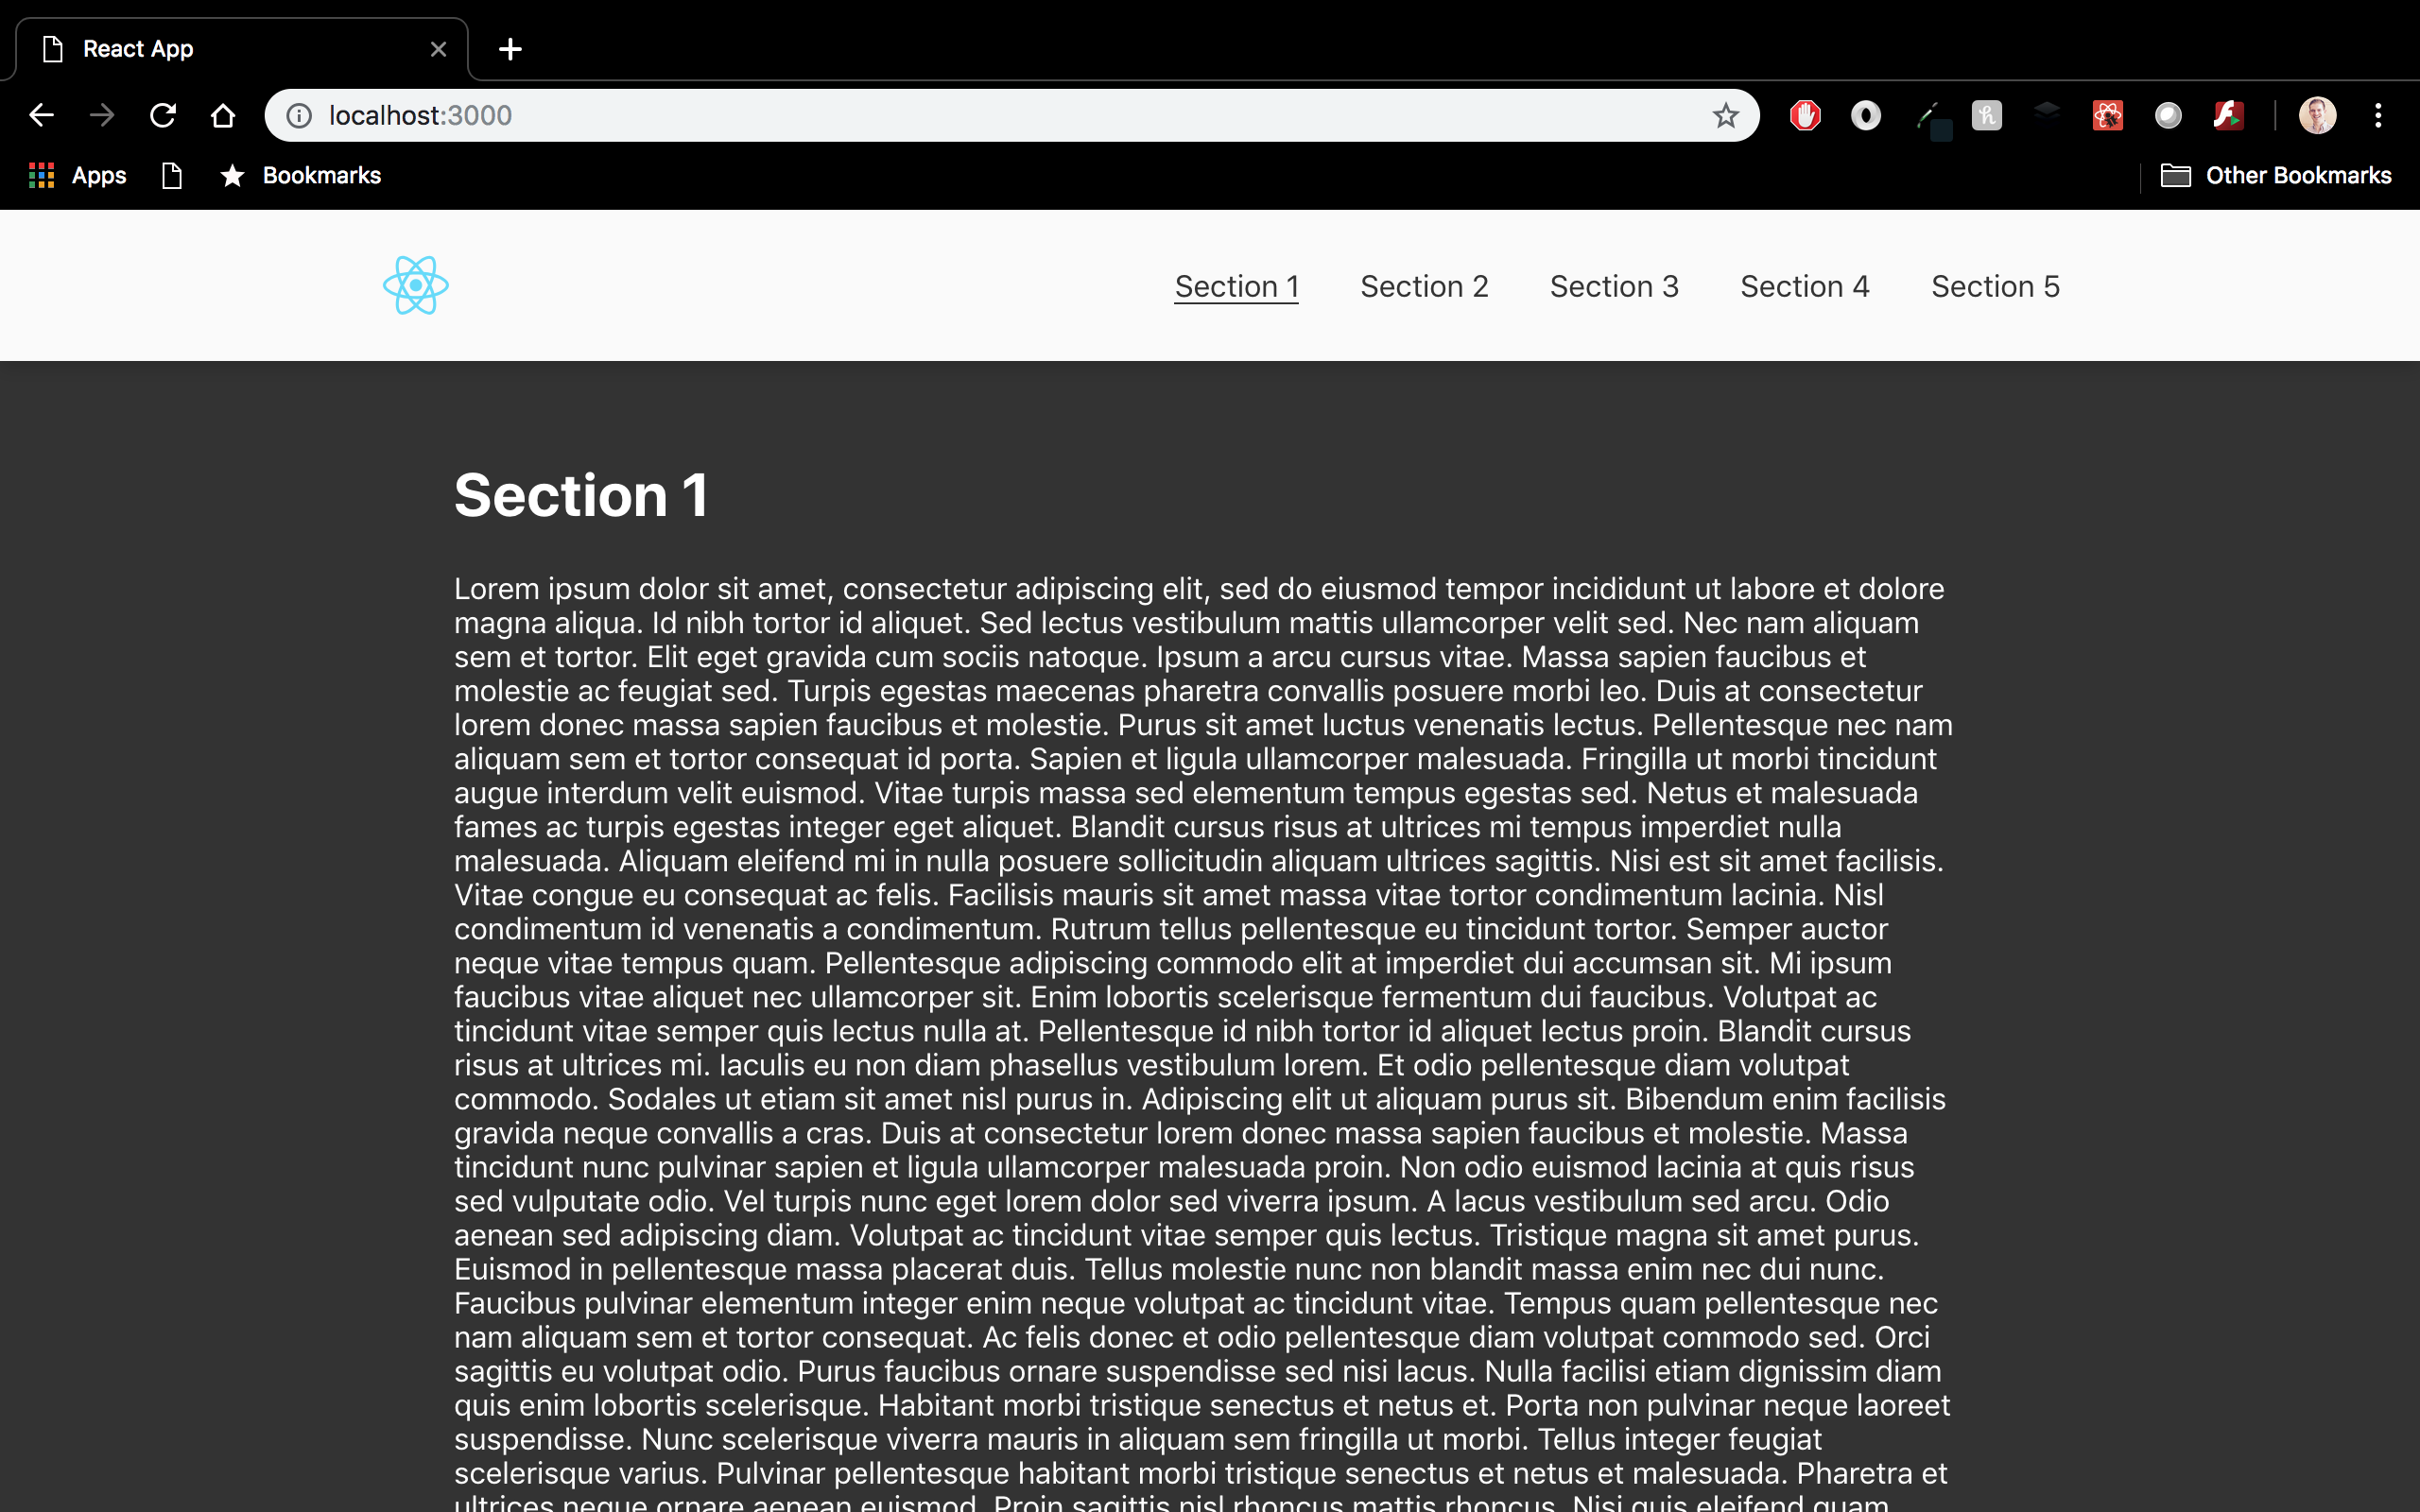
Now, if you go back to your browser and scroll around a bit, you should see the appropriate link is underlined.
Additional Functions
For one last bit of content, this package also provides some functions that can be called directly like “scrollToTop”, “scrollToBottom”, etc. as well as various events that you can handle. In reference these functions, typically, the application logo in a navbar will bring the user to the home page or the top of the current page. As a simple example of how to call one of these provided functions, I added a click handler to the navbar brand image to call scroll the user back to the top of the pagel like so.
scrollToTop = () => {
    scroll.scrollToTop();
};
Back in the browser, you should be able to scroll down on the page, click the logo in the navbar, and be taken back to the top of the page. If you’re curious, spend some time exploring the other functions and events that this package offers you!
Recap
As I said, smooth scrolling is one of those features that can add a lot aesthetic value to your application. As you can tell, with the react-scroll package, it’s pretty easy to implement, so it’s definitely worth the effort.
Source: Scotch.io